Advertisement
READ THIS MANUAL CAREFULLY BEFORE USING YOUR DEHUMIDIFIER AND KEEP IT FOR FUTURE REFERENCE.
IMPORTANT SAFETY INSTRUCTIONS
EXPLANATION OF SYMBOLS

Hazards or unsafe practices which COULD result in severe personal injury or death.

Hazards or unsafe practices which COULD result in minor personal injury or property damage.
IMPORTANT SAFETY INSTRUCTIONS
- Read all instructions before using the appliance.
![]()
To prevent injuries or property damage, the following instructions must be followed.- This appliance should not be operated, cleaned or maintained by anyone that is not able to follow proper safety procedures or does not have experience with this type of equipment, unless under close supervision.
![]()
DO NOT use in an area where it may be exposed to combustible gases or liquids, as this may cause a fire.- Place the unit on a level, sturdy section of the floor, away from heat sources or anywhere it could get wet.
- DO NOT use the unit in small spaces.
- DO NOT stand, sit, or place anything on top of the unit.
- DO NOT let children operate or play on or around the dehumidifier.
![]()
The power cord is equipped with a 3-prong grounding plug to protect against shock hazards. ALWAYS plug cord into a properly installed and grounded 3-prong wall receptacle. Refer to the manufactures label on the rear panel for electrical and other technical data specific to this unit.- DO NOT modify or cut the power cord, or use any other cord or plug. If the cord or plug is damaged, DO NOT use. Contact customer service or a qualified service technician for replacement or repair.
- DO NOT run cord under carpeting, throw rugs, runners, or similar coverings. DO NOT route cord under furniture, appliances, or any heavy object. Place the cord where it will not be tripped over.
- DO NOT start or stop the unit by turning the power on or off.
- DO NOT insert or pull out the plug with wet hands.
- DO NOT use this item on a solid state speed control device (such as a fan control wall switch).
- DO NOT remove the water bucket during operation, or drink water from the tank.
- DO NOT cover the intake or exhaust vents.
- DO NOT insert your finger or other foreign objects into grills or openings.
![]()
ALWAYS turn off and unplug the unit prior to cleaning or maintenance.- Contact customer service or an authorized service technician for repair or maintenance of this unit. DO NOT try to take apart or repair the unit by yourself.
- Turn off and unplug the unit if strange sounds, smells, or smoke come from it.
- If the appliance is knocked over during use, turn off the unit and unplug it immediately. Visually inspect the unit to ensure there is no damage. If you suspect the unit has been damaged, contact a technician or customer service for assistance.
- If water spills into the unit, turn it off, unplug it, and contact a qualified service technician.
- DO NOT try to move the unit when the tank is full, or force the castors to roll on carpet. Doing so may cause the unit to tip over and spill water.
- ALWAYS insert the filters securely. Clean filter once every two weeks.
READ AND FOLLOW THIS SAFETY INFORMATION CAREFULLY
SAVE THESE INSTRUCTIONS
SPECIFICATIONS

| Model | NPDH30 | NPDH50 |
| Dimensions (W x H x D) | 14.2" x 20.1" x 10.3" | 14.2" x 20.1" x 10.3" |
| Weight | 29.1 lbs. | 31.1 lbs. |
| Tank Capacity | 3 Liter / 6.3 pints | 3 Liter / 6.3 pints |
| Moisture Removal | 115V / 60Hz | 115V / 60Hz |
| Voltage | 30 Pints per day | 50 Pints per day |
| Current | 2.9A | 4.7A |
| EEV | 2.0L/kWh | 2.0L/kWh |
| Refrigerant Type | R410A / 5.29oz | R410A / 6.35oz |
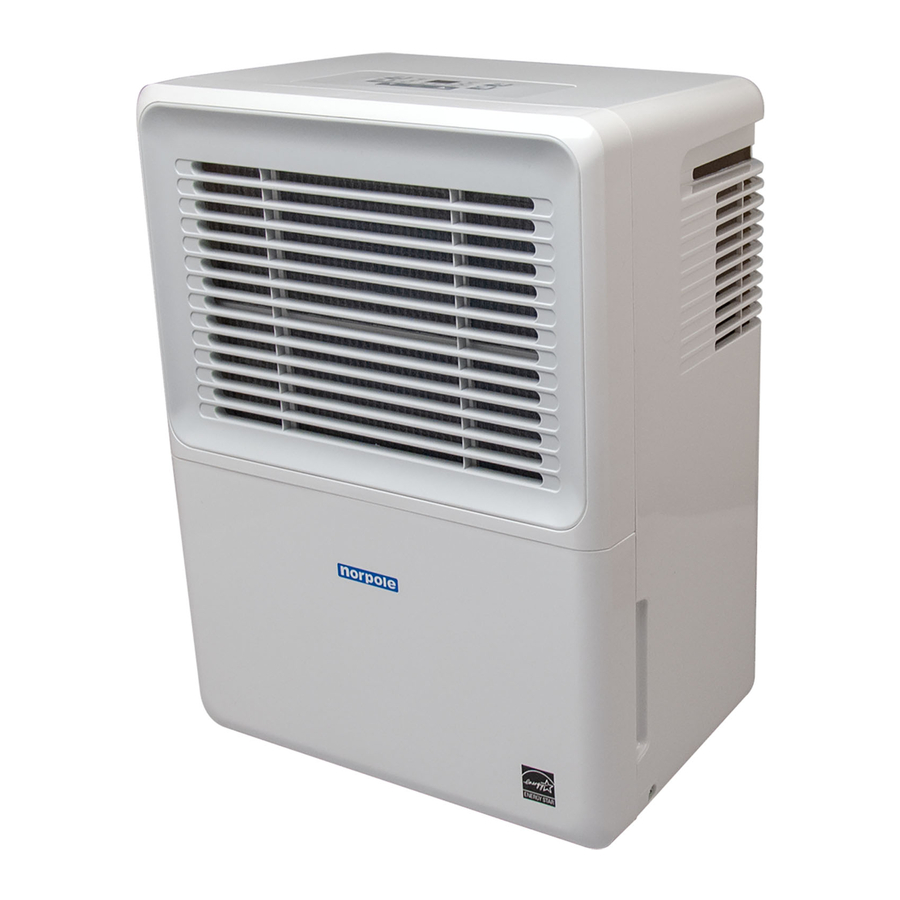
PARTS IDENTIFICATION

- Control Panel
- Air Intake Grille
- Air Filter (Behind the Grille)
- Water Bucket
- Handle (Both Sides)
- Air Outlet Grille
- Power Cord Band
- Drain Hose Outlet
- Power Cord
- Power Plug
OPERATING INSTRUCTIONS
LOCATION
Be sure to set up the dehumidifier on a level floor, with at least 8" (20 cm) of clearance on the sides and back and 15" (40 cm) on top. The unit is designed to be used within a temperature range of 41°F (5°C) - 95°F (35°C). It should be close enough for a properly grounded 3-prong outlet for the cord to easily reach.
CONTROLS

- Power: Turns the dehumidifier on and off.
- Filter: The check filter feature is a reminder to clean the Air Filter for more efficient operation. The Filter light will illuminate after 250 hours of operation. To reset after cleaning the filter, press the Filter button and the light will go off.
- Cont.: Press to activate the continuous dehumidifying operation.
- Fan
- Press the FAN button to select either HIGH or NORMAL fan speed.
- Set on HIGH for maximum humidity removal. Set to NORMAL when humidity has been reduced or when quieter operation is preferred.
- Timer (Timer Set Control)
- If the unit is on, pressing the Timer button once will start the Auto-Off stop program, and the Off indicator light above the timer button will be lit. Pushing the Timer button again within 5 seconds will switch to the Auto-On start function, and the On indicator will be lit.
- If the unit is off, pushing Timer will start the Auto-On start feature, and pushing it again within 5 seconds will switch it to the Auto-Off stop feature.
- Press or hold the UP or DOWN button to set the Auto time in 0.5 hour increments, up to 10 hours, then at 1 hour increments up to 24 hours. The control will count down the time remaining until starting or stopping.
- After 5 seconds, the system will revert back to showing the humidity level on the display.
- When the Auto start & Auto stop times are both set within the same program sequence, TIMER ON and OFF indicator lights illuminate identifying both ON and OFF times are now programmed.
- Turning the unit ON or OFF at any time or adjusting the timer setting to 0.0 will cancel the Auto Start/Stop timer program.
- If the P2 code occurs, the Auto Start/Stop program will be cancelled.
- + and - (Humidity Set Control Buttons): The humidity level can be set within a range of 35% RH (Relative Humidity) to 85% RH in 5% increments. The lower the set % is, the drier the air will be.
- Indicator Lights
- Filter – Filter needs to be cleaned
- Full (Bucket full light) – Empty water bucket
- Cont. - Continuous dehumidifying light
- On (Timer on light) – Auto On/Start set.
- Off (Timer off light) – Auto Off/Stop set
- Turbo - High fan light
- Normal - Low fan light
- Auto Defrost - Auto defrost on
- LED Display: Displays the relative humidity level for the room (±5%) within a range of 30%-90%. While setting, displays the set level for humidity between 35%-85%, or the auto start/stop time (0~24), along with error or protection codes.
Error Codes- AS: Humidity Sensor error
- ES: Temperature sensor error.
- EC: Refrigerant leakage (on models with this feature)
Protection Code - P2: Water bucket full or incorrectly installed.
![warning]() NOTE: If the display shows one of the above codes turn off and unplug the unit, and check for any obstructions or empty the water tray, then restart. If code is still present, turn off again and unplug, and contact customer service or service technician for assistance.
NOTE: If the display shows one of the above codes turn off and unplug the unit, and check for any obstructions or empty the water tray, then restart. If code is still present, turn off again and unplug, and contact customer service or service technician for assistance.
 NOTE: If the display shows one of the above codes turn off and unplug the unit, and check for any obstructions or empty the water tray, then restart. If code is still present, turn off again and unplug, and contact customer service or service technician for assistance.
SMART FUNCTIONS
- Auto Shut Off: When the water "Full" indicator light turns on or the humidity setting is reached, the unit will be shut off automatically.
- Delayed Start: When the unit has stopped or power is interrupted, it will not restart 3 minutes to protect the cooling system. The dehumidifier will automatically start after 3 minutes have passed.
- Auto Defrost: When frost builds up on the evaporator coils, the compressor will cycle off and the fan will continue to run until the frost melts.
- Auto-Restart: If the power is lost or cut, the unit will restart with the previous function setting automatically when the power resumes.
DRAINING WATER
There are two ways to remove water collected while the dehumidifier is running.
- Manually empty the water bucket: When the bucket is full, remove from the back of the unit and empty.

- Continuous Draining: Water can be drained automatically into a floor drain by attaching the threaded female end of a 5/16" I.D. water hose (sold separately) to the drain hose adaptor located in the water bucket. Remove the plastic cover from the drain outlet on the back of the unit and set aside. Remove the water bucket and insert the drain hose through the drain outlet. Securely press the drain hose of the adaptor into the connector on the front of the unit. Tighten the adaptor securely with the included two screws (located in the bucket).
![]()

Make sure the connection is tight and there is no leak. Attach the water hose and run it to the floor drain or a suitable drainage facility, making sure that it is lower than the drain outlet of the unit. The water hose should slope downward to allow the water to flow out smoothly.
![warning]() NOTE: When the continuous drain feature is not being used, remove the drain hose from the outlet and put the plastic cover back onto the drain outlet.
NOTE: When the continuous drain feature is not being used, remove the drain hose from the outlet and put the plastic cover back onto the drain outlet.


CARE AND MAINTENANCE
Turn the dehumidifier off and remove the plug from the wall outlet before maintenance or cleaning.
- DO NOT use flammable liquids or chemicals to clean the unit.
- DO NOT immerse in or spray with water to clean.
- DO NOT operate the unit if the power cord is damaged.
- The water bucket should be cleaned every few weeks or as needed. DO NOT leave water in the bucket when unit is not being used.
CLEAN THE AIR FILTERS
Clean the air filter with water at least once every 30 days, or as needed. The filter can be taken out by removing the water bucket and pulling the filter down from behind the grill.

DO NOT operate the dehumidifier without the filter as dirt, dust and lint will clog it and reduce performance.
STORAGE
To store the dehumidifier for long periods, turn off and unplug the unit, then allow it to sit for one day before emptying the water bucket or removing drain hose to ensure complete water drainage. Wipe down the exterior of the unit, and clean the water bucket and filter. Wrap the cord up with the power cord band on the rear of the unit. Cover with a plastic bag, and store upright in a dry, well-ventilated place.
TROUBLESHOOTING
Please check the following before calling for service.
| Problem | Troubleshooting |
| Unit does not start. | Make sure plug is completely pushed into outlet. Check the main fuse/ circuit breaker. |
| Dehumidifier has reached its pre-set level or bucket is full. | |
| Water bucket is not in proper position. | |
| Dehumidifier is not drying the air well. | Unit has not had enough time to operate |
| Make sure there is nothing blocking or obstructing the unit. | |
| Humidity level setting is too low. | |
| Make sure all windows and doors are closed, and that no air is coming in from outside. | |
| Room temperature is too low, below 41°F (5°C). | |
| Make sure nothing in the area is giving off water vapor. | |
| Making a loud noise when running | Make sure the air filter is not clogged. |
| Make sure unit is level and on a solid, stable floor. | |
| Frost appears on the coils. | This is normal |
| Water on the floor | Hose to connector or hose connection to adaptor may be loose. |
| Drain hose outlet cover removed. |

Documents / ResourcesDownload manual
Here you can download full pdf version of manual, it may contain additional safety instructions, warranty information, FCC rules, etc.
Advertisement


Need help?
Do you have a question about the NPDH30 and is the answer not in the manual?
Questions and answers