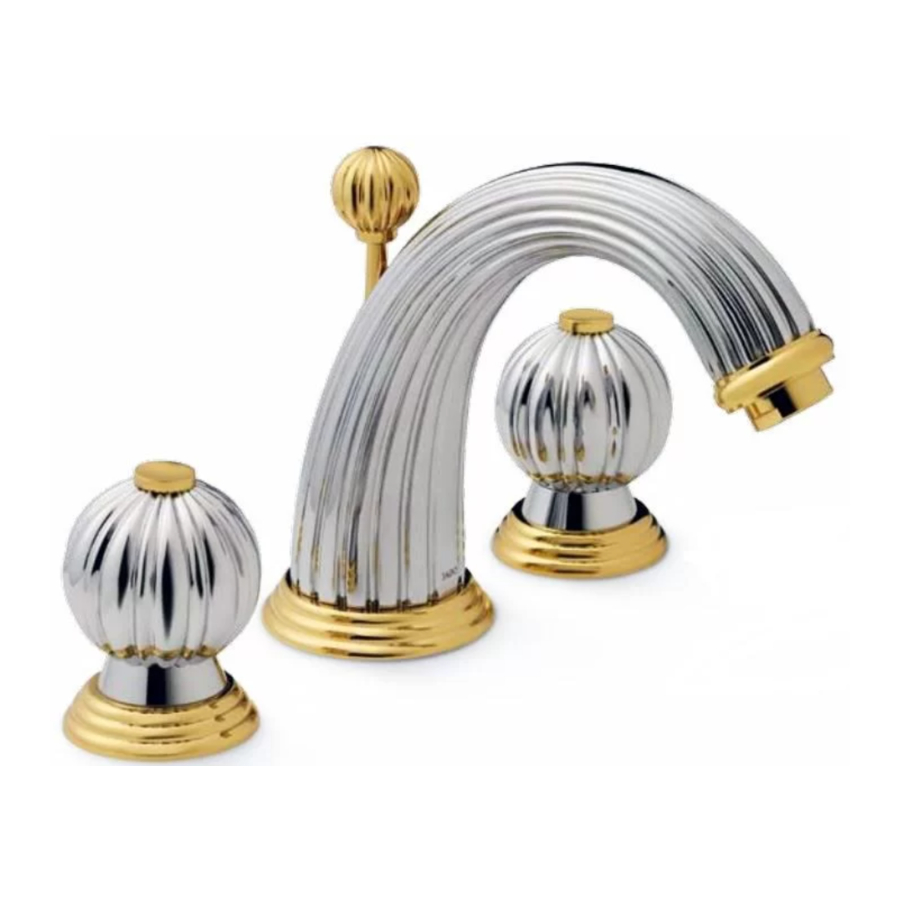
JADO Oriental 893, 933 - Plumbing Product Installation Manual
- Installation instructions (2 pages)
Advertisement
TOOLS REQUIRED

ROUGHING-IN DIMENSIONS

SPOUT ASSSEMBLY

Turn off hot and cold water supplies before beginning.

- Insert RUBBER WASHER (2) into groove in SPOUT ESCUTCHEON BASE (3). Insert SPOUT SHANK (1) through center hole of sink or mounting surface.
- Assemble RUBBER WASHER (4), FIBER WASHER (5) and LOCKNUT (6) onto threads of SPOUT SHANK (1) from underside of lavatory or mounting surface.
- Align SPOUT (7) and tighten LOCKNUT (6). Insert LIFT ROD (9) through SPOUT (7).
TEE AND HOSE ASSEMBLY

- Push one RING WASHER (1) and one of the 0-RING (2) onto end of SPOUT SHANK (3).
- Slide the TEE (4) onto SPOUT SHANK (3) until it makes contact with the 0-RING (2). Push the other 0-RING (2) and RING WASHER (1) onto the SPOUT SHANK (3). Make sure both 0-RINGS (2) are seated into grooves of TEE (4).
- Thread LOCK NUT (5) onto SHANK (3). Rotate TEE (4) about 10 degrees from center and tighten securely.
- Insert FIBER WASHERS (6) into COUPLING NUTS (7) of SUPPLY HOSES (8) and tighten.
INSTALL VALVE BODIES AND HANDLES

- Remove INDEX CAP (15), HANDLE SCREW (14), KNOB (13), HANDLE BASE (11), MOUNTING RING (6) and RUBBER WASHER (5) from VALVE BODIES (2).
- Thread LOCKNUT (1) to bottom of VALVE BODY (2). Make sure FIBER WASHER (3) and RUBBER WASHER (4) are installed.
Insert VALVE BODY (2) through mounting hole from underside of lavatory or mounting surface.
Note: VALVE BODY marked Hot is installed in the left mtg. hole, VALVE BODY marked Cold in the right when facing front of fitting. Maximum mounting surface thickness is 1-1/4". From top install RUBBER WASHER (5) onto VALVE BODY (2). - Thread MOUNTING RING (6) on VALVE BODY (2). Thread HANDLE BASE (11) onto VALVE BODY (2) until tIght against it's internal stop. Thread MOUNTING RING (6) counter-clockwise until tight against HANDLE BASE (11). Set VALVE BODIES (2) so that their outlets are facing toward SPOUT TEE (7). Tighten LOCKNUT (1) using 35mm or adjustable wrench.
- Insert FIBER WASHERS (8) into COUPLING NUTS (9) of SUPPLY HOSES (10) and tighten making water tight connection.
![]()
Loop SUPPLY HOSES (10) as illustrated so they do not kink.

INSTALL HANDLES
- Install HANDLE (13) onto VALVE STEM (12). Install HANDLE SCREW (14) and tighten to secure HANDLE (13). Thread INDEX CAP (15) into HANDLE (13)
INSTALL POP-UP DRAIN

- A FOAM SEAL (1) is installed on underside of FLANGE (2). (Plumbers Putty may be used in place of FOAM SEAL (1) if desired.)
- Drop FLANGE (2) into LAVATORY DRAIN (3). From below assemble RUBBER GASKET (4), PLASTIC WASHER (5) and LOCK NUT (6) onto DRAIN FLANGE (2). Do not tighten fully.

- Inspect inside DRAIN BODY (7) that SEAL (8) is installed. Thread DRAIN BODY (7) tight against FLANGE (2) to make a water tight seal.
- The PIVOT ROD OPENING (9) in DRAIN BODY (7) should face the rear of the lavatory. Tighten LOCK NUT (6) on FLANGE (2) to make a water tight connection with channel locks. Do not over tighten.
- Apply sealant or Teflon tape to threads of TAILPIECE (10) and thread into DRAIN BODY (7) making a water tight seal.

- Assemble PIVOT ROD (11), and PIVOT NUT (12) as shown. Install CONCAVE WASHER (19) into PIVOT ROD OPENING (9) if not preinstalled. Hand tighten PIVOT NUT (12). Drop STOPPER (13) into drain. (To vandal proof drain rotate STOPPER (13) so PIVOT ROD (11) goes through EYE (14) of STOPPER (13). Make connection to "P" TRAP.
- Assemble POP-UP SWIVEL (15) to PIVOT ROD (11) but do not tighten. Drop POP-UP ROD (16) through other hole in POP-UP SWIVEL (15) and tighten SET SCREW (17)
- Adjust STOPPER (13) height by repositioning POP-UP ROD (16) in SWIVEL (15) and tightening SET SCREW (18).
WATER SUPPLY CONNECTIONS

NOTE: FLEXIBLE SUPPLIES OR BULL-NOSE RISERS MUST BE PURCHASED SEPARATELY.
- Connect water supply to VALVE BODIES (1) with 1/2" IPS FLEXIBLE SUPPLIES (3) or 3/8" O.D. BULL-NOSE RISERS (4). Use wrench to tighten connections.
- Do not over tighten. Be careful not to kink copper supply when bending. Use tubing cutter to cut to proper length.
TEST INSTALLED FAUCET AND CONNECTIONS FOR LEAKS

- Remove AERATOR (6) from faucet.
- With HANDLES (1) in OFF position, turn on WATER SUPPLIES (2) and check all connections for
![]() leaks.
leaks. - Operate both HANDLES to flush water lines thoroughly.
- Operate LIFT ROD (3) and fill lavatory with water. Check that DRAIN STOPPER (1) makes a good seal and retains water in lavatory. Adjust stopper height by repositioning LIFT ROD (3) and tightening SET SCREW (4).
- Release DRAIN STOPPER (5) and check all drain connections and "P" trap for
![]() leaks. Tighten if necessary.
leaks. Tighten if necessary. - Replace AERATOR.
 leaks.
HELPFUL HINTS FOR CLEANING AND MAINTENANCE
The solid brass product you have just purchased has been designed to give you years of beauty and service. It is important to bring to your attention proper care and maintenance procedures, which will ensure its lasting beauty.
- First and foremost, it is important (as it is with any fine piece of jewelry or furniture) that the product be wiped clean and dry with a soft damp cloth after every use.
- Second, under no circumstances should an abrasive cleaner or combination cleaner/polish be used on JADO products. The abrasive nature of such products will eventually destroy the finish and void the warranty.
- In the event of stubborn blemishes shown on the finish, we recommend use of Windex window cleaner with a soft cloth, but we do not recommend it be used on an everyday basis.
- It is important to note that it is normal to expect signs of usage over time.
Thank you for selecting JADO for your home.
JADO BATHROOM AND HARDWARE MFG. CORP.
7845 East Paradise Lane Scottsdale, AZ 85260

Documents / ResourcesDownload manual
Here you can download full pdf version of manual, it may contain additional safety instructions, warranty information, FCC rules, etc.
Download JADO Oriental 893, 933 - Plumbing Product Installation Manual
Advertisement
Thank you! Your question has been received!


Need Assistance?
Do you have a question about the Oriental 893 that isn't answered in the manual? Leave your question here.