Table of Contents
Advertisement
Quick Links
Lovibond
Tintometer
®
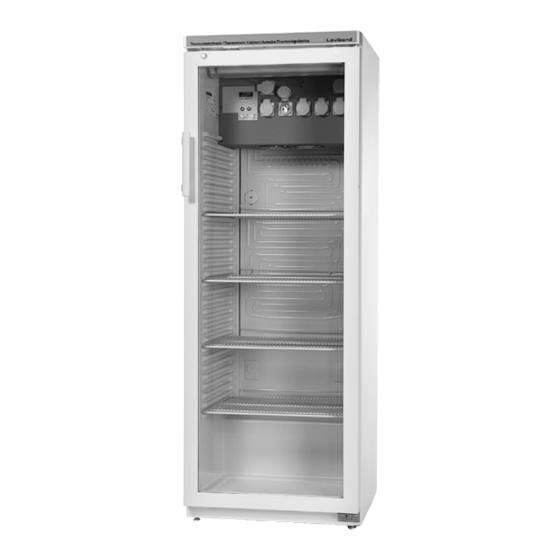
Thermostatschränke TC-Serie
Thermostatschränke
Vor Inbetriebnahme die Gebrauchsanweisung lesen
Thermostatically controlled incubators
Read the operating instructions before switching on for the first time
Etuves réfrigérées
Lire le mode d'emploi avant la mise en service
TC 140 G / TC 256 G
Instruction Manual
GB
Page 10 – 17
www.lovibond.com
Water Testing
®
Group
Armarios termostaticos
Leer las instrucciones de manejo antes de la puesta en servicio
Estufas reguladas por termóstato
Antes da colocação em funcionamento, ler o manual de utilização
Advertisement
Table of Contents

Subscribe to Our Youtube Channel
Related Manuals for Lovibond TC Series


Summary of Contents for Lovibond TC Series
- Page 1 Lovibond Water Testing ® Tintometer Group ® Thermostatschränke TC-Serie Thermostatschränke Armarios termostaticos Vor Inbetriebnahme die Gebrauchsanweisung lesen Leer las instrucciones de manejo antes de la puesta en servicio Thermostatically controlled incubators Estufas reguladas por termóstato Read the operating instructions before switching on for the first time Antes da colocação em funcionamento, ler o manual de utilização...
-
Page 2: Climate Rating
Disposal notes Climate rating The climate rating indicates the room tempera- The appliance contains reusable materials and should be disposed of properly - not simply with unsorted household ture at which the appliance may be operated in refuse. Appliances which are no longer needed must be order to achieve full refrigeration performance. disposed of in a professional and appropriate way, in The climate rating is indicated on the type plate. accordance with the current local regulations and laws. When disposing of the appliance, ensure that the refrigerant circuit Climate rating Room temperature is not damaged to prevent uncontrolled escape of the refrigerant it contains (data on type plate) and oil. -
Page 3: Electrical Connection
Setting up Electrical connection Only operate the appliance with alternating current (AC). • Do not place the appliance in direct sunlight or near The permissible voltage and frequency are indicated on the type plate. cookers, radiators and similar sources of heat. The socket must be properly earthed and protected by a fuse. • The floor on which the appliance stands should be The tripping current of the fuse must be between 10 A and 16 A. horizontal and level. Compensate for uneven floors The socket must not be situated behind the appli- with the adjustable feet. ance and must be easily accessible. Do not cover ventilation openings or • Do not connect the appliance using an exten- grille. sion cable or extension socket. • Always install the appliance directly Do not use stand-alone inverters (conversion of against the wall. direct current to alternating current/three-phase current) or energy-saving plugs. Risk of damage • Well ventilated rooms to the electronic control system! Important When unpacking and setting up use protective gloves. - Page 4 Adjustment and operation Detecting a power failure The unit is switched on and off via the On/Off switch. When the unit is first switched on, the display will flash. Pressing the „⬆“ or „⬇︎“ key will cause it to stop flashing and remain per- The „Up“ key is used to increase the temperature manently lit. The „Down“ key is used to decrease the temperature If there is a power failure, the display will start to flash again. This may indicate that the temperature in the oven can no longer be held at the working temperature, if the power is off for an extended period.
- Page 5 Defrosting Malfunctions When operating at a very cold thermostat setting, the interior rear If a malfunction occurs during operation, check whether it is due wall may ice up. to an operating error. In this case, the appliance must be defrosted manually. You may be able to rectify the following faults yourself: Pull out the mains plug! • • Appliance does not function: – Is the appliance switched on? • Leave the door of the appliance open while defrosting. – Is the plug correctly fitted in the mains socket? Defrosted water collects in an evaporator tray and is – Is the fuse intact? If necessary, replace with a new 6.3 A (slow). evaporated automatically. Attention must be paid that • Loud running noise: the defrosted water can drain off freely through the – Is the appliance set up firmly on the floor? drainage opening in the back panel of the incubator. – Does the appliance cause nearby items of furniture or objects to The drainage opening should, when necessary be vibrate? Please note that noises caused by the refrigerant circuit cannot be avoided.
- Page 6 Changing over door hinges TC 256 G 7. Insert the key. Door hinges should only be changed by a trained expert. Changing the door hinges must be done by two people. Turn the key 90°. 1. Remove screw from lower hinge bracket. 8. Remove cover. 9. Remove screw. 2. Open the door approx. 45° and lift upwards.
- Page 7 20. Turn the lock 90° clock- wise. 14. Remove lock. 21. Reinsert hinge bush- ing. 15. Reinsert hinge bush- ing. 22. Turn the lock further - approx. 3° clockwise. 16. Transfer covers to the 23. Insert pin. opposite side. Note on point 23 After insertion, the pin's cross pin must be engaged in the groove of the catch. 17. Transfer plug and bushing. 24. Screw in the screw and attach the cover cap.
- Page 8 31. Insert the pin into the left-hand door mount- 26. Unscrew the pin. ing. Use the spanner provided. Use your index finger to hold the pin while you are assembling the door. 27. Screw in the pin on the opposite side. 32. Locate the door on the upper pin as shown in the illustration and guide it to the lower hinge bracket. Important As a result of its heavy weight, the door must be held secure by one person. 33. Lift the door upwards and turn the pin until it fits into the bore hole of the hinge bracket. 28. U n s c re w h i n g e bracket.
-
Page 9: Technical Data
Adjusting the lateral tilt of the door Technical Data If the door is at an angle, adjust the angle. Construction fully insulated incubator with universal plug-in temperature. Door, double glazed insulated in ABS frame Control unit operation robust, water protected foil front panel, 2 keys with tactile acknowledgement Range of adjustment 2 °C to 40 °C, adjustable in 0.1 °C-increments Constancy of temp. 20 °C, ± 1.0 °C Climate class the climate rating is indicated on the type plate Display 3 digit for actual and target 35. Remove middle screw from hinge... - Page 10 Tintometer GmbH The Tintometer Limited Tintometer AG Lovibond Water Testing Lovibond House / Solar Way Hauptstraße 2 ® Solstice Park / Amesbury, SP4 7SZ Schleefstraße 8-12 5212 Hausen AG 44287 Dortmund Tel.: +44 (0)1980 664800 Tel.: +41 (0)56/4422829 Tel.: +49 (0)231/94510-0 Fax: +44 (0)1980 625412 Fax: +41 (0)56/4424121 Fax: +49 (0)231/94510-20 water.sales@tintometer.com info@tintometer.ch sales@tintometer.de www. lovibond .com www.tintometer.ch www.lovibond.com Germany Switzerland Tintometer Inc. Tintometer China Tintometer South East Asia (dba Orbeco-Hellige Inc.)
Need help?
Do you have a question about the TC Series and is the answer not in the manual?
Questions and answers