Advertisement
Quick Links
Advertisement

Related Manuals for Logitech BRIO C1000E


Summary of Contents for Logitech BRIO C1000E
- Page 1 BRIO ULTRA HD BUSINESS WEBCAM BRIO C1000E 4K 超高清商用网络摄像头 Complete Setup Guide 设置指南...
- Page 2 CONTENTS English 简体中文...
-
Page 3: Know Your Product
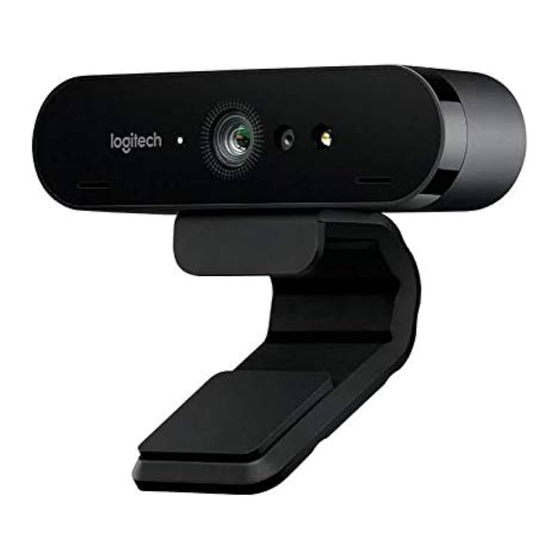
KNOW YOUR PRODUCT LED activity light IR sensor IR LED Autofocus 4K Ultra HD lens Dual microphone Detachable universal mounting clip Attachable privacy shutter English... - Page 4 Tripod thread* * Tripod not included Detachable USB-A cable (USB 2.0 or 3.0) Type C compatible Travel bag English...
-
Page 5: What's In The Box
WHAT’S IN THE BOX 1 Webcam with detachable universal mounting clip (on webcam) 2 External privacy shutter 3 Carrying case 4 7 2 ft (2 2 m) USB-A to USB-C cable (USB 2 0 or 3 0) 5 User documentation ATTACH THE PRIVACY SHUTTER 1 Attach the privacy shutter over the lens on the webcam as shown 2 Snap it onto the front of the webcam,... -
Page 6: Setting Up The Webcam
SETTING UP THE WEBCAM For placement on a monitor 1 Place your webcam on a computer, laptop or monitor at a position or angle you desire 2 Adjust the webcam to make sure the foot on the universal mounting clip is flush with the back of your device 3 Manually adjust the webcam up/down to the best position to frame yourself... - Page 7 For placement on a tripod* 1 Remove the detachable universal mounting clip from the webcam 2 Locate the ¼ inch tripod thread on the bottom of the webcam 3 Secure the webcam on your tripod by twisting it into the ¼ inch thread 4 Place your webcam with the tripod anywhere you desire to the best position to frame yourself * Tripod not included English...
-
Page 8: Successful Connection
© 2021 Logitech Logitech, Logi, 罗技 Logo are trademarks or registered trademarks of Logitech Europe S A and/or its affiliates in the U S and other countries Logitech assumes no responsibility for any errors that may appear in this manual Information contained herein is subject to change... - Page 9 了解您的产品 LED 活动指示灯 IR 传感器 IR LED 自动对焦 4K 超高清 镜头 双麦克风 可拆卸通用安装夹 可拆卸 隐私镜头盖 简体中文...
- Page 10 三脚架安装螺纹* *三脚架需另购 可拆卸 USB-A 线缆 (USB 2 0 或 3 0) 兼容 Type C 便携包 简体中文...
- Page 11 包装内容 1 网络摄像头,配可拆卸通用安装夹(随附于网络摄像头上) 2 外置隐私镜头盖 3 收纳盒 4 2 2 米 USB-A 至 USB-C 线缆(USB 2 0 或 3 0) 5 用户文档 安装隐私镜头盖 1 如下所示,将隐私镜头盖安装于网络摄像头镜头上。 2 将其卡在网络摄像头的中央正上方。 3 手动调整隐私镜头盖,根据需要打开或关闭。 简体中文...
- Page 12 设置网络摄像头 放置于显示器上 1 将网络摄像头以所需的位置或角度放置在电脑、笔记本 电脑或显示器上。 2 调节网络摄像头,确保通用安装夹支脚与显示器背面齐平。 3 手动将网络摄像头上/下调节至合适的构图位置。 简体中文...
- Page 13 放置于三脚架上* 1 从网络摄像头上卸下可拆卸的通用安装夹。 2 找到网络摄像头底部的 1/4 英寸三脚架安装螺纹。 3 将三脚架拧入 1/4 英寸安装螺纹,将网络摄像头固定于 三脚架上。 4 将网络摄像头和三脚架放置于您想要的合适位置以构图。 *三脚架需另购 简体中文...
- Page 14 27 毫米 x 102 毫米 x 27 毫米 线缆长度:2 2 米 重量:63 克 可拆卸通用安装夹: 高 x 宽 x 深: 19 毫米 x 36 毫米 x 63 毫米 重量:44 克 www.logitech.com/support/brio 版权所有 ©2021 年罗技。罗技、Logi、Logitech 和罗技标志为 罗技欧洲公司 和/或其美国及其他国家/ 地区附属公司的商标,并或已注册。罗技对于本手册中可能出现的任何错误不承担任何责任。本手册中 包含的信息如有更改,恕不事先通知。 WEB-621-001908 003...
Need help?
Do you have a question about the BRIO C1000E and is the answer not in the manual?
Questions and answers