Advertisement
Quick Links
* LG LED Monitor applies LCD screen with LED backlights.
Please read this manual carefully before operating your set and
retain it for future reference.
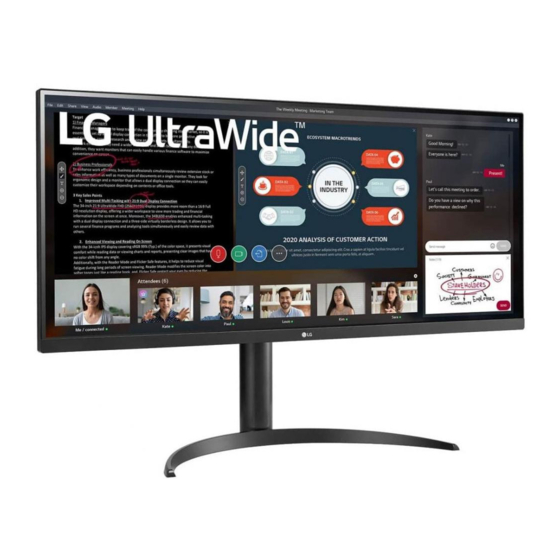
29WP500/29WP500P
29WP50S
34WP500/34WP500P
34WP50S
34WP550/34WP550P
OWnEr'S ManuaL
LED LCD MOnITOr
(LED Monitor*)
Copyright © 2020 LG Electronics Inc. all rights reserved.
www.lg.com
Advertisement


Need help?
Do you have a question about the 34WP550P and is the answer not in the manual?
Questions and answers