Advertisement
Introduction
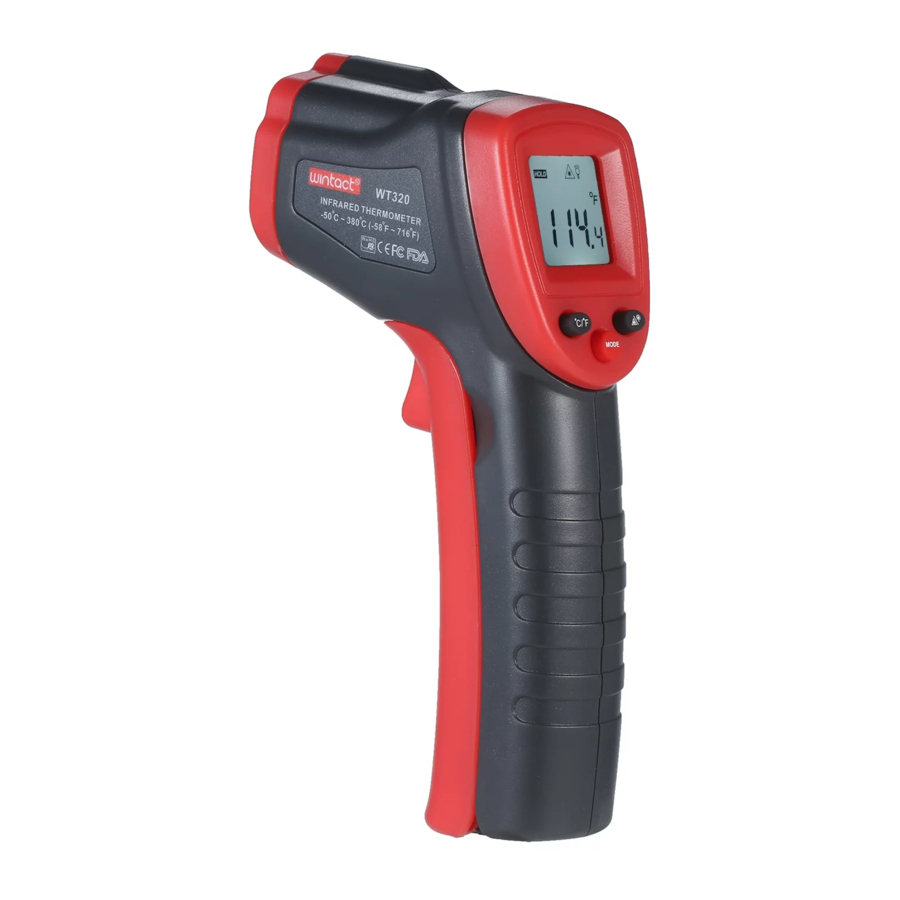
This infrared thermometer is used for measuring the temperature of the object's surface, which is applicable for various hot, hazardous or hard-to-reach objects without contact safely and quickly.
This unit consist of Optics, Temperature Sensor Signal amplifier, Processing circuit and LCD Display. The Optics collected the infrared energy emitted by object and focus onto the Sensor. Then the sensor translates the energy into an electricity signal. This signal will be turned out to be digital shown on the LCD after the signal amplifier and processing circuit.
WARNING & CAUTIONS

To avoid the potential situation may cause harm or damage to people, please pay attention to the following items:
- Do not point laser directly at eye or indirectly off reflective surfaces.
- The unit cannot measure through transparent surfaces such as glass or plastic. It will measure the surface temperature of these materials instead.
- Steam, dust, smoke, or other particles can prevent acc urate measurement by obstructing by the units optics.

Infrared thermometer should be protected for the following:
- EMF (electro-magnetic fields) from arc welders, induction heaters.
- Thermal shock (cause by large or abrupt ambient temperature changes allow 30 minutes for unit to stabilize before use).
- Do not leave the unit on or near objects of high temperature.
Distance to spot size
- When take measurement, pay attention to the Distance to Spot Size. As the Distance (D) from the target surface increases, the spot size (S) of the area measured by the unit becomes larger.
The Distance to Spot size of the unit is 12:1(Figure 1).

- Field of view:
Make sure the target is larger than the unit's spot size. The smaller the target the closer measure distance. When accuracy is critical, make sure the target is at least twice as large as the spot size.

EMISSIVITY
Emissivity: Most organic materials and painted or oxidized surfaces have an emissivity of 0.95(preset in the unit). Inaccurate readings will result from measuring shiny or polished metal surfaces. To compensate for this, adjust the units emissivity reading or cover the surface to be measured with masking tape or flat black paint. Measure the tape or painted surface when the tape or painted reach the same temperature as the material underneath.
Operation
Operating the unit: Figure 2

- Open the battery door and insert the battery.
- Pull the trigger to turn on the unit;
- Aim at the target surface and pull the trigger, then temperature will be shown on the LCD.
This unit is equipped with a laser, which is only used for aiming.
Locating a Hot Spot: Figure 3

To find a hot spot, aim the thermometer outside of interest, then scan across with an up and down motion until you locate the hot spot.
LCD display & buttons
LCD display: Figure 4

- data hold icon
- scanning icon
- laser on icon
- back light on icon
- battery power icon
- self-calibration icon
- emissivity icon
- maximum icon
- minimum icon
- measuring unit
- measuring reading
Diagram description: Figure 5

- Trigger: press it to display temperature value with SCAN appears at meantime. Release the trigger and enter into HOLD mode to save the data automatically, and the unit turns off automatically if there is no further operation.
- Switch key between Celsius degree and Fahrenheit degree. This key can also be used for increasing value set.
- Mode switch key: press Mode key to switch modes in turn among MAX→MIN→EMS→CAL→MEASURING INTERFACE
- MAX: measuring maximum temperature
- MIN: measuring minimum temperature
Note: In measuring, hold on the Mode key to switch to Max or Min review. - EMS: under this mode, select the emissivity 0.95 with ℃/℉ key or emissivity 0.8 with laser location key.
- CAL: Under self calibration mode, to calibrate the unit between -5.0℃ and +5.0℃
For example: if the temperature is 26.3℃ and the temperature value measured is 25℃, then and 1.3℃ should be increased as a calibration value, and after calibration press the mode key to return to the measuring mode.
- Laser location key and backlight switch key. Press the 2 keys simultaneously for backlight on/off. This key can also be used as an self calibration value decrease key.
Maintenance
Lens Cleaning
Blow off loose particles using clean compressed air. Gently brush remaining debris away with a moist cotton swab. The swab may be moistened with water.
Case cleaning
Clean the case with a damp sponge/cloth and mild soap.
Note:
- Do not use solvent to clean plastic lens.
- Do not submerge the unit in water.
Specification
| Temperature range | -50~380℃ (-58~716℉) |
| Accuracy | 0~380℃(32~716℉):±1.5℃(±2.7℉) or±1.5% -50~0℃(-58~32℉):±3℃ (±5℉) Whichever is greater |
| Repeatability | 1% of reading or 1℃ |
| Response time | 500 mSec, 95% response |
| Spectral response | 5~14 um |
| Emissivity | 0.95 Preset, 0.8 optional |
| Distance to Spot size | 12:1 |
| Operating Temperature | 0 ~40℃ (32 ~ 104℉) |
| Operating Humidity | 10~95%RH non-condensing, up to 30℃(86℉) |
| Storage Temperature | -20 ~ 60℃ (-4~140℉) |
| Power | 3V (1.5V AAA battery * 2) |
| Typical battery life (Alkaline) | Laser Models: 12 hrs |
Specific Declarations:
Our company shall hold no any responsibility resulting from using output from this product as an direct or indirect evidence.
We reserves the right to modify product design and specification without notice.


Documents / ResourcesDownload manual
Here you can download full pdf version of manual, it may contain additional safety instructions, warranty information, FCC rules, etc.
Advertisement

Need help?
Do you have a question about the WT320 and is the answer not in the manual?
Questions and answers