Table of Contents
Advertisement
Quick Links
Safety and Care Advice
Important - Please read these instructions fully before starting assembly
•
Check you have all the components and
tools listed on the following pages.
•
Remove all fittings from the plastic bags
and separate them in to their groups.
•
Keep children and animals away from the
work area, small parts could choke if
swallowed.
•
Make sure you have enough space to
layout the parts before starting.
•
During assembly do not stand or put
weight on the product, this could cause
damage.
•
Assemble the item as close to its final
position (in the same room) as possible.
•
Assemble on a soft level surface to avoid
damaging the unit or your floor.
•
Parts of the assembly will be easier with 2
people.
Care and maintenance
•
Only clean using a damp cloth and mild detergent, do no use bleach or abrasive cleaners.
•
From time to time check that there are no loose screws on this unit.
Handy Hints
•
Two people will be required to assemble this unit.
•
Assemble all parts and bolts loosely during assembly, only once the product is complete should
you fully tighten the bolts
•
Regularly check and ensure that all bolts and fittings are tightened properly.
•
Have the following tools close at hand.
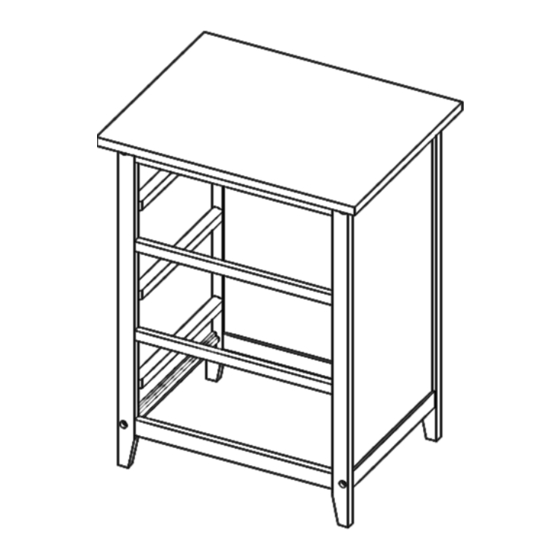
Night Stand with 3 Drawers
•
Make sure that all the objects are
removed before moving the assembled
unit.
•
Do not stand on the product, this could
cause damage.
•
Do not fully tighten nuts and bolts until all
nuts and bolts are partially tightened.
•
Do not over tighten nuts and bolts to avoid
causing damage to the threading.
•
Do not use power tools to assemble your
furniture. Power tools may strip or
damage the parts.
Page 1 of 7
Advertisement
Table of Contents

Related Manuals for Homestead Night Stand with 3 Drawers


Summary of Contents for Homestead Night Stand with 3 Drawers
- Page 1 Night Stand with 3 Drawers Safety and Care Advice Important - Please read these instructions fully before starting assembly • • Check you have all the components and Make sure that all the objects are tools listed on the following pages.
- Page 2 PART LIST: Back Frame Front Frame Qty. 1 Qty. 1 Qty. 1 Side Panel Upper Stretcher Bottom Stretcher Qty. 2 Qty. 2 Qty. 6 Lower Floor Front Drawer Drawer Floor Qty. 1 Qty. 3 Qty. 3 Side Drawer 1 Side Drawer 2 Back Drawer Qty.
- Page 3 HARDWARE LIST: Joint Connector Screw Screw (Short) Screw (Long) Screw (Long) Qty. 8 Qty. 24 Qty. 3 Qty. 3 Allen Wrench Wood Dowel Wood Plug Qty. 6 Qty. 1 Qty. 8 Assembly: Cabinet Step 1 Step 2 HINT: Do not fully tighten screws in this step. Page 3 of 7...
- Page 4 Assembly: Cabinet (Continue) Step 3 Step 4 Step 5 Step 6 Fully tighten all screws at this time. Page 4 of 7...
- Page 5 Assembly: Cabinet (Continue) Step 7 Step 8 Assembly: Drawer Step 1 Step 2 Page 5 of 7...
- Page 6 Assembly: Drawer (Continue) Step 3 Step 4 Assembly: Cabinet and Drawer Step 1 Step 2 Locking the Drawer Page 6 of 7...
- Page 7 Finish Product 110.0 lbs (50.0 kg) Drawer 22.0 lbs (10.0 kg) Drawer 22.0 lbs (10.0 kg) Drawer 22.0 lbs (10.0 kg) Weight Limits: This unit has been designed to support the maximum loads shown. Exceeding these load limits could cause sagging, instability, product collapse, and/or serious injury.
Need help?
Do you have a question about the Night Stand with 3 Drawers and is the answer not in the manual?
Questions and answers