
Subscribe to Our Youtube Channel
Related Manuals for Pyle PLMR51B


Summary of Contents for Pyle PLMR51B
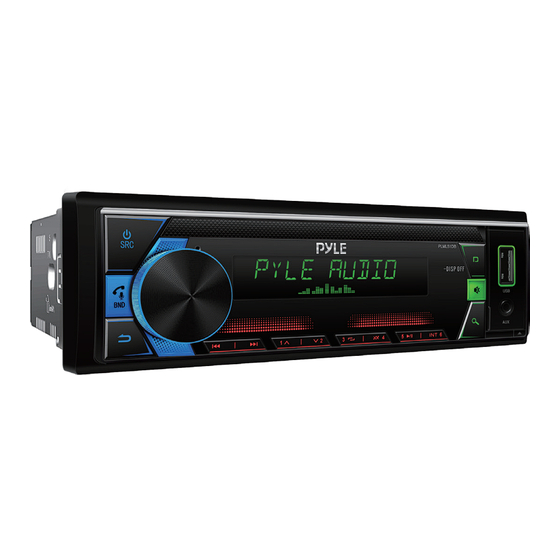
- Page 1 PLMR51B Car MP3 player AM/FM/MP3/USB/AUX Stereo Receiver,Single DIN, 30 Preset Memory Stations,LCD Display with Remote Control(Black)
-
Page 2: Installation
INSTALLATION Preparation The preparation kit is necessary to mount the radio on the dashboard, this kit is available at electronics stores and car audio specialists, check the installation kit before using it to make sure it is the right one for your vehicle. INSTALL THE DEVICE 1. -
Page 3: Wiring Connections
WIRING CONNECTIONS PRECAUTION +12V DC NEGATIVE EARTH EXternal MIC FUSE 15A Power/speaker Connector Rear RCA Output(Left) Rear RCA Output(Right) ANT:RADIO ANTENNA JACK F-L:Front RCA Output(Left) Front RCA Output(Right) Front RCA Output(Left) F-R:Front RCA Output(Right) R-L:Rear RCA Output(Left) R-R:Rear RCA Output(Right) HANDS FREE PUSH TO TALK PUSH-TO-TALK •... -
Page 4: Control Panel Buttons
CONTROL PANEL BUTTONS (Power)/Mode(source) button 2. SEL (select/menu) button and VOL (volume) knob 3. Back to the previous con guration point Pess /Bass enhances the pulse function 4. Short press button display clock in all mode. In USB mode, Short press to select All info/Elapsed time/File info/Track info/clock operation. -
Page 5: Audio Mode
FUNCTION •Press the Volume knob and Rotate to select Audio/Display/Tuner/Clock/Beep/ Animation/Demo mode function. Press the Volume knob again to Select desire function mode. AUDIO MODE •Press the Volume knob and Rotate to select SW Level/Manual EQ/Q factor/Preset EQ/Bass boost/Loudness/Subwoofer set/Fader/Balance/X’Over/DTA Setting/Car type. •Long Pless Volume knob to selet 2 way/3 way X’Over mode. -
Page 6: Language Selection
BALANCE •Press the Volume knob and Rotate to select Balance position. X’OVER •Press the Volume knob and Rotate to select Tweeter/Front HPF/Rear HPF/ Subwoofer LPF. TWEETER •Press the Volume knob and Rotate to select Frequency/Gain left/Gain right. FRONT HPF •Press the Volume knob and Rotate to select Frequency/Gain. REAR HPF •Press the Volume knob and Rotate to select Frequency/Gain. - Page 7 SPECTRUM •Press the Volume knob and Rotate to switch ON/OFF. SPECTRUM •Press the Volume knob and Rotate to switch ON/OFF. ID3 TAG •Press the Volume knob and Rotate to switch ON/OFF. VERSION •Press the Volume button to check software version. TUNER •Press the Volume button to select Local Seek/Mono Set/Regional/RDS Set.
- Page 8 Set the clock (CLK) 1. To display the Time press the CLK button. 2. To set the time, press and hold the CLK button and the time will start ashing. 3. Press the button on the front panel or on the remote control to set the time.
-
Page 9: Radio Operation
GENERAL OPERATION Integrated Microphone For voice reception when making a call using the hands-free system. Auxiliary Input Connector 3.5mm auxiliary input stereo is designed for devices with line output 3.5 mm or hearing aids. Reset System The RESET button is used to reset all factory settings parameters, this function can be used when the LCD screen does not work properly or if the sound is distorted, or when some of the controls are disable. -
Page 10: Usb Operation
Press and hold the desired preset button (numbered 1-6 on the face of the radio) • for more than 2 seconds to save the station to that preset number. To recall a preset station Select the desired band. • Brie y press a preset button (numbered 1-6) to recall the corresponding preset •... - Page 11 EJECT/USB To eject a USB device, press the button to stop playback, then remove the • USB device. Play/Pause Press the (play/pause) button to pause or resume playback Next/Previous Track To play the next track, press the button. • To play the previous track, press the button.
-
Page 12: Auxiliary Input Operation
To begin pairing, enable BT mode on your mobile phone. 2. When the phone nds this ship/car audio system, the “PYLE” name will be displayed. 3. Choose the “PYLE” from the device list to pair and connect with this ship/car audio system. -
Page 13: Remote Control
Answer a Call When the mobile phone is called, the incoming telephone number displays on • the LCD. To receive the call, press the button on the control panel. • Reject a Call or End a Call To reject or end the call, press the button on the control panel. - Page 14 12. RDM (random), preset station 4 button, keypad 4 13. -10 (previous 10 tracks), preset station 5 button, keypad 5 14. +10 (next 10 tracks), preset station 6 button, keypad 6 15. ST (stereo) button, keypad 7 16. LOUD (loudness) button, keypad 8 17.
- Page 16 FCC Statement This device complies with part 15 of the FCC rules. Operation is subject to the following tw o conditions: (1) this device may not cause harmful interference, and (2) this device must a ccept any interference received,including interference that may cause undesired operation.
Need help?
Do you have a question about the PLMR51B and is the answer not in the manual?
Questions and answers