Advertisement
Quick Links
Advertisement

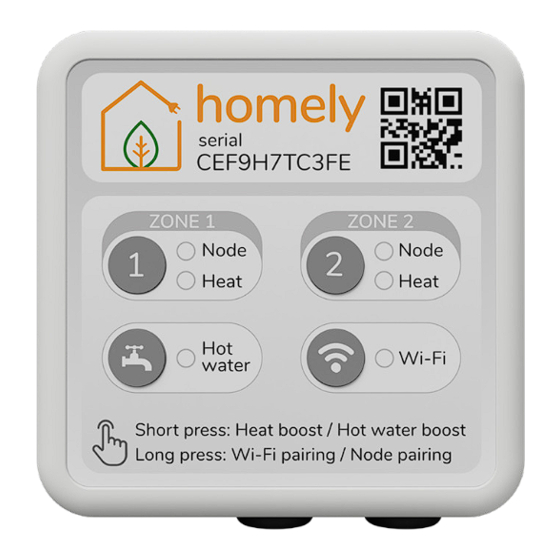
Summary of Contents for Evergreen Homely CEF9H7TC3FE Series
- Page 1 Homely System Installation Manual...
- Page 2 Safety Symbols The following symbols are used in this manual. Hazards or unsafe practices DANGER that may result in electric shock and severe personal injury or death. Hazards or unsafe practices WARNING that may result in severe personal injury or death. Safety Information Before proceeding, ensure that all power supplies in the...
-
Page 3: Table Of Contents
About this Manual Contents Installation Requirements This manual has been developed to make installation of the Homely system a straightforward process. Pre-Installation Checks Follow the steps illustrated in the following pages to ensure that the Homely device is installed safely and correctly. Step 1: Set DIP Switches Scan the QR code below to visit our YouTube channel where you will find further information about Homely, as well as... -
Page 4: Installation Requirements
Installation Requirements Items Supplied Items Required But Not Supplied HOMELY INSTALLER DATA CABLE BELDEN 8723 OR STRANDED CAT-5 RECOMMENDED HOMELY HUB HOMELY NODE Tools Required 2 X CRIMP WIRE PLIERS NODE STICKER FERRULE STRIPPERS MULTIMETER POWER 120-OHM SUPPLY STICKY PAD CRIMP TOOL RESISTOR SCREWDRIVERS... -
Page 5: Pre-Installation Checks
STEP 1: Pre-Installation Checks Set DIP Switches Before starting the Homely installation, ensure that the heat pump has been installed in accordance with the manufacturer’s instructions. Gen 3 Gen 4 Gen 3/Gen 4 Open the outdoor unit and locate the two DIP switches labelled SW1 and SW2. -
Page 6: Step 2: Complete Connections
STEP 2: Complete Connections Mount the Homely Hub indoors and connect it to the outdoor unit with data cable. Belden 8723 or stranded Cat-5 cable are recommended. A single twisted pair must be used. In the outdoor unit, locate terminals A and B. Remove the plastic cover if there is one. -
Page 7: Step 3: Connect The Power Supply
STEP 3: STEP 4: Connect the Power Supply Controller Configuration Power the controller and use the left and right arrows to Connect the power supply to the Homely Hub as shown and navigate to the Menu icon and press OK. plug into a power outlet. - Page 8 Enter the password when prompted to reveal the Installer Navigate to Configuration > Use External Pump and ensure menu. that the entry reads Heat & Cool. Navigate to Configuration > Select Temperature Sensor Press OK to confirm selection. and ensure that the Control Standard entry reads Water as shown below.
-
Page 9: Step 5: System Configuration
STEP 5: Navigate to Room Heating > Heating temp. setting and System Configuration ensure that the entry reads Outlet as show below. Press the back arrow to return to the Installer menu. Download the Homely Installer App and register an account Email Password Log in... -
Page 10: Specifications
Specifications Homely Hub Homely Node Dimensions: Dimensions: 86 x 86 x 25mm 43 x 43 x 14mm Communication protocols: Communication protocols: Proprietary 868MHz Proprietary 868MHz Bluetooth v4.2 WiFi 802.11 b/g/n Power: Internal: CR2450 battery Power: 1.0A Temperature Sensor Accuracy: Internal: 0.4 ºC (max), 10 to 85 ºC Recommended operating conditions: 10 to 35 ºC Humidity Measurement:... - Page 11 – EMC requirements – Part 1: General requirements EN 62368-1:2020 Audio/video, information and communication technology equipment – Part 1: Safety requirements Signed for and on behalf of Evergreen Energy Ltd: Name: Steve Elliott Function: Technical Director Place of issue:...
- Page 12 – EMC requirements – Part 1: General requirements EN 62368-1:2020 Audio/video, information and communication technology equipment – Part 1: Safety requirements Signed for and on behalf of Evergreen Energy Ltd: Name: Steve Elliott Function: Technical Director Place of issue:...
- Page 13 Printed on FSC-certified paper Hub v3 Rev 1.2 March 2023...
Need help?
Do you have a question about the Homely CEF9H7TC3FE Series and is the answer not in the manual?
Questions and answers