Advertisement
Activate Your Device
- Open a web browser and go to: www.linxup.com/getstarted
- Create an account, or log in to your existing account.


Here's your device activation code:

- Follow the instructions for activating your device(s).
Make sure the activation code in this guide matches the code on screen. Or, if your activation code does not show up re-enter it and press continue.
Installing Your Wired Asset Tracker
(See reverse for solar asset tracker installation instructions)
- You have purchased a wired asset tracker device which contains an internal rechargeable battery. This battery may not be fully charged when you first receive it. In order to register and activate this device, please either charge the asset tracker device for a minimum of four hours, or wire the device for installation to an appropriate power source.
Both the AT3 and AT6 asset trackers have a series of wires, but you only need to attach three. (The additional wires are for future functions.) The three wires you need are: the red wire (power), the white wire (ignition), and the black wire (ground).
You have two options when it comes to the installation of your AT3 or AT6 Linxup asset tracker. You can wire the tracker to constant power, enabling continuous 10 minute tracking updates. Or, you can wire the tracker to an ignition, enabling 10 minute updates with the ignition on and once a day updates when the ignition is off. Wiring the device to the ignition will allow you to track usage hours and receive unauthorized use alerts.
Both the AT3 and AT6 asset trackers have a series of wires, but you only need to attach three. (The additional wires are for future functions.) The three wires you need are: the red wire (power), the white wire (ignition), and the black wire (ground).
To wire to constant power:
- If available, obtain the wiring diagram online or from your owner's manual. Find the constant power wire on your equipment. Strip this wire.
- Strip the asset tracker's red and white wires, then connect them to the constant power wire from your equipment and crimp. This connection provides power to the device.
- Strip the asset tracker's black wire and connect it to a grounded source.
- Using screws, zip ties or tape, secure the device to your asset.


To wire to ignition:
- If available, obtain the wiring diagram online or from your owner's manual. Find the ignition wire on your asset. Verify the ignition wire by measuring the operating voltage while the key is in the ON or START position (voltage should read 0VDC when OFF, and typically between 11V and 14V when ON). Strip this wire.
- Strip the asset tracker's red and white wires, then connect them to the ignition wire from your asset and crimp. This connection lets the asset tracker report ignition ON/OFF events.
- Strip the asset tracker's black wire and connect it to a grounded source.
- Using screws, zip ties or tape, secure the device to your asset.
- Confirm the power connection. Following installation, allow 5-10 minutes for the Linxup asset tracker to power up and obtain a cellular and GPS fix. Your asset must be outside and not in a covered area so that it will receive GPS signal. Once you have LED confirmation of power, your installation is complete.
Visit www.linxup.com/ATinstall for a video tutorial of these installation steps
Get to Know the Linxup System
Alerts

Use the Alerts section to review all alerts that occur within defineable dates.

Usage Hours

Track usage hours to get the most out of your equipment, decrease idle times, and create more accurate billing.

Setup

Customize the Linxup system to make it work best for you.

Maintenance

Make equipment maintenance easier with scheduled maintenance reminders.

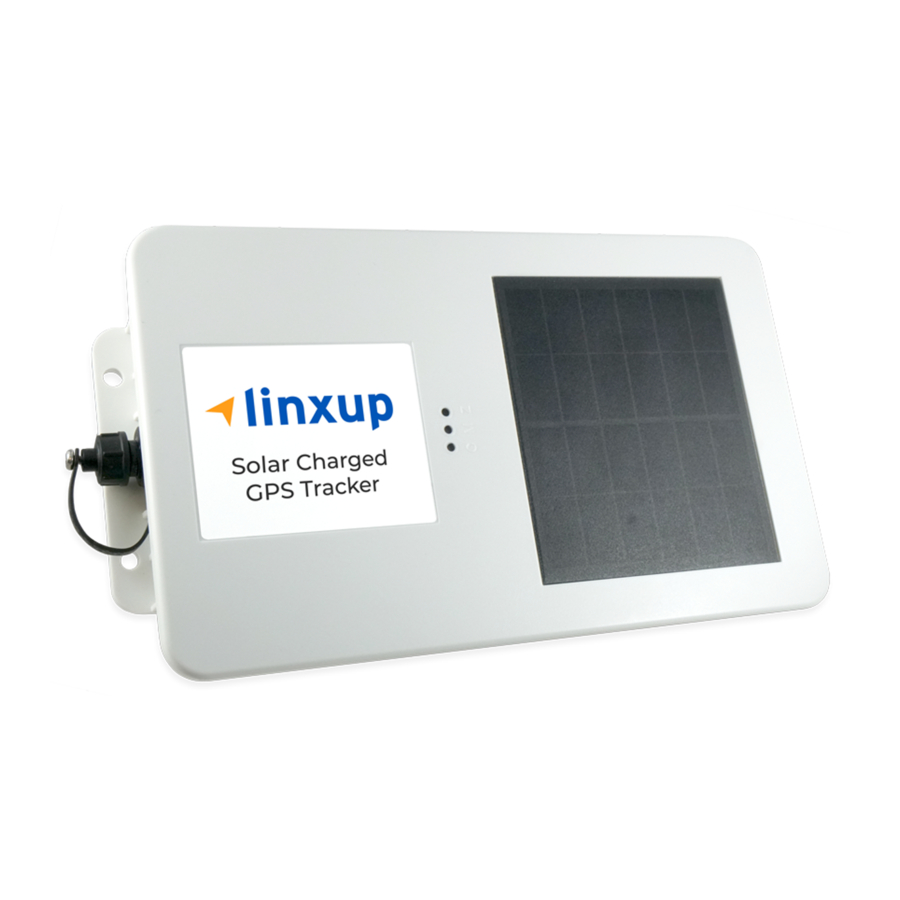
Installing Your Solar Asset Tracker
- Your solar tracker is set to shipping mode to preserve the battery. Before use, hold down the black button on the side until you see a light. TheLinxup solar asset tracker can be attached to your equipment with magnets or by using using 10-24 x 1 sized screws (not included). ATSolar devices should be mounted on a flat surface. Do not over tighten and do not bend the device. Make sure it is installed in a location that has access to sunlight.

Map

Locate your asset at all times, view its history, and manage your geofences.

Download now Linxup Mobile App
Track and monitor your equipment with: Real-time GPS tracking Route Replay Alerts


WE'RE CONFIDENT WE CAN MAKE IT RIGHT!
If you have any questions or problems with your GPS tracker, please give us a call before you make a return.
Linxup Customer Support Phone: 1-877-732-4980
Email: support@linxup.com
How are we doing? We'd love to know.
We hope you will be pleased with your order and the service you receive. We love to hear from customers about features they love, and ways we can continue to improve your experience.
Leave us a review where you made your purchase.
Thank you!
For more valuable information, please like us on Facebook, and follow us on Twitter and LinkedIn. You can also check out our blog at www.linxup.com/blog


Documents / Resources
References
![www.linxup.com]() Equipment/Asset Tracker Installation Video | Linxup GPS
Equipment/Asset Tracker Installation Video | Linxup GPS![www.apple.com]() App Store - Apple
App Store - Apple![play.google.com]() Google Play
Google PlayLinxup GPS Tracker Blog | Fleet Management Resources
Download manual
Here you can download full pdf version of manual, it may contain additional safety instructions, warranty information, FCC rules, etc.
Advertisement


Need help?
Do you have a question about the ATSolar and is the answer not in the manual?
Questions and answers