Advertisement
What's in the Box

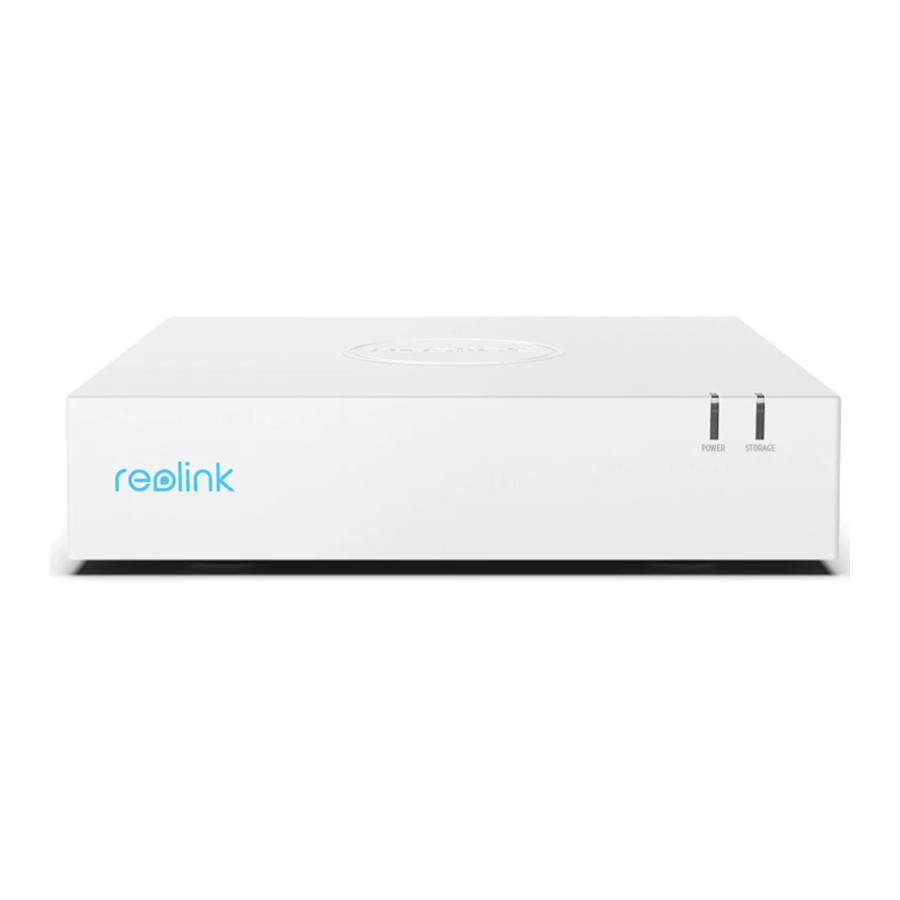
Drive Introduction

Storage LED Indicator Status:
Blinking: Data transmission
Solid on: Storage device is detected
Connection Diagram

Step 1: Connect the Drive to the power outlet. Please use stable power supply to avoid device exception or even damage.
Step 2: Connect the router to the LAN port of the Drive with the Ethernet cable.
Step 3: Insert the Micro SD Card (not included in the package) in the SD card slot.
Step 4: Download and launch the Reolink App and follow the on-screen instructions to finish the initial setup.
- On Smartphone
Scan to download the Reolink App.


Bind the Camera to the Drive
Before you bind the camera to the Drive, please access the camera via the Reolink App and set up the PIR schedule and the sensitivity.
- Tap the Drive and enter the Homepage. Click the "
![]() " icon in the Recording list to go to the Bind Camera interface. Then supported camera will show on the page.
" icon in the Recording list to go to the Bind Camera interface. Then supported camera will show on the page. - Click the Bind icon to bind the camera. Once the binding succeeded, the camera will show in the Recording list. Then future recordings will be uploaded to the Drive if the camera is triggered.


Playback the Recordings in the Drive
If you want to playback the camera's recordings in the Drive, you may refer to the following steps:
- Click the Drive and enter the Homepage. Tap the camera in the Recording list. You will see the Playback interface.
- Choose the date on which you want to search for videos.
- Slide the timeline to quickly locate a specific time. Or you may click on the specific clip to play the video.


Install HDD to the Drive (Optional)
If the Micro SD Card storage doesn't meet your record demand, you may manually install a HDD for the Drive.

Power off the Drive. Loosen the four screws on the bottom of the Drive to remove the cover.
 - Step 1")
Connect the HDD to the SATA connector as well as to the power connector. And fix it with the provided screws.
 - Step 2")
Align the edges and the corners of the outer casing, and make sure the two grooves are fitted. Then close the cover.

Reassemble the Drive with screws.
Troubleshooting
Failed to Access the Drive Locally
If you failed to access the Drive locally via Reolink App, please try the following solutions:
- Check if the Drive is powered on.
- Connect the Drive (LAN port) to your router with a network cable.
- Swap another Ethernet cable or plug the Drive into other ports on the router.
If it still doesn't work, please contact Reolink Support.
Failed to Bind the Camera to the Drive
If you failed to bind the camera to the Drive, please try the following solutions:
- Check if the camera model is supported.
- Check if you can access the camera via the Reolink App on your phone.
- Upgrade the Reolink App on your phone to
If it still doesn't work, please contact Reolink Support.
Specifications
Decoding
Video Format: H.264
Synchronous Playback: 1 channel
Storage
Micro SD Card Slot: Up to 128GB.
SATA: 1 SATA interface for a HDD (Max. 3TB)
General
Power Supply: DC 12V/2A
Power Consumption: <3W (without HDD)
Operating Temperature: -10°C ~ +55°C (14F~131°F), 10%~90%
Size: 215 x 212 x 47.5mm
Weight: 520g (without HDD)

Documents / Resources
References
Download manual
Here you can download full pdf version of manual, it may contain additional safety instructions, warranty information, FCC rules, etc.
Download Reolink Drive - High-Capacity Local Storage for Go PT Manual
Advertisement
Need help?
Do you have a question about the Drive and is the answer not in the manual?
Questions and answers