Advertisement
Quick Links
Advertisement

Subscribe to Our Youtube Channel
Related Manuals for CalMag Duplex

Summary of Contents for CalMag Duplex
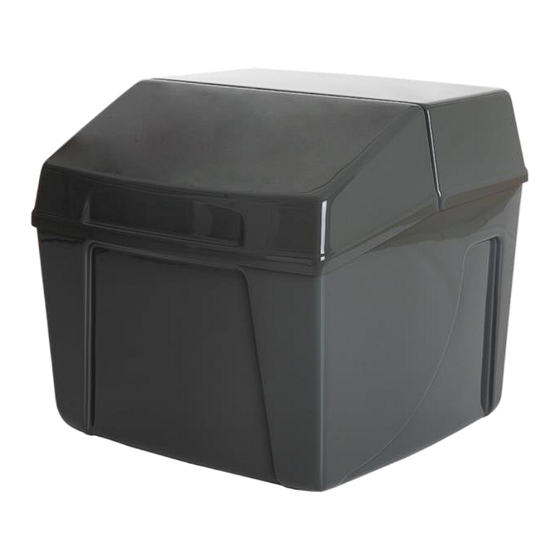
- Page 1 Non-Electric Softeners OPERATING MANUAL...
-
Page 3: Table Of Contents
PARTS ............................ 4 PRECAUTIONS ........................5 INSTALLATION ......................... 6 SETTINGS ........................... 12 START UP ........................... 13 CLEANING .......................... 15 OTHER INFO ........................17... -
Page 4: Parts
1 PART 1 BYPASS 8 BLENDING REGULATOR 2 VALVE HOUSING 9 HARDNESS REGULATOR 3 RESIN TANK 10 TO BRINE VALVE 4 CONTAINER FOR DEVICE AND SALT 11 TO DRAIN 5 BRINE VALVE 12 COMMUNICATION TUBES (float) 6 WATER INLET 13 TUBES TO BRINE VALVE 7 WATER OUTLET... -
Page 5: Precautions
PRECAUTIONS GENERAL SOFTENER Make sure you have the latest The softener has to be installed installation manual at hand. on a flat, stable base. Read this manual carefully. If The softener must be installed you have any questions or indoors, protected from direct remarks, please contact your sunlight. -
Page 6: Installation
INSTALLATION RELEASE THE PRESSURE Close the main valve and make sure the pressure is released from the piping. This can be done by opening at least one tap. CONNECT UNITS Connect the two units by means of the provides Y-pieces. You can find them in the salt compartment. - Page 7 INSTALL BYPASS CONNECT DRAIN Cut open the main water supply in Connect both drain outlets (#12) to a order to install direct connections to local drain (with an air gap, using the the softener or to install the Bypass provided Open Drain Connector, see (recommended).
- Page 8 INSTALL OVERFLOW ELBOW CONNECT DRAIN PIPES TO OPEN DRAIN Make sure to install the supplied CONNECTOR (ODC) overflow tap. You can find the overflow in the salt container. The overflow To connect the flexible drain pipe from needs also to be connected with the the softener (par 3.5) and from the Open Drain Connector (see par.
- Page 9 1. Connection 1 for spirally 2. Connect the spirally reinforced reinforced drain tube drain tube Ø13mm, coming from the Ø13mm. overflow, with the other connection. Push it on as far as possible. This 2. Connection 2 for spirally is only possible if the overflow of reinforced drain tube the salt container is higher than the Ø13mm.
- Page 10 3. If the part with the connections for the tubes is disconnected from the transparent part, snap them back together. Even if the two parts are snapped together, they still can rotate. This means that the orientation of the connections can be adapted. In case the two parts keep disconnecting, you can glue them together.
- Page 11 CHECK BRINE VALVE CHECK BRINE VALVE ASSEMBLY CONNECTION Check if the brine valve is mounted Verify if the brine valve is connected correctly. This brine valve is located in to the softener in the right way. The the provided space in front of the unit. black tube Ø4mm comes from the It must sit all the way at the bottom brine valve, and must be connected...
-
Page 12: Settings
SETTINGS HARDNESS REGULATOR BLENDING REGULATOR: = part number 9 on the illustration = part number 8 on the on page illustration on page 4. Measure the hardness of incoming With the blending regulator, you can water by means of a hardness test determine the outgoing hardness. -
Page 13: Start Up
5 START UP Leave Bypass in “bypass” mode, open main valve and flush for several minutes in order to avoid impurities from entering the softener. When you do not use a Bypass, open the main valve slowly as described in 5.4. 5. - Page 14 7. Place both lids on the container. First the cover fits over the Duplex softener, followed by the other cover which goes on top of the salt compartment. For future salt refills, only the front cover has to be removed.
-
Page 15: Cleaning
CLEANING UNIT (= OUTSIDE) 2. Connect the end of a 50cm part black It is only allowed to clean the unit tubing Ø4mm with the valve. Push it in with a damp cloth. The use of the press fitting as far as possible. Push abrasives, detergents, soaps and / or it in the press fitting as far as possible. - Page 16 stands for refill. (the refilling of the containers with water at the end of the regeneration). 5. Let regeneration perform until it stops automatically. The estimated time is approx. 15 minutes. When regeneration has stopped, no more water flows to the drain. This is a clear indication that the regeneration stage is over.
-
Page 17: Other Info
7 OTHER INFO It is recommended that a water softener is installed by a professional. Although the NE softener is probably the easiest and safest softener on the market, it is imperative that all necessary precautions are taken local legislation is followed. - Page 18 Non-Electric Softeners...
Need help?
Do you have a question about the Duplex and is the answer not in the manual?
Questions and answers