AKO H 260/1, H 261/1, H 260/2 - Heater Technical Data
- Technical data (2 pages)
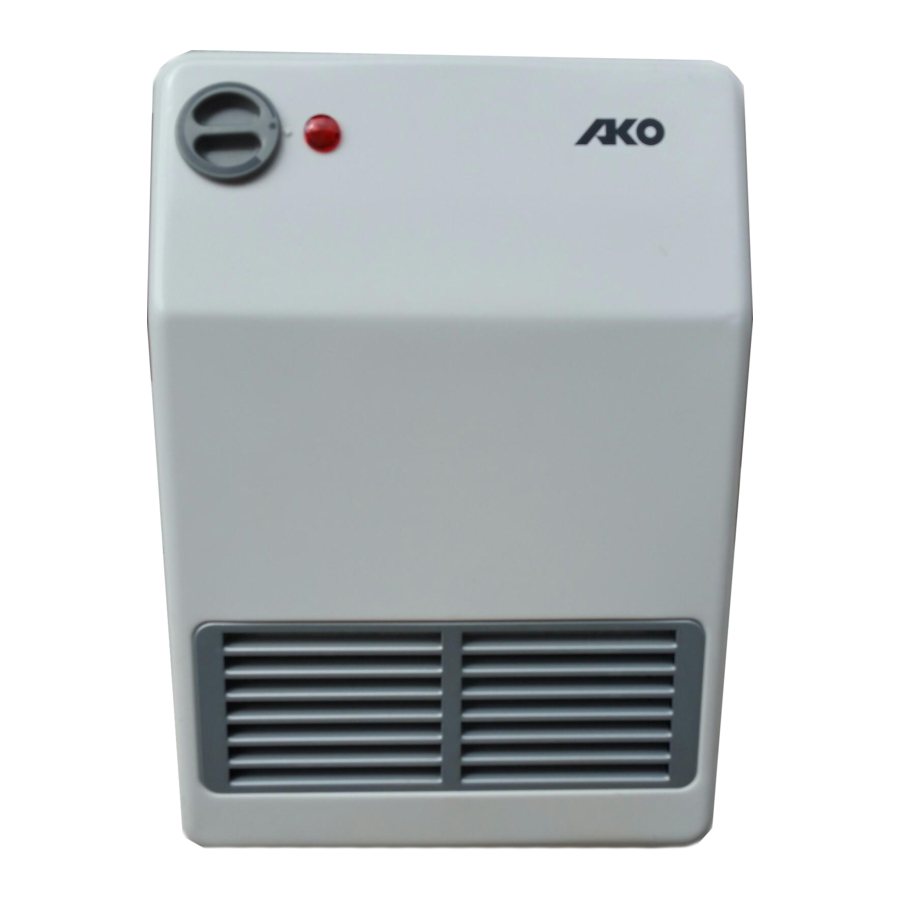
Advertisement
Mounting Instruction
The minimum clearances listed in the installation drawing must be strictly observed.

In addition, a minimum clearance of 350 mm between inflammable objects and the front of the unit must be maintained.
Especially highly inflammable objects such as textiles or heat-sensitive plastics should be kept away from the hot air flow.
The wall bracket is mounted to the wall with 2 screws. The enclosed plastic bag contains screws and dowels.

- Remove the wall bracket from the back of the unit.
- Drill mounting holes for the wall bracket and insert the dowels.
- Align the wall bracket and firmly screw it onto the wall.
- Loosen the locking screws (III) by approx. 5 mm.
- Hang the heating device onto the wall bracket using the slots on the back of the unit (II).
- Retighten the locking screws to secure the unit against coming off inadvertently.
Warnings
Please read these instructions carefully. Keep these instructions in a safe place and pass them on to possible future owners.
- Use device for room heating within enclosed rooms only.
- Repairs and corrective measures may only be carried out by skilled electricians.
- Disconnect the power supply in the event of fault or when device is not used for an extended period of time. Pull out the device plug or switch off the fuse.
- Do not cover the heating device with any objects; fire hazard!
The device carries the symbol shown on the right which indicates that the heating device must under no circumstances be covered with any objects.
![]()
![]()
The outer surfaces of the device are hot during operation.- Do not operate the heating device without supervision when small children can get close to the device.
- Observe the applicable provisions for setting up power installations with nominal voltages of up to 1,000 V when assembling and installing the devices.
- Install the device in such a manner that the controls cannot be touched by a person in the bathtub or under the shower.
- Do not operate the heating device in rooms where highly inflammable substances are used (e.g. solvents, etc.).
- Do not lay the connecting cable across the hot device.
![]()
If the thermostat switches on the connected unit automatically during your absence, there is a potential danger of fire if, for example, the unit is covered or if it is blocked by objects.


Technical Data
Connection voltage: 1/N/PE ~ 230V 50 Hz
Nominal output H 260/1, H 261/1: 2,000 W
Nominal output H 260/2: 1,000 W
Dimensions: (W x H x D) 290 x 410 x 135 mm
H 261/1: Clock timer 0 - 60 minutes
Degree of protection IPX4, protection class I.
Minimum Clearances and Installation
The heater may only be installed and operated in a vertical position on vertical walls.
Do not place the heating device directly below wall sockets. Install the device in such a manner that the controls cannot be touched by a person in the bathtub or under the shower.
The plug must be accessible after installation.
Electrical Connection
The voltage information of the type plate must match the present mains voltage.
Do not operate the heating device via an external switching unit, e.g. via a clock timer. In addition, the heating device must not be connected with a current circuit which is switched on and off regularly. This may result in an unwanted reset of the overheating protection (see also Chapter Protection against Overheating).
If a wall socket must be installed or the connecting lead needs to be replaced, this may only be done by skilled electricians according to the applicable regulations.
Heating Operation

All models
The desired room temperature is set by turning the thermostat knob clockwise. Heating operation is indicated by an indicator lamp.
The lowest position on the thermostat is frost protection  . In this setting, the thermostat switches the heating on at an ambient temperature of approx. 5°C.
Clock timer - model H 261/1
Turn the timer knob in a clockwise direction. Set the desired time period (up to 60 minutes).
During the set time, the unit operates at the nominal output of 2,000 W. The thermostat is not operational.
The set operating time can be interrupted or shortened at any time by turning the timer knob in the counter-clockwise direction.
Upon expiration of the set time period, the unit will automatically switch to a heating output of 1,000 W. The thermostat controls the set room temperature.
When the set time period has expired, a frost protection function is activated. If the room temperature drops below approx. 5°C, the unit will switch on automatically with a heating output of 1,000 W.
Protection against Overheating
For safety reasons, the heater is equipped with an overtemperature protection feature. If the unit exceeds the permissible temperature, it will be switched off automatically. Disconnect the unit from the power supply in such cases for several minutes. Pull the mains plug and let the heating device cool down.
The unit can be restarted after rectifying the fault (e.g. blocked or covered air screen).
Faults
In the event of faults, please contact your electrical retailer. If required, you can also address your queries to the service hotline of Glen Dimplex Germany GmbH.
Tel.: +49 (0) 9221 709-564
Fax: +49 (0) 9221 709 589
To process your order, please state the device type as well as its production number (E No.) and manufacturing date (FD).
This information is listed on the type plate.
Repairs and corrective measures may only be carried out by skilled electricians or your after-sales service.
Cleaning the Device
Switch off the device and let it cool down before cleaning it. Keep the air inlet opening (rear of unit) and the air outlet opening (front of unit) free of dust. Remove dust from the exterior of the unit using a vacuum cleaner.
Clean the outside of the unit using a soft, damp cloth and dry it off. Do not use scouring powder or furniture polish as this may damage the surface.
Warranty
This product is supplied with a two-year warranty according to our terms of guarantee.
Note on Disposal

Do not dispose of the unit with general household waste. The device must be taken to a local waste disposal plant.

Documents / ResourcesDownload manual
Here you can download full pdf version of manual, it may contain additional safety instructions, warranty information, FCC rules, etc.
Download AKO H 260/1, H 261/1, H 260/2 - Heater Technical Data
Advertisement


Need help?
Do you have a question about the H 260/1 and is the answer not in the manual?
Questions and answers