Table of Contents
Advertisement
Advertisement
Table of Contents

Summary of Contents for tylr TYL-HC560C
-
Page 3: Table Of Contents
Table of Contents IMPORTANT SAFETY INSTRUCTIONS ........2 FEATURES AND CONTROLS ..........5 BEFORE FIRST USE ..............9 USING YOUR PORTABLE PARTY SPEAKER ......9 Turning the unit on and off ............9 Turning the LED effect on/off............9 Plugging in a microphone or external device ......10 Controlling playback volume ............. -
Page 4: Important Safety Instructions
IMPORTANT SAFETY INSTRUCTIONS Read carefully before use. It is important that this instruction manual should be retained with the appliance player for future reference. These warnings have been provided in the interest of safety. You must read them carefully before installation or use. •... - Page 5 • DO NOT let the cord hang over the edge of a table or counter or let it come into contact with any hot surfaces. • The use of accessory attachments is not recommended by the appliance manufacturer, apart from those supplied with this product. DO NOT use extension cords with the appliance.
- Page 6 • WARNING! DO NOT expose the appliance to rain or moisture to reduce the risk of electric shock or fire. • WARNING! DO NOT immerse the product in water or any other liquid. SAVE THESE INSTRUCTIONS...
-
Page 7: Features And Controls
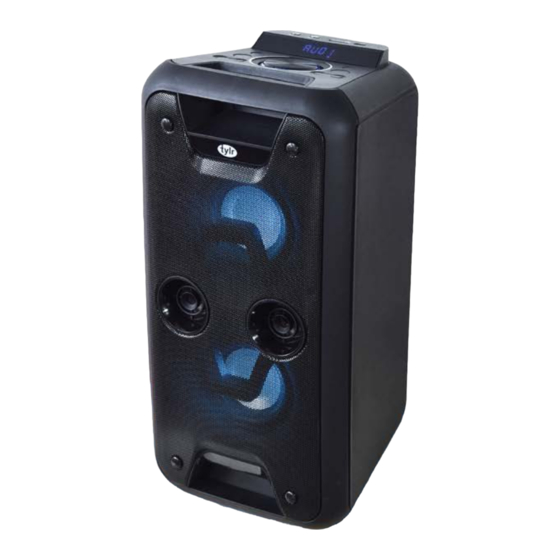
FEATURES AND CONTROLS Control Panel 1. Full frequently speaker 2. Tweeter speakers 3. Full frequency speaker 4. LED light... - Page 8 5. Mic input connectors 6. BASS/LED a. Press to select to cycle through the light mode options, including turning the LED effect off. b. Press and hold to the activate Bass function. 7. Play/Pause/Scan a. Bluetooth mode: Press and hold to enter pairing mode. Bluetooth icon will start blinking on the LCD display.
- Page 9 b. Under FM mode: Press to fine tune using volume control dial. 13. Standby ON/OFF 14. Source - press to select AU/ FM/ BT modes. 15. REC a. Under AU mode: With USB and microphone plugged in, press button to start recording voice with music file. Press again to stop recording. b.
- Page 10 Remote Control 1. Standby ON/OFF 2. Mic volume + 3. Mic volume - 4. Source 5. Echo + 6. Echo - 7. Treble + 8. Treble - 9. Mic Priority 10. Bass + 11. Bass - 12. LED effect 13. Volume +/- 14.
-
Page 11: Before First Use
BEFORE FIRST USE • Remove the product from the box. • Remove any packaging from the products. • Please retain all packaging until you have checked and counted all the parts and the contents against the parts list. • Your appliance is now ready for normal use. USING YOUR PORTABLE PARTY SPEAKER Turning the unit on and off 1. -
Page 12: Plugging In A Microphone Or External Device
1. Press the BASS|LED button on the unit’s control panel (or LED button on the remote control) to cycle through the light mode options, including turning the LED effect off. Plugging in a microphone or external device 1. This unit supports wired connectivity with external devices such as microphones, musical instruments, portable CD and MP3 players. -
Page 13: Controlling Playback Volume For Microphone
Note: The unit’s output volume can be increased or decreased by increments of 1, from 00 to 30. Controlling playback volume for microphone Press the ‘M.VOL+’ button on the remote control to increase the volume of a microphone or external amplification device, or the ‘M.VOL-‘ button to decrease it. -
Page 14: Using Usb
3. Select the speaker name and pair it with your device. You will hear a sound to indicate the speaker has successfully paired with your device. 4. If pairing is unsuccessful, restart both devices and repeat the steps above. 5. Select the audio file you wish to play and press the Play/Pause button on your device, on the remote control or on the unit’s control panel to start playback. -
Page 15: Using An Sd Card
3. When the selected media file is playing, use the media controls on the unit’s control panel, the remote control or the external device (if applicable) to control playback and volume. If using the remote control or the unit’s control panel to control playback, press the Play/Pause button to start or pause playback, the Forward button to skip to the next track on the playlist, or the Back button to go back to the previous track on the playlist. -
Page 16: Using The Fm Radio Function
number buttons on the unit’s remote control panel to jump directly to your desire track. 5. Press the Standby ON/OFF button on the remote control or on the unit’s control panel at any time to return to Standby mode, or press the Source button to choose a different playing mode. -
Page 17: Recording Audio
1. Under AUX/ FM Radio/ BT/USB/ SD playing modes: Press the TREB +/- or BASS +/- buttons on the unit’s remote control to adjust the Treble or Bass levels of the unit’s audio output. Under AUX/ BT/ USB/ SD playing modes: Press SET on the unit’s control panel, select Treble or Bass then use the volume control knob to adjust the level. -
Page 18: Troubleshooting
TROUBLESHOOTING PROBLEM POSSIBLE CAUSE SOLUTION The unit will not Unit not plugged in Plug the unit to an electrical turn on/No power outlet. The LED light LED function turned off Turn on LED function on the unit effect is not or on the remote control. - Page 19 Microphone not turned Turn the microphone on by flicking the On/Off switch on the handle to the On position...
Need help?
Do you have a question about the TYL-HC560C and is the answer not in the manual?
Questions and answers