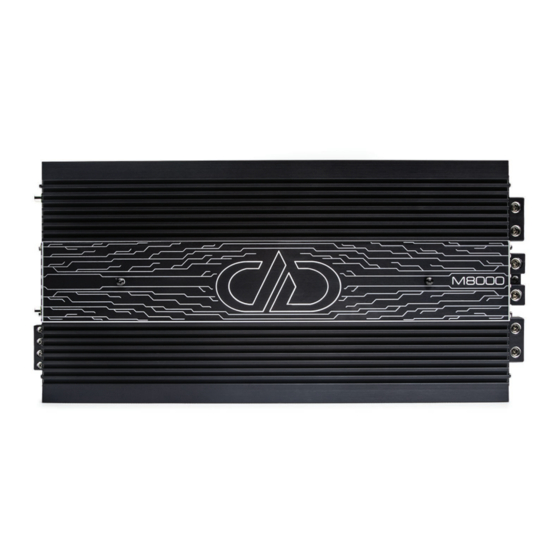
Summary of Contents for Daudio M8000
- Page 1 VANITY PLATE INSTALL INSTRUCTIONS M8000, M5000, M2500, Z12000 (2023 VERSIONS) 4025 NW 36th St., Oklahoma City, OK 73112 • (405) 239-2800 DDAUDIO.COM...
-
Page 2: Tools Needed
VANITY PLATE INSTALL INSTRUCTIONS M8000, M5000, M2500, Z12000 (2023 VERSIONS) INCLUDED IN KIT: • Power Terminal PCB • Input Signal PCB • (2) Wire Harnesses • (2) M4 Screws TOOLS NEEDED: • Phillips screwdriver • 7/16 Wrench or Socket • 2.5mm Allen Wrench •... - Page 3 VANITY PLATE INSTALL INSTRUCTIONS M8000, M5000, M2500, Z12000 (2023 VERSIONS) LED VANITY PLATE KIT INSTALLATION: BEFORE END PLATE REMOVAL 1. Remove all socket cap hex screws from the power terminal side of the amplifier and remove the end plate. 2. Place the power terminal side PCB against the heatsink with the “TO...
- Page 4 VANITY PLATE INSTALL INSTRUCTIONS M8000, M5000, M2500, Z12000 (2023 VERSIONS) BEFORE END PLATE REMOVAL 3. Remove the socket cap hex screws and 7/16 RCA nuts from the signal input side of the amplifier and remove the end plate. 4. Place the input signal side PCB against the heatsink with the “TO...
- Page 5 VANITY PLATE INSTALL INSTRUCTIONS M8000, M5000, M2500, Z12000 (2023 VERSIONS) 5. Flip the amp upside down, remove the phillips head screws securing the back plate. Carefully remove the back plate and disconnect the fan plug from the main internal pcb.
- Page 6 VANITY PLATE INSTALL INSTRUCTIONS M8000, M5000, M2500, Z12000 (2023 VERSIONS) TO LED PCB 7. Using a provided wire harness, connect the power terminal pcb to the signal input pcb using the “TO LED PCB” plugs. 8. Using a couple small zip ties, tidy up the extra wire by routing them to the sides of the amplifier.
- Page 7 VANITY PLATE INSTALL INSTRUCTIONS M8000, M5000, M2500, Z12000 (2023 VERSIONS) 9. Flip the amplifier over so that the logo is facing upward. Remove the two flathead screws from the top of the heatsink using a 2.5mm Allen wrench. Wipe or blow away any dust or debris...
- Page 8 VANITY PLATE INSTALL INSTRUCTIONS M8000, M5000, M2500, Z12000 (2023 VERSIONS) LED VANITY PLATE KIT OPERATION: 1. Navigate to your phone’s app store and download the LED Hue app. GOOGLE PLAY STORE APPLE APP STORE 2. Once installed, open the LED Hue app.
- Page 9 VANITY PLATE INSTALL INSTRUCTIONS M8000, M5000, M2500, Z12000 (2023 VERSIONS) 4.2 Press and hold on the SP110E device briefly and select the ‘Rename’ button that pops up. Rename SP110E to a device name that makes sense for your application, e.g. M8000, M5000, M2500.
- Page 10 VANITY PLATE INSTALL INSTRUCTIONS M8000, M5000, M2500, Z12000 (2023 VERSIONS) 5. The LED Vanity Kit is now set up and ready to use. For more information on how to achieve a desired look, tap the tabbed sheet icon in the top right corner of the control screen of the LED Hue app.


Need help?
Do you have a question about the M8000 and is the answer not in the manual?
Questions and answers