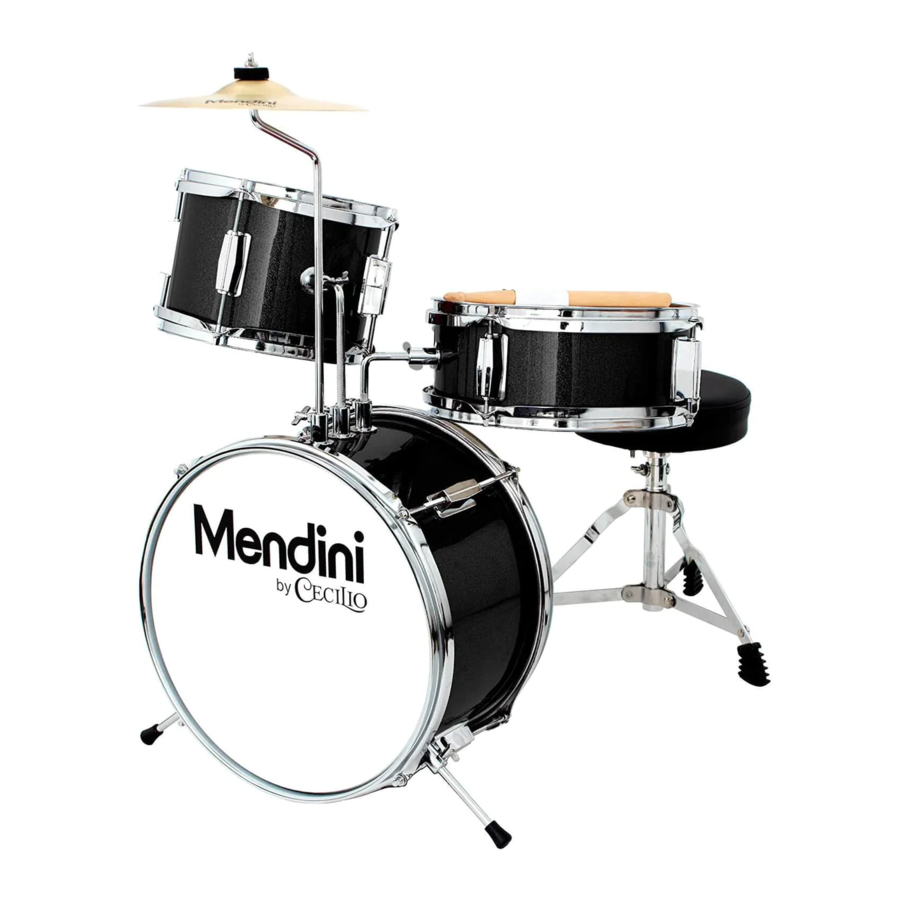
Mendini 3-Piece Junior Drum Kit Assembly Manual
Also See for 3-Piece Junior Drum Kit:
- Assembly instruction (2 pages)
Advertisement
Table of Contents
Mendini 3-Piece Junior Drum Kit Assembly Manual
Assembly

Bass Drum:
- Lay the Bass Drum Shell
![]() on a flat surface (preferably carpeted) with the front side up. You can identify the front side by the location of the Bass Drum spur mount
on a flat surface (preferably carpeted) with the front side up. You can identify the front side by the location of the Bass Drum spur mount ![]() . The spur mounts are closer to the front side of the bass drum (furthest from the playing position).
. The spur mounts are closer to the front side of the bass drum (furthest from the playing position). - The logo drumhead should be fitted to the front of the bass drum and centered with the tom and cymbal mounts that are on the top of the shell.
- Place the drumhead
![]() (same diameter as the drum) directly on the top of the drum shell followed by the rim. Make note to use the rim that does not have the bass drum pedal mount tab
(same diameter as the drum) directly on the top of the drum shell followed by the rim. Make note to use the rim that does not have the bass drum pedal mount tab ![]() . Align the holes on the rim with the lugs.
. Align the holes on the rim with the lugs. - Slip a washer on each tension rods
![]() and insert the tension rods through the holes in the rim.
and insert the tension rods through the holes in the rim. - Tighten the screws into the lugs using your fingers two at a time (opposite each other, just enough so the hoops are secure and there are no wrinkles are in the head.
- Now, use the drum key
![]() to tighten the tension bolts in equal amounts (1/4 turn each for example) until pitch and tone of the drum begin to sound. The tension bolts should be tightened in a star formation the same as when you change a wheel in a car (tighten the first bolt, then opposite bolt, etc).
to tighten the tension bolts in equal amounts (1/4 turn each for example) until pitch and tone of the drum begin to sound. The tension bolts should be tightened in a star formation the same as when you change a wheel in a car (tighten the first bolt, then opposite bolt, etc). - Repeat this process on the back of bass drum. Remember, the back (player's side) rim has the bass drum pedal mount tab. This tab must be on the bottom of the drum.
- Insert the drum spurs
![]() into the spur mounts and secure. Sit the drum upright and adjust the height so that the front of the Bass Drum is elevated ½ to 1 inch off the floor. Be sure that the bass drum spurs are secured and even.
into the spur mounts and secure. Sit the drum upright and adjust the height so that the front of the Bass Drum is elevated ½ to 1 inch off the floor. Be sure that the bass drum spurs are secured and even. - To attach the bass drum pedal
![]() , place the pedal base under the tab on the player's side bass drum hoop. Align the holes and insert the small key screw
, place the pedal base under the tab on the player's side bass drum hoop. Align the holes and insert the small key screw ![]() into the hole. Tighten so that it is firmly attached to the tab.
into the hole. Tighten so that it is firmly attached to the tab. - Insert the felt bass drum beater
![]() and adjust so that the beater strikes just below the center of the bass drum head
and adjust so that the beater strikes just below the center of the bass drum head ![]() . Tighten with the drum key.
. Tighten with the drum key.
 on a flat surface (preferably carpeted) with the front side up. You can identify the front side by the location of the Bass Drum spur mount
  . The spur mounts are closer to the front side of the bass drum (furthest from the playing position).
 (same diameter as the drum) directly on the top of the drum shell followed by the rim. Make note to use the rim that does not have the bass drum pedal mount tab
  . Align the holes on the rim with the lugs.
 and insert the tension rods through the holes in the rim.
 to tighten the tension bolts in equal amounts (1/4 turn each for example) until pitch and tone of the drum begin to sound. The tension bolts should be tightened in a star formation the same as when you change a wheel in a car (tighten the first bolt, then opposite bolt, etc).
 into the spur mounts and secure. Sit the drum upright and adjust the height so that the front of the Bass Drum is elevated ½ to 1 inch off the floor. Be sure that the bass drum spurs are secured and even.
 , place the pedal base under the tab on the player's side bass drum hoop. Align the holes and insert the small key screw
  into the hole. Tighten so that it is firmly attached to the tab.
 and adjust so that the beater strikes just below the center of the bass drum head
  . Tighten with the drum key.
Tom Mounting:
- Place the longer end of one of the L-Arms
![]() into the center mount
into the center mount ![]() on the bass drum – this will adjust the height.
on the bass drum – this will adjust the height. - Slide the shorter end into the mount on the tom
![]() . Secure when in place.
. Secure when in place.
 into the center mount
  on the bass drum – this will adjust the height.
 . Secure when in place.
Snare Drum Mounting:
- Place the shorter end of the second L-Arm
![]() into the mount
into the mount ![]() closest to the player on the bass drum – this will adjust the height.
closest to the player on the bass drum – this will adjust the height. - Slide the longer end into the mount on the snare
![]() . Secure when in place.
. Secure when in place.
 into the mount
  closest to the player on the bass drum – this will adjust the height.
 . Secure when in place.
Cymbal Mounting:
- Locate the cymbal arm
![]() . Insert into the cymbal mount
. Insert into the cymbal mount ![]() on the bass drum with the threaded section furthest from the player and secure. Unscrew cymbal topper
on the bass drum with the threaded section furthest from the player and secure. Unscrew cymbal topper ![]() and one felt.
and one felt. - Place the cymbal
![]() on the stand with one felt below the cymbal. Replace the top felt and cymbal topper. Please note that the topper does not need to be screwed down tight on the felt and cymbal. The cymbal should be free to move during play. Its main operation is to prevent the cymbal from falling off the stand when struck.
on the stand with one felt below the cymbal. Replace the top felt and cymbal topper. Please note that the topper does not need to be screwed down tight on the felt and cymbal. The cymbal should be free to move during play. Its main operation is to prevent the cymbal from falling off the stand when struck.
 . Insert into the cymbal mount
  on the bass drum with the threaded section furthest from the player and secure. Unscrew cymbal topper
  and one felt.
 on the stand with one felt below the cymbal. Replace the top felt and cymbal topper. Please note that the topper does not need to be screwed down tight on the felt and cymbal. The cymbal should be free to move during play. Its main operation is to prevent the cymbal from falling off the stand when struck.
Drum Throne, AKA Stool:
- Open the drum throne base
![]() so that the three legs are extended fully. Insert the seat post into the block underneath the throne top
so that the three legs are extended fully. Insert the seat post into the block underneath the throne top ![]() and secure. Adjust sitting height and secure.
and secure. Adjust sitting height and secure. - Once seated, you can now bring the set together and fully adjust any heights and angles of the drums, cymbal and stands to your liking. Feel free to experiment. Enjoy!
 so that the three legs are extended fully. Insert the seat post into the block underneath the throne top
  and secure. Adjust sitting height and secure.
Documents / ResourcesDownload manual
Here you can download full pdf version of manual, it may contain additional safety instructions, warranty information, FCC rules, etc.
Advertisement


Need help?
Do you have a question about the 3-Piece Junior Drum Kit and is the answer not in the manual?
Questions and answers