Advertisement
Quick Links
Advertisement

Summary of Contents for Bikefinder Gen2 tracker
- Page 1 User Manual BikeFinder Gen2 tracker...
- Page 2 BikeFinder Gen2 tracker User Manual...
-
Page 3: Technical Specifications
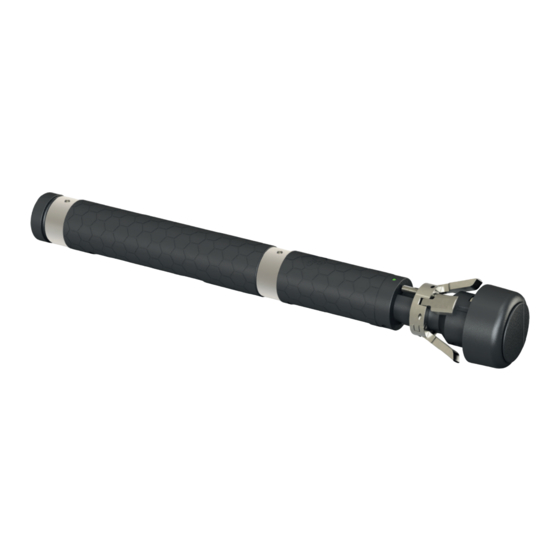
About This manual describes the proper use of the BikeFinder Gen2 tracker and its accessories. Make sure to read this user manual before installation and activation of the tracker. Ensure that all warnings are read and understood before use. Technical specifi cations... - Page 4 22 mm 145 mm 11,2 mm Note: This device is only intended to be mounted in the handlebar of a bike. The tracker requires a BikeFinder subscription to function. Contact Contact global customer service via the app or email us at...
- Page 5 (below -20°C or higher than 45°C). Keep away from medical electronic equipment. For full terms and conditions: www.bikefi nder.com/terms BikeFinder privacy policy: www.bikefi nder.com/privacy More information and video instructions: www.bikefi nder.com/manual Getting started information:...
-
Page 6: Installation Steps
Installation Steps Connect the battery module to the tracker module Align the tracker and battery module as shown in the picture on the right. Push the two modules together until a click sound is heard. The battery module must be connected to the tracker module for the tracker to take charge and for the tracker to work. - Page 7 picture a picture b picture c...
-
Page 8: Download The App
Remove the front cover, then connect the charging cable to tracker, the tactile marker on the charging cable head should point towards the BikeFinder logo on the tracker as shown in the picture. Tip: Charge the battery for a minimum of 2 hours regardless of battery level indication. - Page 9 Charging socket...
- Page 10 Activation of the tracker To activate your BikeFinder tracker, you must do the following steps: Make sure Bluetooth is activated on your phone. Open the app. Click the + sign in the top right corner of the app. Select your tracker from the list of trackers nearby.
- Page 11 Inactive subscription Active subscription 11 11...
- Page 12 Plug in the front cover Plug in the front cover during normal use. Your BikeFinder tracker is now installed and ready to use. For more information on how to use the tracker go to: www.bikefi nder.com/getting-started Warning! Do not cover this area with metal. Signal strength will be aff ected.
- Page 13 Expansion mechanism adapter Silicone spacer...
- Page 14 FCC WARNING STATEMENT Warning! Changes or modifications not expressly approved by the party responsible for compliance could void the user´s authority to operate the equipment. This device complies with Part 15 of the FCC Rules. Operation is subject to the following two conditions: (1) this device may not cause harmful interference, and (2) this device must accept any interference received, including interference that may cause undesired operation.
- Page 15 Google Play and the Google Play logo are trademarks of Google Inc. The Bluetooth word, mark and logos are registered trademarks owned by the Bluetooth SIG. Inc. and any use of such mark by BikeFinder AS is under license.
- Page 16 Box Content Tracker module Battery module Screwdriver tool Pincher tool Charging cable Adapter set User manual Manufacturer BikeFinder AS Postbox 4004, 4092 Stavanger Norway Wi-Fi LTE NB-IoT BFG2 LTE Cat-M1 2ATRU-BFG2 650 mAh www.bikefi nder.com/manual...


Need help?
Do you have a question about the Gen2 tracker and is the answer not in the manual?
Questions and answers