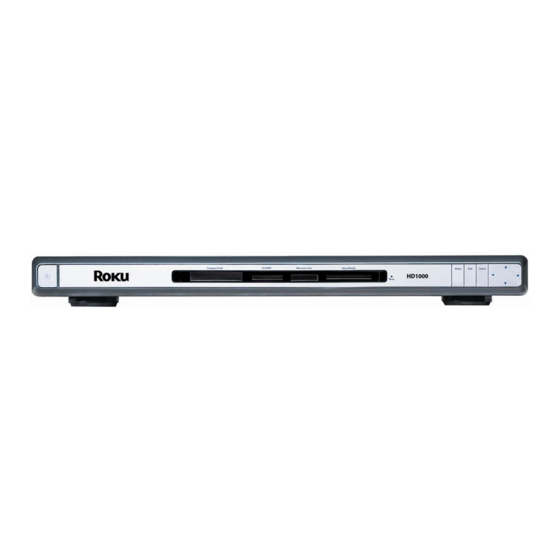
Roku HD1000 Installation And Use Manual
Hide thumbs
Also See for HD1000:
- User manual (35 pages) ,
- Manual (18 pages) ,
- Supplementary manual (17 pages)
Subscribe to Our Youtube Channel
Summary of Contents for Roku HD1000
- Page 1 Installation and use of the Copy utility For the Roku HD1000 Revision 1.0 | January 16, 2004...
- Page 2 When the flash card is inserted or the shared folder is mounted and the corresponding Media Source icon is highlighted in the Main Menu, you will see the Copy utility appear in the “Roku Applications” section of the Main Menu: 2 of 6 ©...
- Page 3 2. Click the “Set Source…” button. You will see the following dialog: If the share was already connected to your HD1000, you may need to re-scan it for the Copy utility to show up. Just highlight the corresponding icon on the left of the Main Menu, and then press the Select button on the remote.
- Page 4 16. Either highlight the Exit button and press Select, or press the Exit or Menu key on the remote to exit the Copy utility and return to the Main Menu. 4 of 6 © 2003 Roku, LLC. All rights reserved. ROKU and the ROKU logo are trademarks of Roku, LLC in the United States and other countries.
- Page 5 18. From now on, you can simply navigate to the Built-in Media Source to run the Copy utility. 19. [Note: It’s not necessary to copy the “copy.roku.png” file to the Built-in storage, since that file was pre-installed.] Using the Copy utility to copy a folder The section above describes using the copy utility to copy a single file.
- Page 6 The file being copied at the time that you cancel will be removed, but any files that have been completely copied will remain in the destination. 6 of 6 © 2003 Roku, LLC. All rights reserved. ROKU and the ROKU logo are trademarks of Roku, LLC in the United States and other countries.


Need help?
Do you have a question about the HD1000 and is the answer not in the manual?
Questions and answers