
Summary of Contents for tedee GO TLV2.0
- Page 1 INSTALLATION GUIDE AND USER MANUAL Read installation guide and user manual. Learn how to use your device in a safe and proper manner.
-
Page 2: Table Of Contents
2: INSTALL TEDEE GO step 3: REMOVE BATTERY PROTECTIVE TABS step 4: DOWNLOAD THE TEDEE APP, CREATE A NEW ACCOUNT AND LOG IN step 5: USE THE TEDEE APP TO ACTIVATE AND CALIBRATE YOUR TEDEE GO LOCK DEINSTALLATION OF TEDEE GO BATTERY REPLACEMENT... -
Page 3: Quick Start With Tedee Go
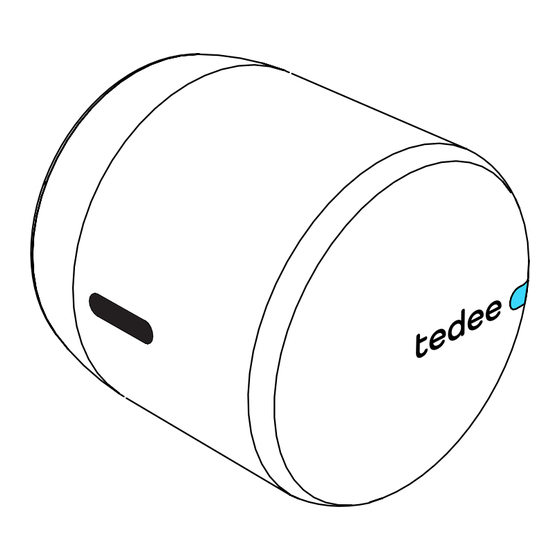
QUICK START WITH TEDEE GO Tedee GO is a smart door lock that can be fitted to any euro-profile cylinder, with a double-clutch (panic function) feature. Tedee GO allows you to unlock the door, share access, and check all activities remotely. -
Page 4: Safety Information
• Use only the batteries provided or recommended by Tedee. • Read the installation guide and learn how to start working with your lock, how to add it to your Tedee app and how to pair it with other Tedee devices. You can also follow the link: https://tedee.com/support-3/manuals/ MOVING PARTS •... - Page 5 • Do not put batteries in the mouth and do not swallow them. If swallowed, contact your local medical help immediately. • Neither Tedee Sp. z o.o. nor our retailers assume any liability for failures to comply with these warnings and safety guidelines.
- Page 6 • Do use only one type of batteries when replacing batteries in the device (do not mix). • Do replace batteries with the size and type specified in this manual. Always replace all batteries in Tedee GO at the same time.
-
Page 7: Set Of Items - What's In The Box
SET OF ITEMS – WHAT’S IN THE BOX? Key bow hole The button Adapter (for fixing with an adhesive tape) Mounting screws (2A, 2B, 2C) Latch button Allen key size 2 (press to slide off the cover) 3x CR123 batteries Cleansing wipe pad www.tedee.com... -
Page 8: Activation Code
While adding your device to Tedee app you can either: • scan the QR Code • type in AC manually (14 characters) HELPFUL TIP Before fitting the Tedee lock to the cylinder, take a photo of your activation code and keep it. www.tedee.com... -
Page 9: Setup - 5 Easy Installation Steps
ATTENTION: If your lock cylinder extends less than 3mm beyond the rosette/escutcheon, as shown in the picture below, follow the steps for fitting the adapter shown on the next page of the manual. If your cylinder extends 3mm or more beyond the outline of the door, go straight to STEP 2: INSTALL TEDEE GO. ADAPTER NEEDED... - Page 10 1 minute. You can now insert the key into the cylinder. 1 min Note: Make sure you install the adapter in a room with a temperature above 15 degrees Celcius. www.tedee.com...
-
Page 11: Step 2: Install Tedee Go
STEP 2: INSTALL TEDEE GO Position the key horizontally and make sure that the housing latch button faces upwards (vertically), as shown below. 90° Slide Tedee GO lock onto the cylinder until you feel resistance. WITH THE ADAPTER WITHOUT THE ADAPTER... - Page 12 While continuously pushing the Tedee GO lock firmly against the door, use the provided allen key, to fix all three mounting screws (A, B, C), starting from the top (A), in the order shown below, until you encounter a firm resistance.
- Page 13 The RED-GREEN-BLUE-WHITE sequence confirms that your Tedee GO is ready. Slide the cover back onto the housing, holding down the latch button until it clicks into place. You can now add and calibrate your Tedee GO lock in the Tedee app. www.tedee.com...
- Page 14 STEP 4: DOWNLOAD THE TEDEE APP, CREATE A NEW ACCOUNT, AND LOG IN skip this step if you already have an account Download Tedee application. Create an account or log in to an existing account. Create account The registration page will open...
- Page 15 STEP 5: USE TEDEE APP TO ACTIVATE AND CALIBRATE YOUR TEDEE LOCK Enable Internet connection, Bluetooth®, and Log into the Tedee application and select the ‘ADD location services (optional) on your smartphone. NEW DEVICE’ option from the menu. select INTERNET Bluetooth®...
-
Page 16: Deinstallation Of Tedee Go
DEINSTALLATION OF TEDEE LOCK WITH THE ADAPTER WITHOUT THE ADAPTER Rotate the allen key clockwise for all three clamping screws Rotate the allen key counter-clockwise for all three clamping (A, B and C). screws (A, B and C). www.tedee.com... - Page 17 Pull the lock off. Heat the adapter with a hair dryer for 10-15 minutes and try to remove it with a flathead screwdriver. If unsuccessful, repeat the process until the adapter is removed. www.tedee.com...
-
Page 18: Battery Replacement
Do not mix batteries with rechargeable batteries 2) If replacing batteries with rechargeable batteries or vice versa, update the current power type in the Tedee app (Device / Settings / Battery) 3) Use 3V batteries or 3.7 V rechargable batteries only! Slide the cover back onto the housing, holding the latch button down until it clicks into place. -
Page 19: Factory Reset
• Release the button immediately after the LED turns RED. • After releasing the button, Tedee lock will confirm the factory reset with three quick red flashes. • Wait until the lock restarts (it may take up to one minute). -
Page 20: Additional And Technical Information
TLV2.0 Dimensions fi 58mm x 65mm Operating 10-40°C Security TLS 1.3 temperature (indoor only) Operating Can be paired Tedee bridge maximum 65% humidity with Tedee keypad Euro-profile Recommended: Can be cylinders, equipped Origin Poland, EU GERDA SLR installed on... -
Page 21: Radio Frequency
Tedee bridge which is connected to the Internet via local Wi-Fi network. If the lock is not connected to the Tedee bridge, you may update the software manually using Tedee application: device settings / general / firmware version. -
Page 22: Led Signals
LED flashes after successfull initialization of the Red - Blue - Green - Flashing Ready device. It confirms that your Tedee lock is ready to White (sequential) use. Green LED is turned ON while unlocking (OFF if the Unlocking... - Page 23 / unlocking Low battery 3 flashes x 3 times operation. Your Tedee GO requires battery replacement/charging. LED flashes fast after pressing and holding the button for at least 1 second (and no longer than 5...
-
Page 24: Legal / Environmental Notes
Tedee limited hardware warranty - Tedee Sp. z o. o. warrants that Tedee devices are free from hardware defects in materials and workmanship for the period of not less than 2 years from the date of the first retail purchase. Tedee Sp. z o. o. does not take... -
Page 25: Technical Support
TECHNICAL SUPPORT (+48) 22 307 72 67 support@tedee.com www.tedee.com/support 8.00 - 16.00 (CET) Tedee Sp. z o. o. Karola Bohdanowicza 21/57 02-127 Warszawa Poland www.tedee.com...
Need help?
Do you have a question about the GO TLV2.0 and is the answer not in the manual?
Questions and answers