Advertisement
Quick Links
Advertisement

Summary of Contents for ABBA TSP300
- Page 1 TSP300 INSTALLATION GUIDE www.ABBALightingUSA.com...
- Page 2 RATED VOLTAGE 12V Congratulations on your purchase of this high-quality product! We want to ensure that you have the best possible experience with it, so we kindly ask that you take a moment to carefully read and follow all instructions before assembly, installation, and use.
-
Page 3: Warranty
To maintain optimal performance and safety, it is strongly advised against using an extension cord with this device. It is recommended to directly connect the device to a properly grounded power outlet. Using an extension cord may introduce electrical inefficiencies, increase the risk of overheating, or compromise the device's functionality. - Page 4 To ensure proper installation of the transformer, it is essential to position it at a level where the controls are readily visible easily accessible. This ensures convenient operation and maintenance of the transformer. When selecting the installation location, carefully consider factors such as line of sight and ergonomic accessibility.
- Page 5 Obtain appropriate screw that are compatible with the wall material and the transformer's mounting hole. Generally, wall anchor may be necessary for mounting on drywall or other fragile surfaces. If unsure, consult a hardware store or professional for suitable mounting hardware. Using a suitable screwdriver or drill, carefully insert the screw through the mounting holes of the transformer and into the marked spots on the wall.
- Page 6 To prepare the landscape wire for connection, follow these simple steps: Strip 1/2 inch of insulation from both wires. Twist the exposed ends of the wires together tightly. To connect the wires to the transformer, please carefully follow these step-by-step instructions: Carefully position the wires underneath each terminal plate and proceed to secure them firmly by tightening the screws.
- Page 7 RUN THE LANDSCAPE WIRE (SOLD SEPARATELY) To ensure proper installation of the landscape wire, please follow these guidelines: When running the landscape wire, make sure it extends directly from the transformer to each light without any cuts or interruptions. This uncut wire connection helps maintain a consistent and reliable electrical flow throughout the lighting system.
- Page 8 POWER UP THE TRANSFORMER To test the fixtures and change the mode to "ON," please follow these instructions: Take the plug of the transformer and insert it into the GFCI plug. Make sure it is fully inserted and securely connected. Once the transformer is plugged into the GFCI plug, you can proceed with testing the fixtures.
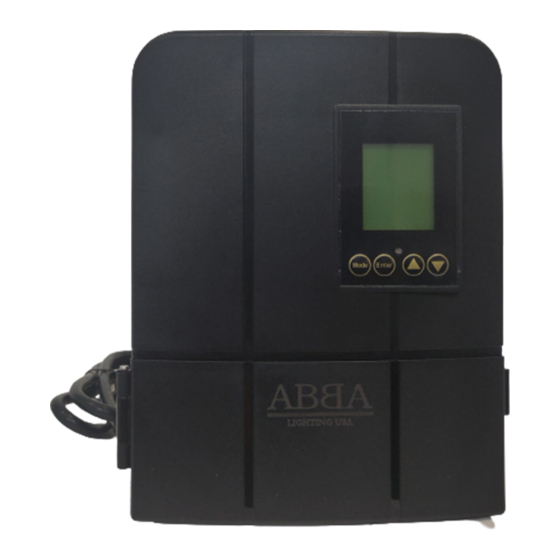
- Page 9 Zone Location (Sunwise) Transformer interface, controls and modes installation types Load Icon Press to confirm a selection. ENTER Press to modify or change a mode. Press it to exit any MODE settings without saving. START Press these to select and go through the interface. END Timer DAWN Icon Press at the same time to change time and date.
-
Page 10: Troubleshooting
7. How to setup the transformer for your lighting system 7.1 Current time & date setting This step is needed for the lighting modes Auto, Timer and Sunwise to work properly or else they won't open/close at the right time. 1. -
Page 11: Maintenance
The lights are not turning on after selecting Timer or Sunwise mode. • Timer and Sunwise mode only open up at their exact start time setting (Start for timer and dusk for Sunwise). Ex: if it is 8 PM at your location and you set the start time to 7 PM, the channel won’t turn on until 7 PM the next day.


Need help?
Do you have a question about the TSP300 and is the answer not in the manual?
Questions and answers