Table of Contents
Advertisement
Quick Links
lifesmart
is a registered trademark of
®
Supply Chain Sources LLC., All Rights Reserved.
ATTACH YOUR RECEIPT HERE
Purchase Date ____________Serial Number (
Questions, problems, missing parts? Contact technical support department at
657-341-0362, 9:00 a.m. - 5 p.m., PST, Monday - Friday or visit us online at
www.lifesmartcomfort.com
Please have your model and serial number ready
REV1-010620
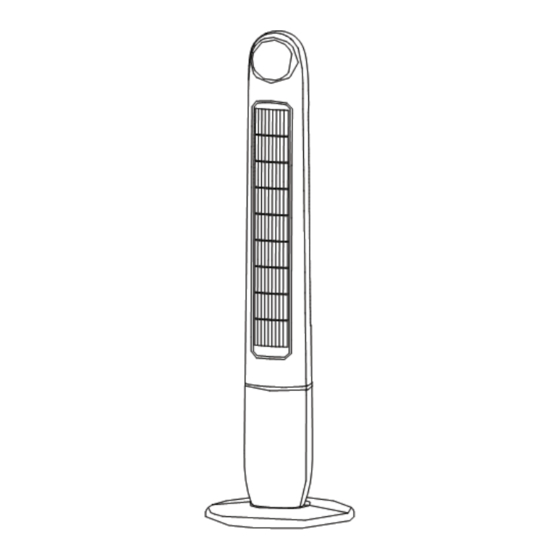
DIGITAL TOWER FAN
) __________________
located on back of unit
1
Customer number:
BL-FS1-D
Advertisement
Table of Contents

Summary of Contents for Supply Chain Sources Life Smart BL-FS1-D
- Page 1 DIGITAL TOWER FAN lifesmart is a registered trademark of ® Customer number: Supply Chain Sources LLC., All Rights Reserved. BL-FS1-D ATTACH YOUR RECEIPT HERE Purchase Date ____________Serial Number ( ) __________________ located on back of unit Questions, problems, missing parts? Contact technical support department at 657-341-0362, 9:00 a.m.
-
Page 2: Table Of Contents
TABLE OF CONTENTS Package Contents . . . . . . . . . . . . . . . . . . . . . . . . . . . . . . . . . . . . . . . . . . . . . . . . . . . . . . . . . . . . . . . 3 Safety Information . -
Page 3: Package Contents
PACKAGE CONTENTS ON/OFF Wind Speed Swing Timer PART DESCRIPTION QUANTITY Cooling Fan Remote Control Control Panel (preassembled to Fan (A)) Air Outlet Vent (preassembled to Fan (A)) Tower Fan Base (assembly required) -
Page 4: Safety Information
SAFETY INFORMATION Please read and understand this entire manual before attempting to assemble, operate, or install the product . IMPORTANT SAFETY INSTRUCTIONS WARNING: POTENTIAL ELECTRICAL HAZARD IF NOT ADHERED TO . When using electrical appliances, basic precautions should always be followed to reduce the risk of fire, electric shock, and injury to persons, including the following: •... - Page 5 SAFETY INFORMATION • NEVER operate any Fan with a damaged cord or plug or after the Fan malfunctions, has been dropped or damaged in any manner . • NEVER insert or allow fingers or foreign objects to enter any ventilation or exhaust opening as it may cause an electric shock or fire, or damage the Fan .
-
Page 6: Preparation
PREPARATION NOTE: DUE TO THE HIGH VELOCITY OF AIR GENERATED BY THIS FAN, HEARING THE SOUND OF THE AIR IS NORMAL. FOR QUIETER OPERATION, USE LOW SPEED. Carefully remove the fan from the plastic bag and carton . Using the included screws align the two base pieces and secure using a phillips screw driver as shown in the illustration below . -
Page 7: Remote Control
REMOTE CONTROL ON/OFF Wind Speed Swing Timer PART NAME DESCRIPTION Power Button Powers the Fan ON or OFF Cycles between the 3 available fan modes, Sleep, Natural, and Fan Wind Mode Button Normal fan mode settings Swing Button Engages or Disengages the unit’s oscillation feature Fan Speed Button Cycles between the variable fan speed settings Engaes the timer function and sets the length of operation... -
Page 8: Control Panel
CONTROL PANEL Sleep Natural Swing Swing ON/OFF Wind Speed Timer PART NAME DESCRIPTION Natural Fan Mode Icon LED indicator light when NATURAL fan mode is engaged Sleep Fan Mode Icon LED indicator light when Slee[ fan mode is engaged Timer Indicator Icon LED Indicator light when OFF timer is engaged Low Fan Speed Icon LED Indicator lights when low fan mode speed is engaged . -
Page 9: Operating Instructions
OPERATING INSTRUCTIONS 1 . Turn the Fan on or off by pressing the Power button on the control panel (C) or by pressing the Power button on the remote control (B) . 2 . The digital display will illuminate and show the ON/OFF ambient room temperature . -
Page 10: Care And Maintenance
OPERATING INSTRUCTIONS 6 . Turn the oscillation mode on or off by pressing the oscillation button on the control panel (C) SWING or by short pressing the oscillation button on the remote control (B) . SWING 7 . To replace the batteries, remove the battery cover (1) from the remote (B) by applying pressure to the battery cover (1) and sliding it out from the remote (B) . -
Page 11: One-Year Limited Warranty
ONE-YEAR LIMITED WARRANTY The manufacturer warrants this product against defects in materials and workmanship on functional parts, for a period of 1 year from the original date of purchase . Your sales receipt showing the date of purchase of the product is your proof of purchase . Keep it in a safe place for future reference . This warranty is subject to personal use only, commercial or rental applications will not be covered . -
Page 12: Replacement Parts List
For replacement parts, call our technical support department at 657-341-0362, 9:00 a.m. - 5 p.m., PST, Monday - Friday PLEASE REMEMBER TO REGISTER YOUR WARRANTY: web: www.lifesmartcomfort.com email: cs@scsources.com Printed in China lifesmart is a registered trademark ® of Supply Chain Sources., All Rights Reserved.
Need help?
Do you have a question about the Life Smart BL-FS1-D and is the answer not in the manual?
Questions and answers
where can order the main board a tower fan