Advertisement
- 1 Product Overview
- 2 Using your dash cam in a vehicle
- 3 Using a memory card
- 4 Turning the dash cam on/off
- 5 Setting the date and time
- 6 Recording videos while driving
- 7 Viewing videos and photos
- 8 The Menu screen
- 9 MiVue Manager
- 10 Safety precautions
- 11 Caring for your device
- 12 Documents / Resources
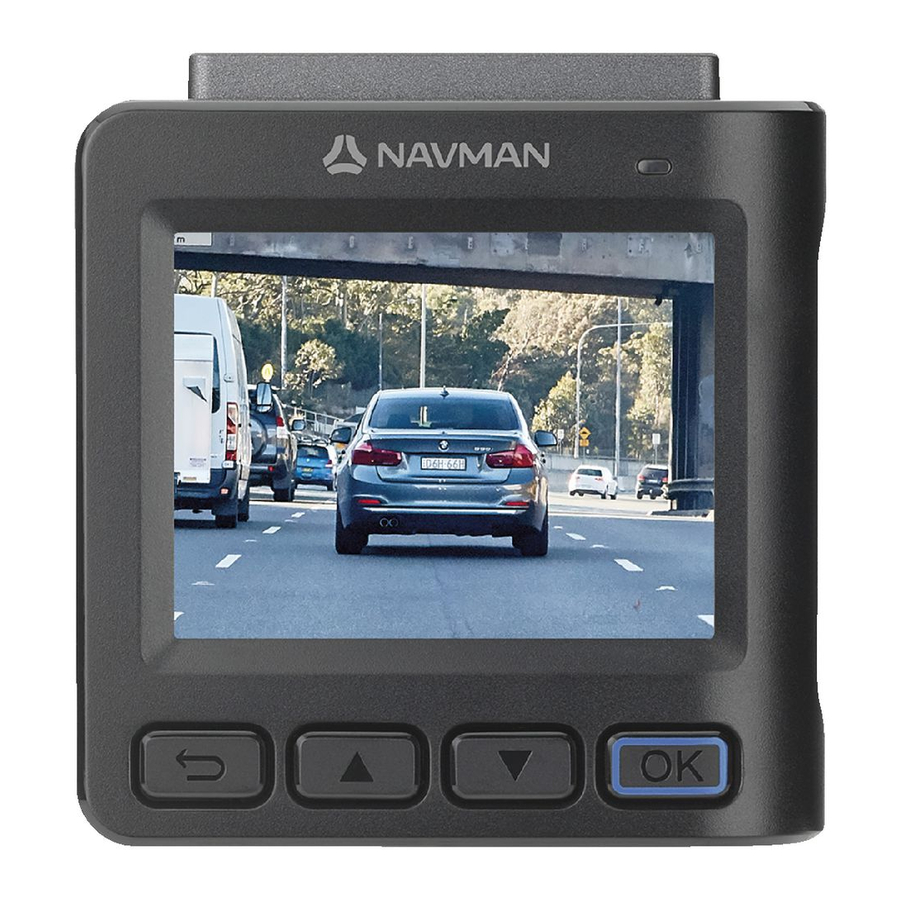
Product Overview

- Mounting socket
- Power button
- Mute button
- Memory card slot
- LED indicator
- LCD display
- OK button
- Mini-USB connector
- Reset button
- Camera lens
- Speaker
- Microphone
Using your dash cam in a vehicle
Note:
- The dash cam should be placed near the rear-view mirror to ensure the highest video quality.
- For your own safety, do not operate the controls of the product while driving. Using this product does not exempt the driver from taking full responsibility for his/her driving behaviour, which includes observing all traffic rules and safety regulations.
- Make sure the dash cam is mounted at a location that does not obstruct the driver's view or airbag deployment.
- Make sure that the camera lens is not blocked and no reflective material appears near the lens. Please keep the lens clean.
- Video quality may degrade if the vehicle's windscreen is tinted.
- The system will automatically calibrate the G-sensor during start-up. If the device's viewing angle or installation position was changed from the original position after start-up, please turn the device off and on again to recalibrate the G-sensor. Otherwise the G-sensor may malfunction and impact other features of the device such as event-driven recording.
- The dash cam is designed to stay connected with the vehicle power adapter to ensure optimal performance. The internal battery is designed as a backup power source for short-term use only. It allows the dash cam to save the last recording in case the vehicle's power system fails during an incident. The internal battery is not to be used as the primary power source for prolonged periods. Battery life may vary under different conditions.
Mounting the dash cam

Before attaching the device mount to the windscreen, it is recommended to clean the windscreen with rubbing alcohol and make sure that the installation area is free of dust, oil and grease.
 Make sure your car is parked on level ground and follow the steps below to securely mount your dash cam in a vehicle.
Note: When adjusting the viewing angle, make sure that the camera's view is parallel with the level ground and the ground/sky ratio is close to 6/4.

Connect the vehicle power adapter to the cigarette lighter. Route the cables through the top ceiling and the A-pillar so that it does not interfere with driving. Make sure that the cable installation does not interfere with the vehicles airbags or other safety features.
Note: The installation illustrations are for reference only. Device and cable placement may vary depending on the vehicle model. If you encounter any problems during installation, contact a skilled installer (such as the service personnel of the vehicle) for assistance.
Function keys

The four function keys control the corresponding icons displayed on the LCD screen. Key functions may vary depending on the current screen and features enabled.
User Interface

- Recording indicator/timer
- Current speed
- GPS: Locked (
![]() )/No signal (
)/No signal (![]() )
) - Microphone: On (
![]() )/Off (
)/Off (![]() )
) - Opens the Menu screen
- Views captured videos & photos
- Takes a photograph
- Activates/deactivates emergency recording
 )/No signal (
 )
) )/Off (
 )
)Using a memory card

In order to record video footage, Navman MiVue dash cameras need a microSD. It is very important to use a microSD card specifically designed to be used in dash cameras. It will ensure the card will be more reliable and last longer; the wrong type of card has a greater chance of failing, even after a short period of time. Please visit www.navman.com.au/ memory-card for more information on recommended SD cards.
To insert the SD card, hold its edges and gently insert it into the slot as shown in the illustration. To remove a card, gently push the top edge of the card inwards to release it and pull it out of the slot.
Formatting a card
To format the memory card (all data will be erased), press ![]() > Format.
> Format.
Note:
- DO NOT apply pressure to the centre of the memory card.
- Navman cannot guarantee product compatibility with memory cards from all manufacturers. Please always check the specifications/warranty to ensure the memory card can be used in dash cameras and loop recording devices.
- Please format the memory card to avoid recording errors caused by missing system files or folders.
- You may need to format your memory card periodically to ensure it remains in good working condition.
- You should use separate MicroSD cards for the dash cam and other electronic products (such as a digital camera).
- You are advised to turn the device off before removing the memory card.
Important microSD card information
The minimum requirement for Navman dash cameras is a Class 10/UHS 1 Micro SD card.
Only use a micro SD card that is specially designed and built for high intensity recording devices such as Dash Cameras and Security Cameras, using a micro SD card that isn't designed to be used in high intensity recording devices will greatly increase the chances of memory corruption resulting in freezing problems with your device and even worse, the loss of precious video recordings.
Navman have tested the following cards:
- Sandisk High Endurance
- Samsung Pro Endurance
- Kingston Endurance
We can confirm they are suitable for our devices.
Always format your micro SD card on a monthly basis to keep the memory card in good health For more information on recommended and compatible MicroSD Cards, please visit www.navman.com.au/memory-card
Turning the dash cam on/off
Complete the installation according to the instructions in the "Using your dash cam in a vehicle" section. Once the vehicle engine is started, the dash cam will turn on automatically.
Shutting down the dash cam

Occasionally you may need to perform a hardware reset when the dash cam stops responding or if it appears to be "frozen" or unresponsive. To shut down the dash cam, press and hold the Power button until the system powers off. If you cannot turn the dash cam off by using the Power button, insert a small pin (such as a straightened paper clip) into the Shutdown button to shut down the dash cam.
Setting the date and time
The system date and time must be correct in order for the videos to display accurate timestamps. The date and time can be configured by pressing ![]() > Date/Time and using the buttons on the bottom to adjust each value.
> Date/Time and using the buttons on the bottom to adjust each value.
Recording videos while driving
Continuous recording
Continuous recording will automatically commence shortly after the system is powered up. The system indicator will flash while recording is in progress. Recording can be paused by pressing ![]() . Press
. Press ![]() to return to the recording screen and resume recording.
to return to the recording screen and resume recording.
Videos taken during continuous recording are divided into multiple clips and saved under the "Normal" folder, but recording will not stop between video clips. Once the folder has reached its allocated capacity, the system will automatically record over the oldest video saved under this folder.
Event-driven recording
During continuous recording, if a sudden event has been detected, such as running over a road bump, vehicle collision, high-speed driving, or making a sharp turn, the G-sensor will prompt the dash cam to record the event.
Note: The sensitivity level of the G-sensor can be adjusted by going to ![]() > G-sensor Sensitivity.
> G-sensor Sensitivity.
The actual recording will begin when an event has been detected and continue for 30 seconds. Event-driven recordings are saved in the "Event" folder. Once the folder has reached its allocated capacity, the system will automatically record over the oldest video saved under this folder. You can also press  to manually activate event-driven or emergency recording while continuous recording is in progress.
Viewing videos and photos
To view a video or photo captured by the dash cam:
- Press
![]() to open the Playback screen.
to open the Playback screen. - Select a folder.
- Select a video or image then press
![]() to view the file.
to view the file. - While viewing a file, you can:
- Press
![]() to return to the file list.
to return to the file list. - Press
![]() /
/![]() to play the previous/next video.
to play the previous/next video. - Press
![]() to delete the current file:
to delete the current file:
 to return to the file list.
 /
/ to play the previous/next video.
 to delete the current file:
The Menu screen
Press ![]() to access the Menu screen that includes the following device settings:
to access the Menu screen that includes the following device settings:
- Video Resolution: Sets the recording resolution.
- Video Clip Length: Sets the length of video clips captured during continuous recording.
- EV: Sets the proper exposure level to adjust the brightness of the image.
- GPS Status: Displays GPS signal strength.
- G-sensor Sensitivity: Sets the G-sensor's sensitivity level for triggering event-driven recording.
- LCD Standby: Sets the length of time before the display shuts off automatically.
- System Sound: Enables /disables system notification sounds
- Sound Recording: Enables/disables audio recording during video capture.
- Volume: Adjusts the volume level.
- Time Zone: Selects your local time zone.
- Date/Time: Sets the system date and time.
- Format: Formats the memory card (all data will be erased).
- Restore to Default: Restores the device to factory default settings.
- Version: Displays software information.
MiVue Manager
MiVue Manager™ is a tool for viewing videos recorded by the MiVue™ dash cam on your PC.
Installing MiVue Manager
Download the Setup file from www.navman.com.au/mivue-update or www.navman.co.nz/mivue-update. Doubleclick Setup.exe and follow the on-screen prompts to install MiVue Manager.
IMPORTANT! You may be prompted to install the MOV and AVI codecs for video playback if they are missing on your computer. Search online to install the required codecs.
Playing the recording files
- Remove the memory card from the dash cam and access the card on the computer via a card reader. You are advised to copy the recording files to your computer for backup and playback.
- Start MiVue Manager on the computer.
- By default, MiVue Manager shows the calendar and the file list on the right.
- When a recording file exists, you will see the date marked with " ". Click that date to display files recorded on that date.
- You can choose the file type to display: Event / Normal .
- To display all files in the current folder, click All. To return to the calendar view, click Calendar.
- Double-click the desired file on the file list to start playback.
- The playback controls are described as follows:

- Skips to the previous/next file on the list.
- Starts or pauses the playback.
- Changes the playback speed to 1/4x, 1/2x, 1x (default), 1.5x, or 2x.
- Mutes or unmutes the volume.
- Adjusts the volume level.
- Plays the video in full screen.
- Displays the playback progress. You can click on a point along the track bar to move directly to a different location for the playback.
- During playback, you can check more driving information from the dashboard panel and the G-sensor chart that are displayed below the video playback screen.
- ƒOn the dashboard panel, click
![]() to display the map screen.
to display the map screen.
Note: The map may not display correctly if the computer is not connected to the Internet or your product does not support GPS function.
- ƒThe G-sensor chart displays data in 3-axis waveform about the car's shift forward/backward (X), to the right/ left (Y) and upward/downward (Z).
- The tool bar allows you to do the following:

- Selects the folder that stores the recording files.
- Previews and prints the current video image.
- Saves the selected files to the specified location on your computer.
- Captures and saves the current video image to the specified location on your computer.
- Opens the Settings Menu. The Settings items are described as follows:
- Change Language: Sets the display language of MiVue Manager.
- Change Skin: Sets the colour scheme of MiVue Manager.
- Check for Update: Checks if there is any new version of MiVue Manager. Internet access is required for this feature.
- About: Displays the version and copyright information of MiVue Manager.
- Exports the GPS information of the selected file in the KML format to the specified location on your computer.
- Uploads the selected file to YouTube™.
- In the playlist, the "F" and "R" marks displayed on a filename indicate the video is paired with a corresponding front video (F) or rear video (R). The video will be shown in PIP (picture-in-picture) mode. You can switch between front and rear videos by clicking
![]() .
.
Safety precautions
About the vehicle power adapter
- Use only the vehicle power adapter supplied with your device. Use of another type of the vehicle power adapter may result in malfunction and/or danger.
- This product is intended to be supplied by a LISTED Power Unit marked with "LPS", "Limited Power Source" and output rated + 5 V dc / 2 A.
- Do not use the vehicle power adapter in a high moisture environment. Never touch the vehicle power adapter when your hands or feet are wet.
- Allow adequate ventilation around the vehicle power adapter when connected to the device. Do not cover the vehicle power adapter with paper or other objects that will reduce cooling. Do not use the vehicle power adapter while it is inside a carrying case.
- Connect the vehicle power adapter to a proper power source. The voltage requirements are found on the product case and/or packaging.
- Do not use the vehicle power adapter if the cord becomes damaged.
- Do not attempt to service the unit. There are no serviceable parts inside. Replace the unit if it is damaged or exposed to excess moisture.
About the battery

This unit contains a non-replaceable internal Lithium Ion battery. The battery can burst or explode, releasing hazardous chemicals. To reduce the risk of fire or burns, do not disassemble, crush, puncture, or dispose of in fire or water.
Risk of explosion if battery is replaced by an incorrect type. Dispose of used batteries according to the instructions.
- Replace only with the same or equivalent type recommended by the manufacturer.
- The battery must be recycled or disposed of properly.
- Use the battery only in the specified equipment. ƒ
- Battery clause safety information.
Your product uses a Lithium-ion battery. It is important to follow the guidelines set out regarding this type of Battery. Electronic devices using a lithium – ion battery such as Mobile phones, GPSs and cameras are designed to operate at a temperature range of approximately 0°C to 50°C. Beyond these temperature limits, there may be a risk of battery failure, when these electronic goods are exposed to extreme heat conditions for long periods.
It is recommended that you do not use your device in a humid, wet and/or corrosive environment. Do not put, store or leave your device in or near a heat source, in a high temperature location, in strong direct sunlight and do not expose it to temperatures over 60°C (140°F). Failure to follow these guidelines may cause the Lithium-ion battery to leak acid, become hot, explode or ignite and cause injury and/or damage. Do not pierce, open or disassemble the battery. If the battery leaks and you come into contact with the leaked fluids, rinse thoroughly with water and seek medical attention immediately. For safety reasons, and to prolong the lifetime of the battery, charging should not occur at low (below 0°C/32°F) or high (over 45°C/113°F) temperatures.
THE LITHIUM-ION BATTERY CONTAINED IN THE PRODUCT MUST BE RECYCLED OR DISPOSED OF PROPERLY. IT IS HIGHLY RECOMMENDED YOU USE YOUR PRODUCT ONLY WITH THE SUPPLIED DC POWER LEAD (VEHICLE POWER ADAPTER/BATTERY CABLE) AND AC ADAPTER (HOME CHARGER) FOR BATTERY CHARGING.
For more information on how to recycle your old electronic devices, please contact your local council office. You can also visit www.navman.com.au / www.navman.co.nz to view our latest trade-in offers.
Caring for your device
Taking good care of your device will ensure trouble-free operation and reduce the risk of damage. ƒ Keep your device away from excessive moisture and extreme temperatures.
- Avoid exposing your device to direct sunlight or strong ultraviolet light for extended periods of time.
- Do not place anything on top of your device or drop objects on your device.
- Do not drop your device or subject it to severe shock.
- Do not subject your device to sudden and severe temperature changes. This could cause moisture condensation inside the unit, which could damage your device. In the event of moisture condensation, allow the device to dry out completely before use.
- The screen surface can easily be scratched. Avoid touching it with sharp objects. Non-adhesive generic screen protectors designed specifically for use on portable devices with LCD panels may be used to help protect the screen from minor scratches.
- Never clean your device with it powered on. Use a soft, lint-free cloth to wipe the screen and the exterior of your device.
- Do not use paper towels to clean the screen.
- Never attempt to disassemble, repair or make any modifications to your device. Disassembly, modification or any attempt at repair could cause damage to your device and even bodily injury or property damage and will void any warranty.
- Do not store or carry flammable liquids, gases or explosive materials in the same compartment as your device, its parts or accessories.
- To discourage theft, do not leave the device and accessories in plain view in an unattended vehicle.
- Overheating may damage the device.

Documents / Resources
References
Navman Dash Cam & GPS | Navman Australia | Navman Australia
Micro SD Card Compatibility Information | Navman Australia
MiVue™ Manager | Navman Australia
MiVue™ Manager | Navman New Zealand
Navman Dashcam & GPS | Navman New Zealand | Navman New Zealand
Download manual
Here you can download full pdf version of manual, it may contain additional safety instructions, warranty information, FCC rules, etc.
Advertisement


Need help?
Do you have a question about the MiVue Series and is the answer not in the manual?
Questions and answers