Advertisement
Table of Contents
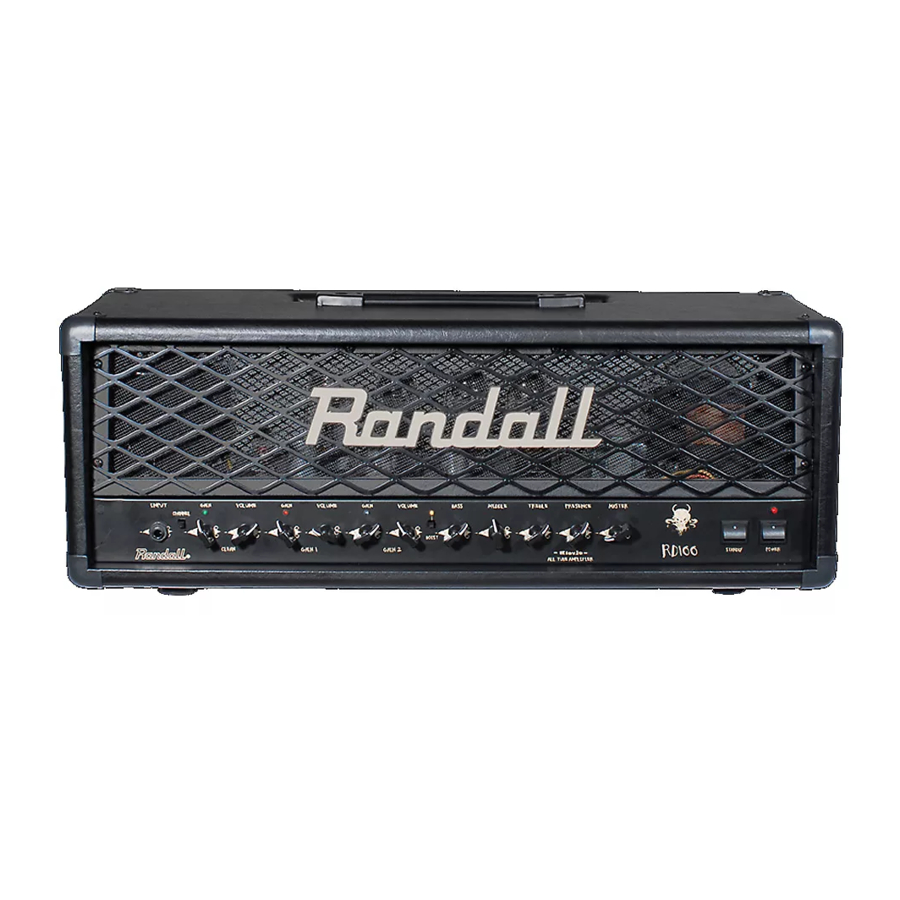
Randall Diavlo RD100H - Amplifier Manual
Introduction
We at Randa l Amplification appreciate that you chose our brand of guitar instrument amplifiers and wish you years of great tone and enjoyable playing time with your new machine. Please review the safety instructions and be aware that the documentation provided in this manual references 120volt USA versions of the models covered. Note that the POWER listed on the power supply should be for your countries' power standard.

- 1/4" Guitar input - Plug your guitar into this jack/connector.
- Channel Selector Switch toggles between CLEAN, GAIN 1, GAIN 2 channels- (Individually footswitchable- Foot controller will override panel function)
- CLEAN gain control - this controls the amount of clean channel input signal. For the cleanest tone, turn the clean channel volume (#4) all the way up and use this clean channel gain control (#3) as the output control for this channel. To achieve a more aggresive tone from the clean channel crank the clean channel gain (#3) and use the clean channel volume (#4) to adjust output to master volume.
- CLEAN Channel Volume - this controls the amount of clean channel signal sent to the master volume. Use this control to balance level between this and the other channels per the notes above.
- GAIN 1 Channel Gain - This knob works as an aggressive all tube overdrive circuit. It dynamically responds with more overdrive as more input is fed from your pickups. Turn to the right for more saturation.
- GAIN 1 Channel Volume- this control works as volume control of Gain 1 channel only- Use this to match the output levels between the channels. For cleaner tones, keep at lowest setting, turn volume all the way up and use gain knob as volume output control.
- GAIN 2 Channel Gain - This knob works as the most aggressive all tube overdrive circuit in the amplifier. It dynamically responds with more overdrive as more input is fed from your pickups. Turn to the right for more saturation and heavy metal/rock sounds.
- GAIN 2 Channel Volume- this control works as volume control of Gain 1 channel only- Use this to match the output levels between the channels. For slightly cleaner tones, keep at lowest setting, turn volume all the way up and use gain knob as volume output control.
- BOOST - Adds extra layer of tube overdrive to both channels (Footswitchable)
- BASS - EQ Response - turn to the right for more bass/low frequency
- MIDDLE - EQ Response - adjusts middle frequencies- put this wherever you like.
- TREBLE - EQ Response - Hi Frequency adjustment to the tone circuit- "more highs"
- PRESENCE - EQ Response - this is tied to the power amp and effects the brightest frequencies, this will help tailor the sound to best suit the brightness of your guitar.
- MASTER - Overall volume output control. This feeds the speaker output.
- Standby/Play switch- Wait 5 seconds after powering amp on before switching from Standby to Play and visa/versa.
NOTE: Leave Standby in ON position for silent operation with Speaker Emulator output (#22).
(Turn Master volume off and level is fed from individual Channel preamp Gain/Volumes.) - Power switch turns unit on and off
- Power cable input for mains connection.
- FUSE - Standard electrical mains fuse protects amp from power surges and other anomalies.
- 16 Ohm speaker output - plug in 1x16Ω Speaker cabinet:
NOT TO BE USED AT THE SAME TIME AS PARALLEL OUTPUTS!!! #20 - Parallel Speaker Outputs are to safely plug in speaker cabinet configurations noted in # 21 below:
NOT TO BE USED AT THE SAME TIME AS SINGLE OUTPUT!!! #19 - IMPEDANCE SELECT - Selects impedance of Parallel Outputs.
4 OHM setting = 1x4Ω or 2x8Ω 8 OHM setting = 1x8Ω or 2x16Ω
![]()
Never operate amplifier without proper speaker impedance plugged in!! - Speaker Emulator - XLR Balanced output is signal fed post effects loop from the preamp (all three channels & EQ). This signal is then sent through the speaker emulator which simulates the sound and response of a mic'd up Randall 4x12 speaker cabinet. This function is useful as a Direct send to PA/FOH for silent stages, in ear monitor feed or send to external power amp. "Silent Mode" - For direct (silent) recording, Leave STANDBY (#15) in ON position (with speaker plugged in!!!). The preamp will send signal to the XLR output and be fed from the individual channel controls.
- XLR ground lift changes the ground connection to fix ground loops when interfacing with other equipment - use at quietest setting for best performance.
- Class A Discrete instrument level effects loop return. This plugs into external pedal effects unit output to complete signal "loop". Also serves as power amp input so external preamp can be plugged directly to power amp section with active volume control and speaker emulator XLR output.
- Class A Discrete instrument level effects loop send. This plugs into external pedal effects unit input and feeds signal from the individual channel gain/volume and tone knobs. Also serves as unbalanced preamp output send but will mute amp output unless return jack(#24) receives return signal.
- Footswitch jack- 4 button switch individually controls all 3 channels + boost.

For detailed product videos please visit our website at:www.randallamplification.com

Documents / Resources
References

Download manual
Here you can download full pdf version of manual, it may contain additional safety instructions, warranty information, FCC rules, etc.
Advertisement


Need help?
Do you have a question about the Diavlo RD100H and is the answer not in the manual?
Questions and answers