TFA ORION 30.2024 - Digital Garden Thermostat Manual
Also See for ORION:
- Operating instructions (2 pages) ,
- Instruction manual (3 pages)
Advertisement
Table of Contents
Contents
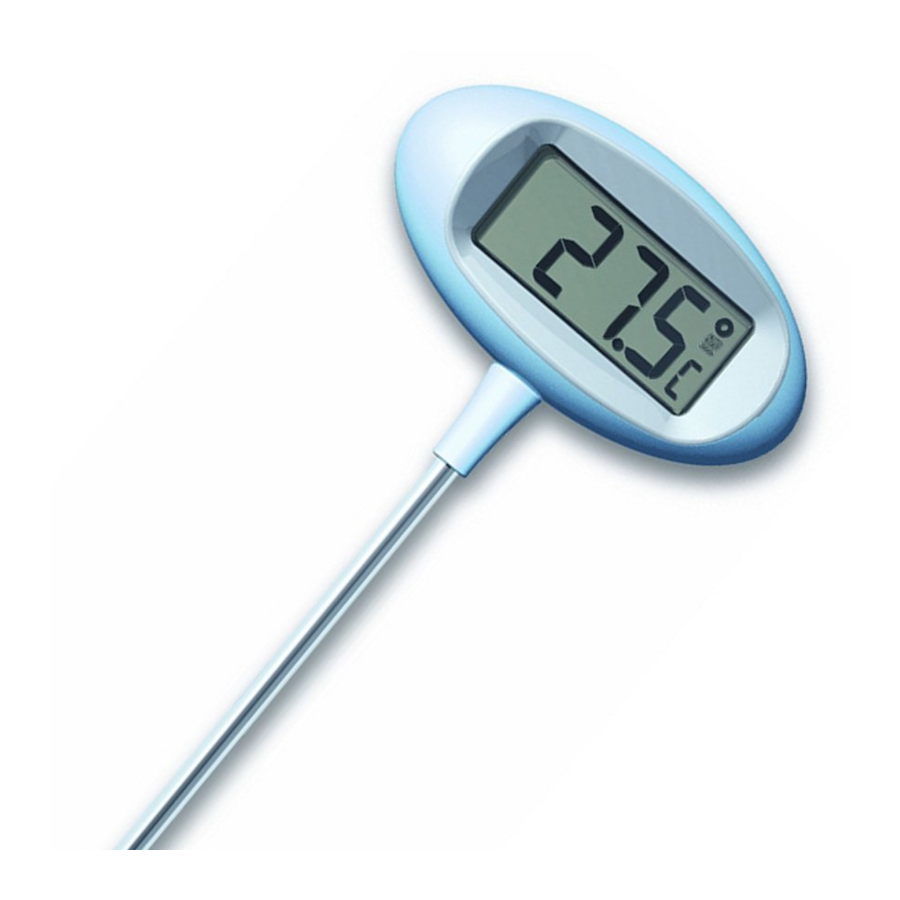
TFA ORION 30.2024 - Digital Garden Thermostat Manual
Before you use this product
- Please make sure you read the instruction manual carefully.
- Following and respecting the instructions in your manual will prevent damage to your instrument and loss of your statutory rights arising from defects due to incorrect use.
- We shall not be liable for any damage occurring as a result of non-following of these instructions. Likewise, we take no responsibility for any incorrect readings or for any consequences resulting from them.
- Please take particular note of the safety advice!
- Please keep this instruction manual safe for future reference.
Field of operation and all the benefits of your new instrument at a glance
- Extraordinary patented design
- Large digital display with 3 different modes:
- Current temperature
- Current temperature and clock in sequence
- Current, highest and lowest temperature and time in sequence
- Auto reset of maximum and minimum value
- Rod (separable) in aluminium
- For putting into the ground
- Weather resistant
For your safety
- This product is exclusively intended for the field of application described above. It should only be used as described within these instructions.
- Unauthorised repairs, modifications or changes to the product are prohibited.

Risk of injury:
- Keep this device and the batteries out of reach of children.
- Batteries contain harmful acids and may be hazardous if swallowed. If a battery is swallowed, this can lead to serious internal burns and death within two hours. If you suspect a battery could have been swallowed or otherwise caught in the body, seek medical help immediately.
- Batteries must not be thrown into a fire, short-circuited, taken apart or recharged. Risk of explosion!
- Low batteries should be changed as soon as possible to prevent damage caused by leaking. Never use a combination of old and new batteries together, nor batteries of different types.
- Wear chemical-resistant protective gloves and safety glasses when handling leaking batteries.

On product safety!
- Avoid direct sunshine: It falsifies the indicated values! Extremely high temperatures may lead to damages of the display. Permanent sunshine may bleach the liquid crystals.
- Do not expose the device to extreme temperatures, vibrations or shocks.
Elements
Front

- Low battery symbol
- Maximum temperature
- Minimum temperature
- Automatic reset
- Display mode
- DST symbol
Backside

- Battery compartment
- Buttons
- "MODE" button
- "+" button
- Display mode switch
- DST/standard time button
Getting started
- Open the battery cover on the backside of the instrument by opening the two little screws by a screw driver. Insert the batteries 2 x 1.5 V AA. Ensure correct polarity of the batteries.
- Remove the protective foil from the display.
- The unit is now ready to use.
- All LCD segments will light up for about a few seconds
- 0:00 appears on the display and the DST symbol
![]() is flashing.
is flashing. - During Daylight Saving Time, press "+" button for confirmation while the symbol is flashing and the DST symbol
![]() remains on the display.
remains on the display. - During standard time press "+" button once again and the DST symbol
![]() disappears.
disappears. - Is there no confirmation within 15 seconds the DST symbol
![]() stops flashing and disappears.
stops flashing and disappears. - For a simple time switch with only one keypress you have to have a correct setting (see point: Daylight Saving Time / Standard Time switch)
- The buttons are located inside the battery compartment.
 is flashing.
Operation
Setting of the clock
- Slide the switch to position B or C.
- As soon as the time appears in the display press "MODE" button to enter the setting mode.
- The hour digit is flashing.
- Press "+" button to set the hours. Hold and press the button for a fast count.
- Press "MODE" button again and set minutes in the same way.
- Press "MODE" button again and you will return to normal mode.
- The instrument will quit the setting mode, if there is no button used within 15 seconds period.
Display change °C/°F
- When the display shows the current temperature, press "+" button to change between °C or °F as temperature unit, at the same time the time system changes from 24 to 12 hour-system.
- PM appears on the display after noon.
- Close the battery compartment again.
Daylight Saving Time / Standard Time switch
- When the time appears on the display hold button
![]() outside the battery compartment for 3 seconds and summertime changes in to wintertime and vice versa (+/-1 hour).
outside the battery compartment for 3 seconds and summertime changes in to wintertime and vice versa (+/-1 hour). - Please pay attention to the correct setting at the startup procedure.
 outside the battery compartment for 3 seconds and summertime changes in to wintertime and vice versa (+/-1 hour).
Select display mode
- Switch position A: Current temperature (display: >)
- Switch position B: Current temperature and time alternately (display: >>)
- Switch position C: Current temperature, highest/lowest temperature and time alternately (display: >>>)
Maximum and minimum temperatures
- There is an automatic update of maximum temperature at 8:00 and minimum temperature at 20:00. Please set the actual time to activate this function.
- Auto Reset flashes on the LCD.
Positioning / Fixing

- Choose a shady position. Direct sunshine falsifies the measurement.
- Press the plate firmly in the ground. Mount the rod and put it into the ground passing through the hole in the middle of the plate. Fix the thermometer on the rod and adjust the angle as needed.
Care and maintenance
- Clean your instrument with a soft damp cloth. Do not use solvents or scouring agents
- Remove the batteries if you do not use it for a long period of time.
Battery replacement
- When the batteries are used up, the low battery symbol appears.
- Open the battery cover on the backside of the instrument, insert two new batteries AA 1,5V and close the cover.
Troubleshooting
| Problems | Solutions |
No display / Incorrect display | ➜ Ensure correct polarity of the batteries ➜ Change the batteries |

Documents / ResourcesDownload manual
Here you can download full pdf version of manual, it may contain additional safety instructions, warranty information, FCC rules, etc.
Download TFA ORION 30.2024 - Digital Garden Thermostat Manual
Advertisement


Need help?
Do you have a question about the ORION and is the answer not in the manual?
Questions and answers