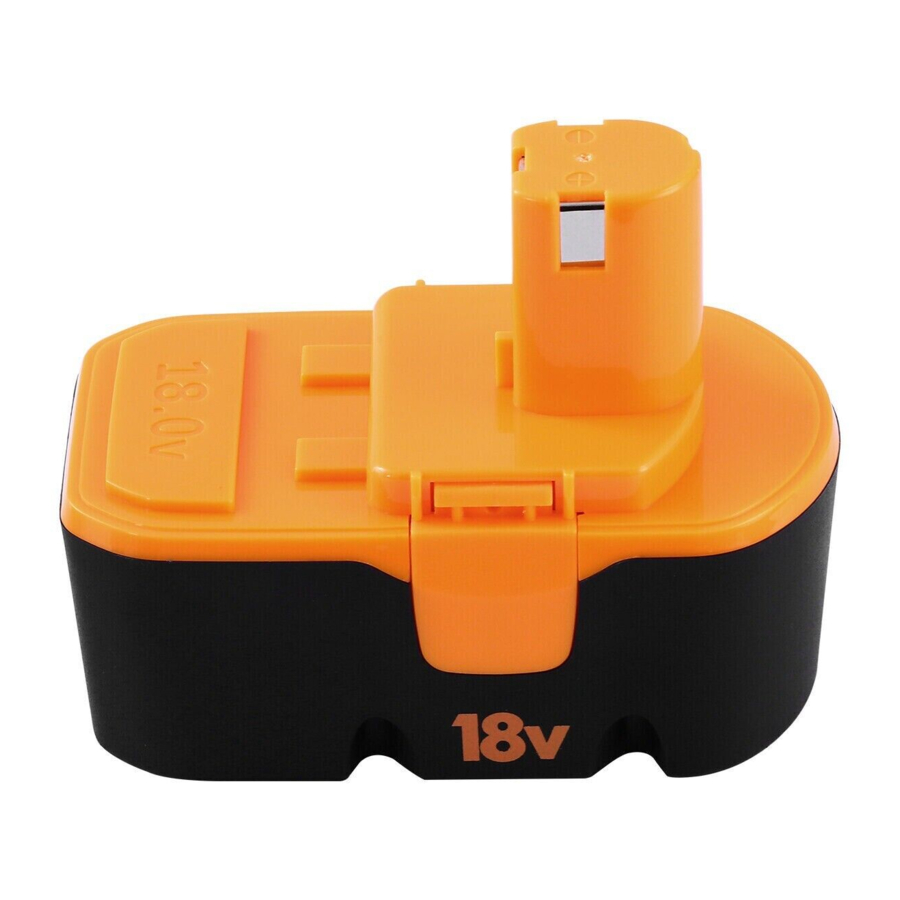
Ryobi P100 - 18 Volt Battery Pack Manual
- Instructions manual (6 pages) ,
- Quick start manual (6 pages) ,
- Operator's manual (2 pages)
Advertisement
CHARGERS SOLD SEPARATELY
Always mention the above model number when communicating with us regarding battery pack.
Use battery pack for Ryobi Cordless products only. Refer to the Operator's Manual provided with product.
This battery pack requires 1 hour of charging time to be fully charged.
SAFETY RULES

READ AND UNDERSTAND ALL INSTRUCTIONS. Failure to follow all instructions listed below, may result in electric shock, fire and/or serious personal injury.
- When battery pack is not in use, keep it away from other metal objects like: paper clips, coins, keys, nails, screws, or other small metal objects that can make a connection from one terminal to another. Shorting the battery terminals together may cause sparks, burns, or a fire.
- Do not place battery tools or their batteries near fire or heat. This will reduce the risk of explosion and possibly injury.
- Never use a battery that has been dropped or received a sharp blow. A damaged battery is subject to explosion. Properly dispose of a dropped or damaged battery immediately.
- Batteries vent hydrogen gas and can explode in the presence of a source of ignition, such as a pilot light. To reduce the risk of serious personal injury, never use any cordless product in the presence of open flame. An exploded battery can propel debris and chemicals. If exposed, flush with water immediately.
- Do not charge battery in a damp or wet location. Following this rule will reduce the risk of electric shock.
- Recommended chargers:
MODEL P100
CHARGER (P110) 1423701 or 140237021 - For best results, your battery should be charged in a location where the temperature is more than 50°F but less than 100°F. Do not store outside or in vehicles.
- Under extreme usage or temperature conditions, battery leakage may occur. If liquid comes in contact with your skin, wash immediately with soap and water, then neutralize with lemon juice or vinegar. If liquid gets into your eyes, flush them with clean water for at least 10 minutes, then seek immediate medical attention. Following this rule will reduce the risk of serious personal injury.
- Save these instructions. Refer to them frequently and use them to instruct others who may use this tool. If you loan someone this tool, loan them these instructions also to prevent misuse of the product and possible injury.
OPERATION
CHARGING THE BATTERY PACK
Battery packs are shipped in a low charge condition to prevent possible problems. Therefore, you should charge them until the green LED on the front of the charger comes on.
NOTE: Batteries will not reach full charge the first time they are charged. Allow several cycles (operation followed by recharging) for them to become fully charged.
CHARGING A COOL BATTERY PACK
If battery pack is within normal temperature range, the red LED on charger will come on.
NOTE: If the charger does not charge the battery pack under normal circumstances, return both the battery pack and charger to your nearestRyobi Authorized Service Cent er for electrical check.
- Charge the battery pack only with a recommended c harger.
- Make sure the power supply is normal household voltage, 120 volts, 60 Hz, AC only.
- Connect the charger to the power supply.
- Place the battery pack in the charger aligning raised rib on the battery pack with the groove in the c harger. See Figure 1.
- Press down on the battery pack to be sure contacts on the battery pack engage properly with contacts in the charger.
- Normally the red LED on charger will come on. This indicates the charger is in fast charging mode.
- Red LED should remain on for approximately 1 hour then the green LED will come on. Green LED on indicates battery pack is fully charged and charger is in maintenance charge mode.
NOTE: The green LED will remain on until the battery pack is removed from the charger or charger is disconnected from the power supply.
- If both yellow and green LEDs come on, this indicates a deeply discharged or defective battery pack. Allow the battery pack to remain in the charger for 15 to 30 minutes. When the battery pack reaches normal voltage range, the red LED should come on. If the red LED does not come on after 30 minutes, this may indicate a defective battery pack and should be replaced.
- After normal usage, a minimum of 1 hour of charging time is required to fully recharge battery pack.
- The battery pack will become slightly warm to the touch while charging. This is normal and does not indicate a problem.
- Do not place the charger and battery pack in an area of extreme heat or cold. They will work best at normal room temperature.
NOTE: The charger and battery pack should be placed in a location where the temperature is more than 50°F but less than 100°F.
- When batteries become fully charged, unplug the charger from power supply and remove the battery pack.
CHARGING A HOT BATTERY PACK
When using a tool continuously, the batteries in the battery pack will become hot. You should let a hot battery pack cool down for approximately 30 minutes before attempting to recharge. When the battery pack becomes discharged and is hot, this will cause the green LED to come on instead of the red LED. After 30 minutes, reinsert the battery pack in the charger. If the green LED continues to remain on, return battery pack to your nearest Ryobi Authorized Service Center for checking or replacing.
NOTE: This situation only occurs when continuous use of a tool causes the batteries to become hot. It does not occur under normal circumstances. Refer to"CHARGING A COOL BATTERY PACK" for normal recharging of batteries. If the charger does not charge your battery pack under normal circumstances, return both the battery pack and charger to your nearest Ryobi Authorized Service Center for electrical check.

BATTERIES
The battery pack is equipped with nickel-cadmium rechargeable batteries. Length of service from each chargi ng will depend on the type of work you are doing.
The batteries have been designed to provide maximum trouble-free life. However, like all batteries, they will eventually wear out. Do not disassemble battery pack and attempt to replace the batteries. Handling of these batteries, especially when wearing rings and jewelry, could result in a serious burn.
To obtain the longest possible battery life, we suggest the following:
- Remove the battery pack from the charger once it is fully charged and ready for use.
For battery storage longer than 30 days:
- Store the battery pack where the temp era t ure is below 80°F.
- Store battery packs in a "discharged" condition.
BATTERY PACK REMOVAL AND PREPA R AT ION FOR RECYCLING

To preserve natural resources, please rec yc le or dispose of batteries p roperly.
This product contains nickel- cadmium batteries. Local, state or federal laws may prohibit disposal of nickel-c admium batt eri es in ord in ary trash.
Consult your local waste authority for information r egarding available rec yc ling and/or disp osa l options.
Upon removal, cover the battery pack's terminals with heavy-duty adhesive tape. Do not attempt to destroy or disassemble battery pack or remove any of its components. Nickel-cadmium batteries must be recycled or disposed of properly. Also, never touch both terminals with metal objects and/or body parts as short circuit may result. Keep away from children. Failure to comply with these warnings could result in fire and/or serious injury.
RYOBI TECHNOLOGIES, INC.
1428 Pearman Dairy Road, Anderson, SC 29625
Post Office Box 1207, Anderson, SC 29622-1207
Phone 1-800-525-2579 www.ryobitools.com

Documents / Resources
References
Download manual
Here you can download full pdf version of manual, it may contain additional safety instructions, warranty information, FCC rules, etc.
Advertisement


Need help?
Do you have a question about the P100 and is the answer not in the manual?
Questions and answers