Table of Contents
Advertisement
Quick Links
MOSSKITO MODELS
6 CLEAVERS CLOSE SISSINGHURST KENT TN17 2JX
E‐mail: mosskitong@gmail.com
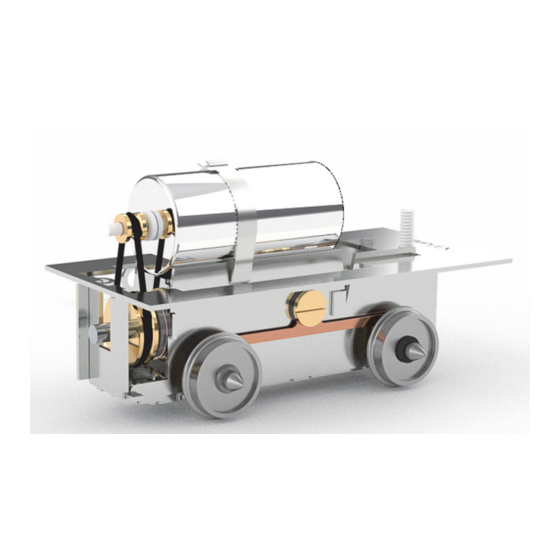
MPD18 Mk3 009 Chassis with 18mm Wheelbase
Parts List:
MPD18 V4.0 etch
6.2mm GDNGRS insulated wheelset 2 No.
Tenshodo 15:1 worm & gear set
1.5mm dia. Layshaft 30mm long
Mosskito NG Horn block bearing
Roller bearing SF681XZZ
10BA Nut and Bolt
Nigel Lawton 8 x 16 Midi Motor
Nigel Lawton 5mm pulley
Nigel Lawton 1.2mm pulley
Nigel Lawton 7.5mm dia. Belt
1.5mm ID Plastic Bush
12BA x 1/8" Brass Bolt
Sundries:
Threadlock (Anaerobic adhesive)
1 No.
Phosphor Bronze Pickup Etch
15ohm resistor
2 No.
1 No.
4 No.
2 No.
1 No.
1 No.
1 No.
1 No.
1 No.
1 No.
1 No.
1 No.
1 No.
1
Advertisement
Table of Contents

Summary of Contents for MOSSKITO MODELS MPD18 Mk3 009
- Page 1 MOSSKITO MODELS 6 CLEAVERS CLOSE SISSINGHURST KENT TN17 2JX E‐mail: mosskitong@gmail.com MPD18 Mk3 009 Chassis with 18mm Wheelbase Parts List: MPD18 V4.0 etch 1 No. Phosphor Bronze Pickup Etch 1 No. 6.2mm GDNGRS insulated wheelset 2 No. 15ohm resistor 1 No. Tenshodo 15:1 worm & gear set 2 No. 1.5mm dia. Layshaft 30mm long 1 No. Mosskito NG Horn block bearing 4 No. Roller bearing SF681XZZ 2 No. 10BA Nut and Bolt 1 No. Nigel Lawton 8 x 16 Midi Motor 1 No. Nigel Lawton 5mm pulley 1 No. Nigel Lawton 1.2mm pulley 1 No. Nigel Lawton 7.5mm dia. Belt 1 No. 1.5mm ID Plastic Bush 1 No. 12BA x 1/8” Brass Bolt 1 No. Sundries: Threadlock (Anaerobic adhesive) ...
- Page 2 Instructions: 1) Test fit the hornblocks in the chassis etch. They are a deliberate tight fit and making a tool such as that in Fig 1 would help. Figure 1 – Hornblock fitting tool 2) Fold up the layshaft cradle and then assemble the layshaft. Using the guide on the etch to align the bearing, worms and 5mm pulley. It is best to assemble the rear worm then add a bearing followed by the second worm. Fix these using threadlock or CA sparingly applied using a cocktail stick or pin. Next insert the layshaft into the cradle and add the remaining bearing so that it just engages with the cradle. Do not push it home. Figure 2. – Layshaft Assembly 3) Assemble the wheel sets using 2 hornblock bearings, half etch washer and tenshodo gear. The wheelsets have a shouldered axle that sets the back to back at the correct 7.8mm for the narrow tyres of the wheels. The washer should be between the uninsulated wheel and hornblock. Figure 3. – GDNGRS 6.2mm Wheelset 4) Fold up the chassis ensuring that the sides are perpendicular. 2 ...
- Page 3 Figure 4. – Folding the Chassis 5) Insert the plastic bush into the left hand hole on the chassis. This is a tight fit. 6) Clip the layshaft bracket into place and fold back tabs. 7) Remove the half etched pickup from the etch and attach to the chassis inserting the 12BA x 1/8” bolt through the pickup and into the plastic bush. Figure 5. – Pickup installation 8) Fix the 1.2mm pulley onto the 8 x 16 motor. 9) Assemble the motor onto the chassis using the strap to hold the motor in place. Ensure that the strap is tight. Solder the black wire to the pickup assembly. If a resistor is to be added solder one end of the resistor to the chassis and then solder the red wire to the other end. Take care to ensure that they pass through the chassis carrier. Figure 6 ‐ Wiring 10) Insert the wheel sets. 11) Fold up the lugs on the keeper plate and clip in place on underside of chassis. 3 ...
- Page 4 Figure 7. – Keeper Plate 12) Fold‐up the front chassis support. Solder the 10 BA nut to the selected chassis carrier Figure 8. – Front chassis support and carrier 10 BA nuts 13) Insert the 10 BA bolt through the keeper plate and screw into the nut on the chassis plate. Figure 9 – Chassis bolt 14) Glue the chassis plate into the body. 4 ...
Need help?
Do you have a question about the MPD18 Mk3 009 and is the answer not in the manual?
Questions and answers