Table of Contents
Advertisement
Available languages
Available languages
Quick Links
Advertisement
Table of Contents

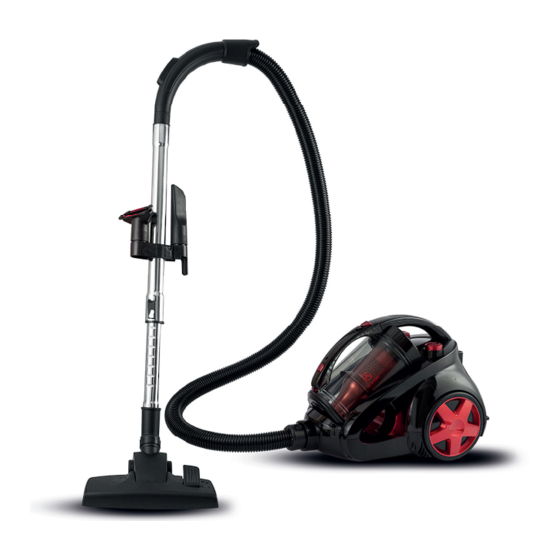
Summary of Contents for AG STORE AG3000
- Page 3 User Manual Thank you for purchasing the AG3000. In order to use this product correctly, please read this manual before use. In order to read the manual at any time when you need it, please keep this manual in a safe place.
- Page 4 This appliance is not intended for use by person(including children)with reduced physical, sensory or mental capabili�es, or lack of experience and knowledge, unless they have been given supervision instruc�on concerning appliance by a person responsible for their safety. Children should be supervised to ensure that they do not play with the appliance. If the supply cord of is damaged, it must be replaced by the manufacturer or its service agent or a similarly qualified This appliance can be used by children from 8 years and above and persons with reduced...
-
Page 5: Precautionary Measures
PRECAUTIONARY MEASURES If the opening that sucks in the air, the suction pipe or the telescopic wand stick on pipe are blocked, you should switch off the vacuum cleaner at once. First clear the blocked substance before you attempt to start the vacuum cleaner again 1.Do not operate the vacuum cleaner too close to heaters like radiators, cigare�e... -
Page 6: Assembling Vacuum Cleaner
ASSEMBLING VACUUM CLEANER Always remove the plug from the power socket before fitting or removing accessories! Connecting vacuum cleaner 1. Fitting or removing the flexible hose Fit�ng: Insert flexible hose into the air intake duct on the top of appliance. Press un�l it clicks into posi�on. - Page 7 D: Fit�ng Floor brush I deal for the daily cleaning on carpets and hard floors. Clean on the carpet Clean on the hard floor INSTRUCTIONS FOR USE Before using appliance, unwind a sufficient length of cable and insert the plug into the power socket.
-
Page 8: Maintenance
2. To rewind the power cable, press the rewind bu�on with one hand and guide the cable with the other hand to ensure that it does not whip causing damage. 3. Power Control : Spin the On/Off switch(Electronic Power Control) knob to control the suc�on power of the cleaner. - Page 9 1 Cleaning and changing filter ,HEPA and sponge for air-inlet (1) After opening the dust-glass cap subassembly, press the lock block of dust cup cover un�l it is unlocked (2) Remove the seal ring of HEPA Remove HEPA from the bracket. Rinse bracket, filter and sponge in lukewarm water and dry them completely.
-
Page 10: Warranty Information
Warranty Information The manufacturer provides warranty in accordance with the legislation of the customer's own country of residence, with a minimum of 2 year, starting from the date on which the appliance is sold to the end user. The warranty only covers defects in material or workmanship. The repairs under warranty may only be carried out by an authorized service centre. - Page 11 Handleiding Dank u voor uw aankoop van de AG3000. Om dit product correct te gebruiken, dient u deze handleiding voor gebruik te lezen. Om de handleiding op elk gewenst moment te kunnen lezen, dient u deze handleiding op een veilige plaats te bewaren.
- Page 12 VOORZORGSMAATREGELEN Deze stofzuiger is voorzien van een stekker en een kabel, die automa�sch oprolt. Als er iets beschadigd raakt, moeten zowel de stekker als de kabel worden gerepareerd door een gekwalificeerde reparateur of elektricien. 1. Gebruik de stofzuiger niet te dicht bij kachels, radiatoren, sigare�en etc.
- Page 13 Stofzuiger in elkaar zetten Haal altijd de stekker uit het stopcontact voordat u accessoires monteert of verwijdert! 1.De flexibele slang monteren of verwijderen Montage: Steek de flexibele slang in het luch�nlaatkanaal op de bovenkant van het apparaat. Druk en draai totdat deze erin klikt.
- Page 14 D. Kies de geschikte stand van de borstel: De borstel beschikt over twee standen: Maak tap�jten schoon: Maak harde vloeren schoon: Gebruiksaanwijzing Voordat u het apparaat gebruikt, moet u een voldoende lang snoer afwikkelen en de stekker in het stopcontact steken. Een gele markering op de voedingskabel geeft de ideale kabellengte aan.
- Page 15 3. Vermogensregeling: draai aan de aan/uit-knop (elektronische vermogensregeling) om de zuigkracht van de stofzuiger te regelen. Onderhoud 3. De stofcontainer legen Druk op de bovenste knop om de stofcontainer te ontgrendelen. Haal de stofcontainer nu uit de stofzuiger. Let op: pak de container voorzich�g op en zorg dat er geen stof uit de openingen valt wanneer u naar de vuilnisbak loopt.
- Page 16 1. Druk op de knop op de stofcontainer te ontgrendelen. Haal de stofcontainer uit de stofzuiger. Let op: houdt de container omhoog zodat er geen stof uitvalt. Druk vervolgens op de andere knop om de stofcontainer te openen. Zorg ervoor dat de container geleegd is voordat je naar de volgende stap gaat.
-
Page 17: Garantie
Garantie De fabrikant geeft garantie volgens de wetgeving van het eigen land van de klant, met een minimum van 2 jaar vanaf de datum waarop het toestel aan de eindgebruiker is verkocht. De garantie dekt alleen defecten in materiaal of vakmanschap. Reparaties onder garantie mogen alleen worden uitgevoerd door een geautoriseerd servicecentrum.
Need help?
Do you have a question about the AG3000 and is the answer not in the manual?
Questions and answers