Advertisement
Table of Contents
Advertisement
Table of Contents

Subscribe to Our Youtube Channel
Summary of Contents for OUZIM BioEngine 2
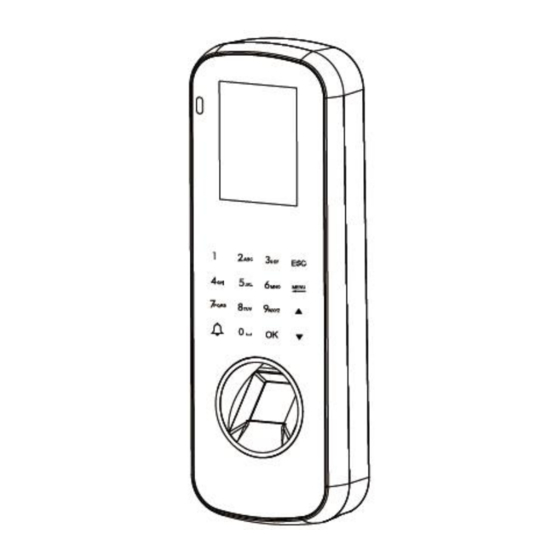
- Page 1 Manual For BioEngine 2 Note: The picture is for reference only, please refer to the actual product Dear users, thank you for choosing our products. We will serve you with high-quality products to ensure that you use this product more smoothly. Please...
-
Page 2: Key Description
Key Description: Enter to menu/confirm Menu/return ESC Exit / cancel the current settings ▲ Scroll up through the menu items. ▼ Scroll down through menu items Doorbell button Number Key Number Select menu / enter number / enter letter Wiring Diagram: ☆Wiring diagram of dedicated power supply for access control (recommended) -
Page 3: User Management
☆Wiring diagram of common power supply User Management: Enter Menu and select “User”; Enroll: The new user enters the work ID and name, and selects face / fingerprint / card / ☆ password to register. - Page 4 ☆Modify: Select Modify to modify user information, including Name, User Time Zone, Photo, Role, PWD, Card, Face, Finger, Valid date, Delete.
- Page 5 Download Report: Press “Report” to download report, select “Report” “Logs” to download date with U-disk. LockCtrl: Menu - Setting - LockCtrl...
- Page 6 The definition of the time interval for unlocking every day Time Setting: Require how many users to confirm before they can open the door at Users to Open: the same time Unlock For: Time for device control the time to open or closed the electric lock The type of door magnet: there are three types: No, Open Type, Closed Type;...
- Page 7 Settings: Menu - Settings - Device Languages: English or other language for optional Admins: 0 to 10 optional Volume: 0 to 10 optional Verify Mode: FC/face, FP/fingerprint, P/password, C/ID/IC card Verify Screen: The time that back to the menu after verification Screen Saver Time to display screen saver Sleep Time:...
- Page 8 Initial: Menu - Settings - Initial Reset Default: All the setting information will be restored to the factory data, but the user registration data and attendance records will not be cleared. Delete All Logs: All attendance records will be deleted, but the user information will not be deleted.
- Page 9 Disassembly And Assembly of Access Control Attendance Machine: 1. It is recommended that the height from the baseline (bottom end of the product) to the ground is 1.30 meters (suitable for heights ranging from 1.5 meters to 1.8 meters), which can be adjusted according to the overall height of the user. After determining the installation height, attach the installation positioning template to the installation Position, drill the hole and fix the hole according to the positioning template identification (Picture 1).
-
Page 10: Packing List
Packing List: In addition to the machine, the box contains the following items: 1 Face fingerprint access control machine manual 1 8P, 10P terminal wires, 1 power adapter cable 1 Network patch cord 4 M3.5x16 screws, 4 M3.5x16 plugs 1 Torx screwdriver 1 Installation and positioning diagram 1 QR code card...
Need help?
Do you have a question about the BioEngine 2 and is the answer not in the manual?
Questions and answers