Table of Contents
Advertisement
Quick Links
Advertisement
Table of Contents

Summary of Contents for Eleven Hobby 1100MM P-51 Mustang
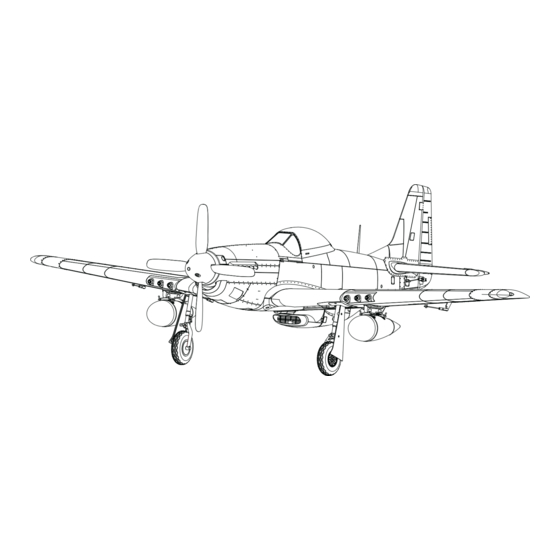
- Page 1 1100MM P-51 Mustang ELEVENHOBBY.COM ELECTRIC POWERED REMOTE CONTROL AIRPLANE...
- Page 2 WARNING: Read the ENTIRE instruction manual to become familiar with the features of the product before operating. Failure to operate the product correctly can result in damage to the product, personal property and cause serious injury. This is a sophisticated hobby product and NOT a toy. It must be operated with caution and common sense and requires in injury or damage to the product or other property.
-
Page 3: Table Of Contents
Box Contents Quick Start Information Transmitter Set up your transmitter using the Setup transmitter setup chart High Rate Low Rate 12mm up/down 8mm up/down Dual Rates 16mm up/down 10mm up/down 27mm left/right 20mm left/right Center of 89-94mm (From Leading Edge) Gravity (CG) Flight Timer 6 minutes... -
Page 4: Model Assembly
Preflight Remove and inspect contents. Perform the Control Test with the transmitter. Read this instruction manual thoroughly. Perform the P51 Control Direction Test with the aircraft. Charge flight battery. Adjust flight controls and transmitter. Fully assemble airplane. Perform a radio system Range Text. Install the flight battery in the aircraft(once it has fully charged). -
Page 5: Model Assembly Continued
Model Assembly Continued Attach the clevis to the elevator control horn (See instructions for clevis connection in page 10). - Page 6 Model Assembly Continued Wing Installation Remove the canopy hatch. Guide all the connectors through the hole located in the bottom of the fuselage as shown Connect the Flaps, Retracts and Aileron connecters to respective Y-harnesses connected to the receiver The left and right servos can be connected to either side of a Y-harness.
-
Page 7: Battery Installation And Esc Arming
Battery Installation and ESC Arming Apply the hook tape to the cable end of the battery. Make sure the battery is secured using the hook. Note: you may need to relocate the battery position to achieve the correct CG for your model. -
Page 8: Get Your Model Ready To Fly
Get your model ready to fly Important ESC and model information The ESC included with the model has a safe start. If the motor battery is connected to the ESC and the throttle stick is not in the low throttle or position, the motor will not start until the throttle stick is moved to the low throttle or off position. -
Page 9: Motor Service
Motor Service Assemble the spinner and propeller as shown. P51 Control Direction Test Aircraft Before getting started, bind your receiver P51 Reaction with your transmitter. Please refer to your movement Transmitter Manual for proper operation CAUTION: To prevent personal injury, DO NOT install the propeller assembly onto the motor shaft while testing the control surfaces. -
Page 10: Clevis Installation And Control Centering
Clevis Installation and Control Centering Clevis Installation Pull the tube the clevis to the linkage Carefully spread the clevis, then insert the clevis pin into the desired hole in the control horn. More the tube to hold the clevis on the control horn. Control Horn and Servo Arm Settings The table shows the factory settings for the control Horns... -
Page 11: Before Flying The Model
Before flying the model Find a suitable flying site Find a flying site clear of buildings, trees, power lines and other obstructions. Until you know how much area will be required and have mastered flying your plane in confined spaces, choose a site which is at least the size of two to three football fields - a flying field specifically for R/C planes is best. -
Page 12: Flying Course
Flying course Take off While applying power, slowly steer to keep the model straight. the model should accelerate quickly. As the model gains flight speed you will want to climb at a steady and even rate. P-51 will climb out at a nice angle of attack (AOA). Always choose a wide-open space for flying your plane. -
Page 13: Troubleshooting
Troubleshooting... -
Page 14: Esc Instruction
ESC instruction P-51 1.1M... - Page 16 1100MM P-51 Mustang Created by 04/16...
Need help?
Do you have a question about the 1100MM P-51 Mustang and is the answer not in the manual?
Questions and answers