Table of Contents
Advertisement
Quick Links
Advertisement
Table of Contents

Summary of Contents for Geevon GN-220020
- Page 1 BLUETOOTH WATER TIMER USER MANUAL GN-220020...
-
Page 2: Table Of Contents
DIRECTORY Product Overview 1.Product Appearance 2.Product Specification Main Functions Installations 1.Download the Geevon Life App 2.Power the Bluetooth Water Timer 3.Add a Device 4.Basic information of Home Screen 5.Manual Operation 6.Weather Delay 7.Schedule and settings 8.Irrigation History 9.Non-irrigation Time Setting 10. -
Page 3: Product Overview
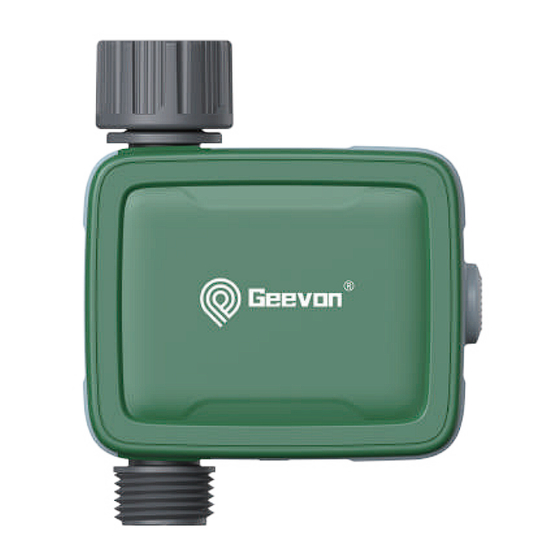
Product Overview 1.Product Appearance Brass Inlet Connect/Manual Button Outlet 2.Product Specifications Working Pressure 0.5bar-8bar (7.25 psi-116 psi) Flow Rate 1.3Gal/Min-9.2Gal/Min (5L/Min-35L/Min) 37~122℉ (3~50℃) Working Temperature Waterproof IP54 NH(US) for 3/4"faucet/hose BSP (EU) for 1"or 3/4" faucet/hose Inlet Outlet For 3/4" standard garden hose Voltage>2.8V:100% 2.6V<Voltage<2.8V:50% 2.4V<Voltage<2.6V:10% (low battery) -
Page 4: Main Functions
Scan the QR code and download the free Andriod or IOS app, then install the APP. Follow the prompts to register account or log in with an existing account. If you have already installed the Geevon Life APP, go to step 2. Arailable on the Apple Store... -
Page 5: Power The Bluetooth Water Timer
2.Power the Bluetooth Water Timer Remove the back case pull out battery cover of Bluetooth water timer and load 2xAA batteries (not included). Press and hold the button until the green LED flashes rapidly, which means the devices is ready to connect. 3.Add a Device Launch APP, tap “... - Page 6 Press the “Add ” button on the right of the found device and tap “Done” button after connection finished.
- Page 7 Once the connection is complete, the paired devices will be shown on the home page. Click the Bluetooth Water Timer and get into main page of the device.
-
Page 8: Basic Information Of Home Screen
4.Basic information of Home Screen Setting Battery Status Weekday & Weather Forecast Manual Watering Duration Setting Last Irrigation Time Next Schedule Remote None Irrigation Setting Control Events Tracking Weather Dela Timer Schedule Press the button on the top right corner to enter device information page. -
Page 9: Manual Operation
Click the Smart Watering Timer to enter the device details pages. This page displays the following information: date, battery status, device status, weather information, irrigation time, last run timer, next run time. At the bottom, there is an operation panel with several options: Remote Control, Weather Delay, Timer Schedule, Events Tracking, None Irrigation Setting. -
Page 11: Weather Delay
6.Weather Delay Tap the “Weather Delay” to enable the rain delay function. The weather delay can set with 24H,48H,72H and cancel. 7.Schedule and settings Click and choose the schedule type you need and confirm the watering start time, duration, weekdays to water, and save all settings. The soak &... - Page 12 Schedule Type On the schedule page, after select button, there are two types for selection: Normal type and Cycle & Soak type. Normal Schedule: means device watering at a particular period in a day. a.Select Start Time: when you want the device to start watering. b.Select Irrigation Duration: how long you want to irrigate.
- Page 13 Cycle & Soak: means the device will run the watering schedule repeatedly in this period. a. Select Start Time for the time you want the device to start watering and select End Time to stop watering. b. Select days of the week to decide which day or days you want watering. c.
-
Page 14: Irrigation History
*****Tips****** a.The minimum period cannot be greater than the total time period. b.There will be time conflict notice when the time schedule overlap, causing plans fail of setting. c.When all plans are set up, they will be displayed on the timer list. There is shortcut button behind each group of plans to quick start or stop the plan directly. -
Page 15: Non-Irrigation Time Setting
9.Non-irrigation time setting Once this setting is done and enabled, the smart watering timer will skip the preset irrigation schedule. -
Page 16: Timer Reset & Restore
60 meters in the open area. 2.The watering timer will follow and perform the preset watering schedule after application set successfully, even if the phone is out of the best connecting range. TECHNICAL SUPPORT Please contact us support@geevon.com...
Need help?
Do you have a question about the GN-220020 and is the answer not in the manual?
Questions and answers