Advertisement
Quick Links
Advertisement

Subscribe to Our Youtube Channel
Related Manuals for Songmics VASAGLE LHC41


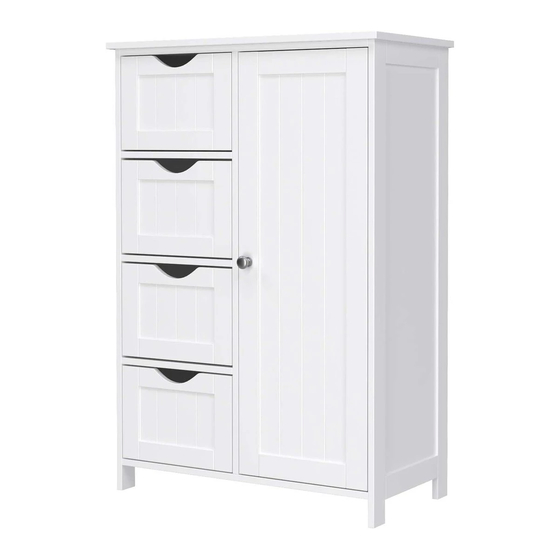
Summary of Contents for Songmics VASAGLE LHC41
- Page 1 LHC41 www.songmics.com...
-
Page 2: General Guidelines
General Guidelines Please read the following instruction carefully and use the product accordingly. Ÿ Please keep this manual and hand it over when you transfer the product. Ÿ This summary may not include every detail of all variations and considered steps. Please contact us when Ÿ... - Page 3 During the assembly process, keep any small parts out of the reach of children. It may be fatal if swallowed or Ÿ inhaled. To avoid the potential dangers of suffocation, please keep all parts and packaging (films, plastic bags and foam, Ÿ...
- Page 4 Reinigung: Mit feuchtem Tuch abwischen. Dann mit trockenem Tuch nachwischen. Ÿ Warnhinweise Um das Umkippen/Herunterfallen und die dazu führenden Verletzungen zu vermeiden, soll das Produkt nicht Ÿ zum Hinstellen benutzt werden. Bitte verankern Sie das Produkt fest an der Wand, und vor der Benutzung sichern Sie das Produkt gegen Herunterfallen.
-
Page 5: Linee Guida Generali
Toutes les pièces sont numérotées, veuillez vous référer à la notice pour trouver les pièces correspondantes Ÿ avant le montage. S’il y a des pièces qui ne correspondent pas, veuillez revérifier les numérotations des pièces en vous référant à la notice de montage et vous assurer que vous ne vous trompez pas de pièces. Veuillez d’abord positionner et régler les pièces en faisant référence à... -
Page 6: Acerca Del Manual
Si prega di montare il prodotto a un luogo spazioso, non mettere le superfici e i bordi a diretto contatto con il Ÿ pavimento per evitare graffi. Si raccomanda di indossare guanti durante il montaggio per evitare di essere ferito dai bordi taglienti. - Page 7 Para facilitar el montaje, se recomienda realizarlo entre dos adultos. Por favor, sea paciente y siga paso a paso Ÿ las instrucciones. Al abrir el paquete, por favor, verifique si están entregadas todas las piezas en buen estado. Cuando se Ÿ...
- Page 8 × 1 × 1 × 1 × 1 × 1 × 1 × 1 × 1 × 2...
- Page 9 × 4 × 8 × 4 × 4 × 3 × 8 18+1 16+1 16+1 × 2 20+1 32+2 M3 × 12mm M3 × 14mm M3 × 25mm...
- Page 10 × 2 × 2 × 2 M4 × 20mm M4 × 30mm × 1 × 1 × 1 × 4 × 1 × 4 16+1...
- Page 11 Bolzen Boulon Bolt bullone Perno Verbindungsbeschlag Écrou Connecting piece pezzo di collegamento Pieza de sujeción Stecken Sie den Bolzen in diesem Zustand Stellen Sie die Richtung des ein. Verbindungsbeschlags ein, falls der Zustand wie dargestellt Insérez le boulon quand l'écou est dans Ajustez l'écrou selon le schéma telle condition Insert bolt when Connecting piece...
- Page 12 × 4 32PCS...
- Page 13 16PCS...
- Page 14 2PCS 6PCS 2PCS 2PCS 1PCS 1PCS...
- Page 15 10PCS 10PCS 10PCS 3PCS...
- Page 16 6PCS 6PCS 2PCS 2PCS 1PCS...
- Page 17 20PCS 1PCS...
- Page 18 1PCS 4PCS...
- Page 19 Version QM:1.0 EUZIEL International GmbH Stand:01.11.2018...
Need help?
Do you have a question about the VASAGLE LHC41 and is the answer not in the manual?
Questions and answers
I am missing 3 of the brackets that are labeled as O.
If brackets labeled as "O" are missing or damaged for the Songmics VASAGLE LHC41, do not assemble the product. Instead, contact the manufacturer or seller for replacements. Check the manual for support contact details and provide the product code and missing part information.
This answer is automatically generated