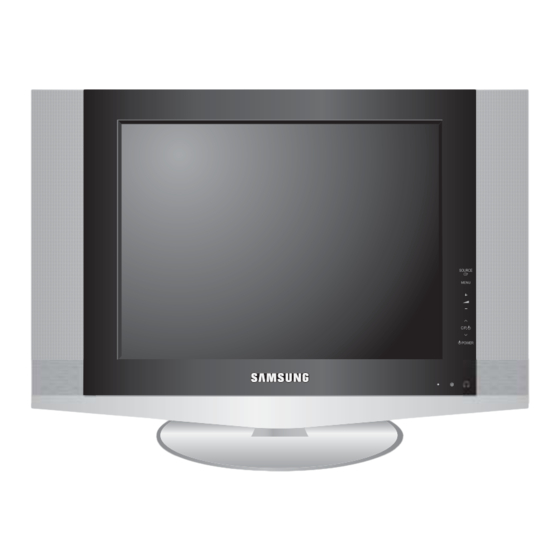
Samsung LA20S51B Service Manual
Tft-lcd tv chassis sp20so
Hide thumbs
Also See for LA20S51B:
- Owner's instructions manual (55 pages) ,
- Owner's instructions manual (55 pages)

Related Manuals for Samsung LA20S51B


Summary of Contents for Samsung LA20S51B
-
Page 1: Table Of Contents
TFT-LCD TV Chassis Model SP20SO LA20S51B SERVICE Manual TFT-LCD TV CONTENTS 1. Precautions 2. Product Specifications 3. Disassembly & Reassembly 4. Alignment & Adjustments 5. Troubleshooting 6. Exploded View & Parts List 7. Electrical Parts List 8. Block Diagram 9. Wiring Diagram 10. -
Page 2: Product Specifications
2 Product Specifications 2-2 Pin Assignments 2-2-1 DVD 2-2-2 S-Video Separate RCA Green Pb (Cb) RCA Blue Pr (Cr) RCA Red Audio L RCA White Audio R RCA Red 2-2-3 A/V 2-2-4 D-SUB Separate RCA Yellow CVBS Audio L RCA White Green Blue Audio R... - Page 3 2 Product Specifications 2-3 Timing Chart This section of the service manual describes the timing that the computer industry recognizes as standard for computer-generated video signals. Table 2-1 Timing Chart Mode VESA 640/75 Hz, 800/75 Hz, 56Hz, VGA2/70 Hz VGA3/60 Hz 1024/60Hz 1024/75Hz 1280/75Hz,50Hz...
-
Page 4: Disassembly & Reassembly
3 Disassembly and Reassembly 3 Disassembly and Reassembly This section of the service manual describes the disassembly and reassembly procedures for the LA20S51B TFT-LCD TV. WARNING: This monitor contains electrostatically sensitive devices. Use caution when handling these components. 3-1 Disassembly Cautions:1. - Page 5 3 Disassembly and Reassembly 3. Remove 8 screws from the main board and disconnect cables. 4. Lift up the power board and main board. 5. Remove 6 screws from the BRKT and lift up the BRKT.
- Page 6 3 Disassembly and Reassembly 5. Lift up the panel. 3-2 Replacement Order of Lamp Assemblies 1. After confirm there is nothing on the desk, turn the LCD module over and put it on a flat desk set to the ground. 2.
- Page 7 3 Disassembly and Reassembly 3 Disassembly and Reassembly 3. Slide the lamp unit out. Please take out the lamp Slide the lamp unit out. unit from the LCD module. Slide the lamp unit out. 4. Please fix the new lamp units on the LCD module : opposite process 2 and 3.
- Page 8 4 Alignments and Adjustments 4 Alignments and Adjustments 4-1 General Alignment Instuction 1. Usually, a color LCD TV needs only slight touch-up adjustment upon installation. Check the basic characteristics such as height, horizontal and vertical sync. 2. Use the specified test equipment or its equivalent. 3.
- Page 9 4 Alignments and Adjustments 4-2 Factory Mode Adjustments 4-2-1 Entering Factory Mode 1. To enter “Service Mode” Press the remote -control keys in this sequence : - If you do not have Factory remote - control - If you have Factory remote - control 4-2-2 Factory Mode Tree...
- Page 10 4 Alignments and Adjustments...
- Page 11 4 Alignments and Adjustments...
- Page 12 4 Alignments and Adjustments 7. Test Pattern ( Test Pattern of VCTi) 1) VCTi 2) Toshiba 3) Gray Bar 4) Gray 5) Green 6) Color Bar 7) Cross 8. Bus Stop - Bus stop is used data communication. 9. Chcek Sum - Display the current check sum size of the MICOM.
- Page 13 4 Alignments and Adjustments 4-2-4 Calibration...
-
Page 14: Troubleshooting
5 Troubleshooting 5 Troubleshooting 5-1 No Power Does proper DC 14V/5V Check CN803 Pin3, Pin9 in I/P appear at Pin 3. Pin 9 of Board. CN100? Does proper DC A5V Check IC101 and IC105. appear at FT144? Does proper B3.3V Check IC111. - Page 15 5 Troubleshooting Does proper DC 5V_P appear Check IC104. at Pin 2 of IC104? Does proper DC 9V_S Check IC110. appear at FT127? Does proper DC B5V Check IC108. appear at FT131? Check IC704 and IC802.
- Page 16 5 Troubleshooting WAVEFORMS...
- Page 17 5 Troubleshooting 5-2 No Picture (TV, Video, S-Video, DVD) Check C800(TV) Check C822(Video) Check the input signal. Check C824(S-Video) Check C821(DVD)? Check the IC802. WAVEFORMS...
- Page 18 5 Troubleshooting 5-3 No Sound Does the signal appear at Pin 110 (Tuner sound signal) (RF) Check Tu01 (TV Tuner). and Pin 113, 114 (VCR sound) (Video) Check the CN913. and Pin 115, 116 (DVD) Pin 117, (DVD) Check the CN901. 118 (PC) of IC802 (VCTj)? Does the signal appear at Pin Check IC802.
-
Page 19: Block Diagram
8 Block Diagrams 8 Block Diagram - This Document can not be used without Samsung’s authorization. 8-1 Signal Path Block Diagram... - Page 20 8 Block Diagrams 8-2 Input Power Block Diagram...
- Page 21 10 PCB Layout 10 PCB Layout 10-1 Main PCB Layout Loc. No. Description Loc. No. Description DIODE D941 DIODE-ZENER 35.5 22.3 D942 DIODE-ZENER 40.8 22.2 D601 DIODE-ARRAY 143.6 142.7 D945 DIODE-ZENER 37.7 36.1 D907 DIODE-ARRAY 11.0 22.8 D946 DIODE-ZENER 100.7 28.4 D101 DIODE-RECTIFIER...
-
Page 22: Wiring Diagram
9 Schematic Diagrams 9 Wiring Diagram... -
Page 23: Schematic Diagrams
11 Schematic Diagrams 11 Schematic Diagrams - This Document can not be used without Samsung’s authorization. 11-1 Input Power Sound Schematic Diagram 11-1... - Page 24 11 Schematic Diagrams 11 Schematic Diagrams 11-2...
- Page 25 11 Schematic Diagrams - This Document can not be used without Samsung’s authorization. 11-2 Video Decoder Schematic Diagram 11-3...
- Page 26 11 Schematic Diagrams - This Document can not be used without Samsung’s authorization. 11-3 Output Scaler, LVDS Schematic Diagram 11-5...
- Page 27 11 Schematic Diagrams - This Document can not be used without Samsung’s authorization. 11-4 IP Board_1 Schematic Diagram 11-6...
- Page 28 11 Schematic Diagrams - This Document can not be used without Samsung’s authorization. 11-7 IP Board_2 Schematic Diagram 11-7...
Need help?
Do you have a question about the LA20S51B and is the answer not in the manual?
Questions and answers