Advertisement
Quick Links
CONTENTS
Tools Needed - 2
Parts - 2
Notes - 3
Hardwired Assembly - 4/6 Use and Maintenance - 7
GENERAL INFORMATION
This instruction sheet contains information on how to install the Wall-Mounted Magnification Mirror. This series
comes in many variations. Please refer to the box or product label for the specific model number.
Save these instructions for future use and reference.
KARTNERS.COM 1.877.490.3537 604.628.0567
PRODUCT INSTALLATION GUIDE
COSMETIC MIRRORS
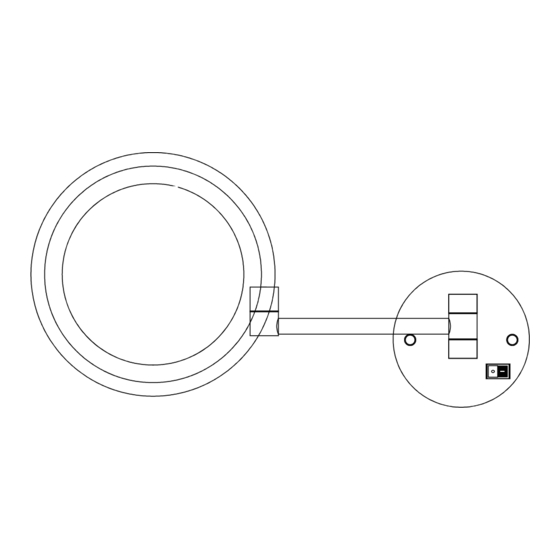
8" LED MIRROR
KCM-RD-8LD
V2_03/23
Advertisement

Related Manuals for KARTNERS KCM-RD-8LD


Summary of Contents for KARTNERS KCM-RD-8LD
- Page 1 This instruction sheet contains information on how to install the Wall-Mounted Magnification Mirror. This series comes in many variations. Please refer to the box or product label for the specific model number. Save these instructions for future use and reference. KARTNERS.COM 1.877.490.3537 604.628.0567 V2_03/23...
-
Page 2: Tools Needed
PRODUCT INSTALLATION GUIDE TOOLS NEEDED 5/16" PARTS Magnification Mirror Hardware Bag (2) Wall Anchor (3) Wire Nut (2) Mounting Screw (must be flat head crew) KARTNERS.COM 1.877.490.3537 604.628.0567 V2_03/23... -
Page 3: Important Safety Instructions
9. Do not operate where aerosol (spray) products are being used or where oxygen is being administered. 10. To disconnect, turn all controls to the off position, then remove plug from outlet. 11. Mount furnishings at the correct height. DANGER - RISK OF SHOCK - DISCONNECT POWER BEFORE INSTALLATION KARTNERS.COM 1.877.490.3537 604.628.0567 V2_03/23... - Page 4 Set this hardware aside in a safe place. 2. Once the mounting plate is free, pass the field wiring through the center opening of the mounting plate. 3. Align the supplied mounting screws with the electrical box screw locations and loosely install screws. KARTNERS.COM 1.877.490.3537 604.628.0567 V2_03/23...
- Page 5 4. Using a level, adjust the rotation of the mounting plate until it's level. 5. While holding the mounting plate level, tighten the screws (must be flat head screw), securing the mounting plate to the electrical box. KARTNERS.COM 1.877.490.3537 604.628.0567 V2_03/23...
- Page 6 7. Push excess wire into the electrical box and reinstall the decorative nuts or screws removed in Step 1. Black ( L) Black ( L) White ( N ) White ( N ) 20A GFI Circuit Magnification Mirror Ground ( G ) Ground ( G ) KARTNERS.COM 1.877.490.3537 604.628.0567 V2_03/23...
-
Page 7: Cleaning And Care
To remove stubborn stains slightly dampen the cloth with water or rubbing alcohol. When cleaning the metal frame, use only a damp cloth. NOTE: Do not use abrasive cleansers on any part of the magnification mirror. No Ammonia No Vinegar KARTNERS.COM 1.877.490.3537 604.628.0567 V2_03/23...