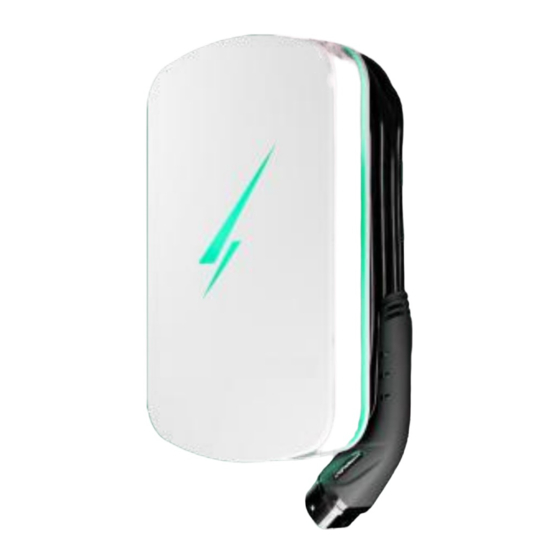
HYPERVOLT Home 3.0 Operation & Installation Manual
Hide thumbs
Also See for Home 3.0:
- Operation and installation manual (30 pages) ,
- Quick start manual (8 pages) ,
- Quick start manual (7 pages)
Summary of Contents for HYPERVOLT Home 3.0
- Page 1 Home 3.0 Operation & Insta ation Manua...
- Page 9 Installation Enclosure Parts Back Box LED Plate Front Cover...
- Page 11 Installation Mounting the Charger Step 2 Insert the bottom 2 screws (14) then tighten all 4 up pinching the unit up to the wall (do not over tighten or distort the back box). Make sure the unit is level and adjust if required.
- Page 16 Step 7 Once you have finished wiring your Hypervolt charger, you will need to re-fit the LED plate (B). First click together the white square cable joint. Put the top two tabs of part (B) over their locators on the top side of the back box (A). Now pull down on the middle bottom edge of part (B) and click the bottom into place.
- Page 17 Installation Fitting the Front Enclosure Step 8 Lastly slide the front cover (C) over parts A & B and secure using the four M4 screws supplied. A small amount of pressure will be required on the front to compress the seal and line the holes up. Please take care not to cross thread the screws which only need to be hand tight, never use powered screwdrivers.
- Page 18 &...


Need help?
Do you have a question about the Home 3.0 and is the answer not in the manual?
Questions and answers