Advertisement
Quick Links
Advertisement

Related Manuals for Countryside CLS Static

Summary of Contents for Countryside CLS Static
- Page 1 Setup Guide CLS Static Wi-Fi Camera...
-
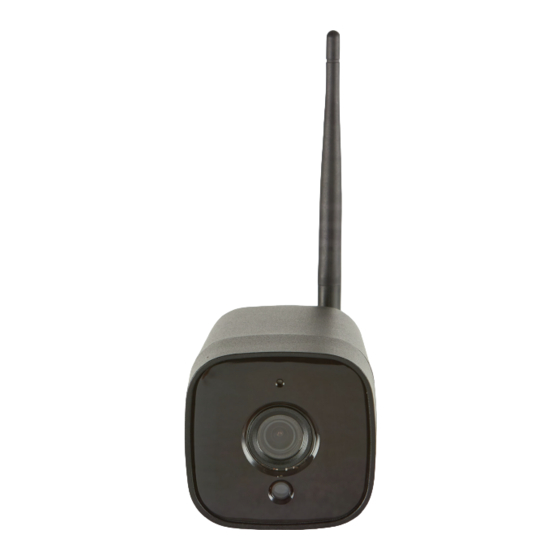
Page 2: Assemble The Camera
Step Assemble the camera • Screw the aerial onto the camera without overtightening. Step Insert SD card • Remove the rectangular access panel with a screwdriver from the bottom of the security camera. • Insert your SD card (optional) as shown in the photo. -
Page 4: Connect To Power
Step Connect to power • Use the DC barrel to connect the security camera to the power supply • If you are using the 12V leisure battery connection leads, you will not need to use the camera’s plug. - Page 5 Reset Ethernet Power...
-
Page 6: Add Camera To App
Step Add camera to app • On your phone or tablet go to the App / Google Play store and download the CamHipro app. • Open the app and grant permission. • Go to the Wi-Fi settings on your device and connect to the network named IPCAM*** •... - Page 7 Select ‘Add Camera’ Select ‘IP Camera’ Select ‘Device in Use’ Select ‘Scan QR Code’...
- Page 8 Scan QR Code Select ‘Confirm Add’ Name Your Camera Wait for Connection...
- Page 9 Tap ‘Yes’ to Change Complete the Tutorial Password...
- Page 10 Step Connect to WI-Fi • Tap the ‘cog’ icon and complete these steps to connect to your chosen Wi-Fi network. • Your camera will then be connected to your Wi-Fi. This can take up to 30 seconds. Tap ‘Wireless Settings’ Tap ‘Get wireless network around device’...
- Page 11 Step Using your Static Camera • Install your camera in your chosen location with internet connection and re-connect to the power. • To zoom your static camera, place your finger and thumb in the middle of the screen and pinch them together.
- Page 12 clsonline.co.uk...
Need help?
Do you have a question about the CLS Static and is the answer not in the manual?
Questions and answers