Table of Contents
Advertisement
Quick Links
Important safety instructions:
Please read carefully all instructions before assembly.
For your safety and ease, assembly by two or more adults is recommended.
Keep instructions for future use.
Pre-assembly:
Do not discard any content until assembly is complete to avoid accidentally discarding small parts or hardware.
Take out all parts and hardware from box.
Parts List
Description
Item
P1
Side Panel (Left)
P2
Side Panel (Right)
P3
Top Panel
P4
Bottom Panel
P5
Vertical Panel
P6
Base Panel
P7
Back Panel
P8
Base Support Panel
P9
Cushion
ASSEMBLY INSTRUCTIONS
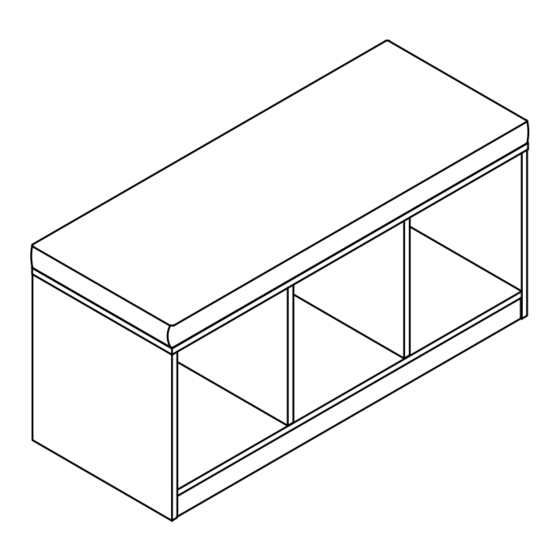
Description: ZEUS ACCENT BENCH
QTY
1
1
1
1
2
1
1
1
1
Page 1 of 6
Advertisement
Table of Contents

Summary of Contents for 510 DESIGN ZEUS
- Page 1 ASSEMBLY INSTRUCTIONS Description: ZEUS ACCENT BENCH Important safety instructions: Please read carefully all instructions before assembly. For your safety and ease, assembly by two or more adults is recommended. Keep instructions for future use. Pre-assembly: Do not discard any content until assembly is complete to avoid accidentally discarding small parts or hardware.
- Page 2 Hardware List Extra Hardware List Description Description Item Item Dowel M8x25 Dowel M8x25 Screw M6x40 Screw M6x40 Nail Leg Sticker Sticker Alen Wrench Tools Needed (Not Included) Hammer DISCLAIMER: WHEN PROPERLY ASSEMBLED, THIS ITEM IS SAFE FOR INTENDED USE. SELLER IS NOT LIABLE FOR ANY DAMAGES RESULTING FROM ITEM BEING IMPROPERLY ASSEMBLED AFTER PURCHASE.
- Page 3 Step 3: Attach the vertical panel (P5) to the bottom panel (P4) with screw (H2) as shown. H2 x 4 H5 x 1 Step 4: Attach the back panel (P7) to the previous assembly witrh screw (H2). H2 x 4 H5 x 1 Page 3 of 6...
- Page 4 Step 5: Turn the assembled unit lay down. Attach the base support panel (P8) to the previous assembly as shown. Step 6: Attach the base panel (P6) to the privious assembly as shown. Step 7: Align and attach the left side panel (P1) to the privious assembly with screw (H2). Repeat the same procedure to attach the right side panel (P2) at the opposite end.
- Page 5 Step 8: Turn the assembled unit upright. Attach the top panel (P3) to the previous assembly with screw (H2). H2 x 10 H5 x 1 Step 9: Turn the assembled unit lay down. Tap in the nail leg (H4) to the previous assembly by hammer as shown. H3 x 6 Step 10: Turn the assembled unit upright.
- Page 6 Step 11: Fix the cushion (P9) to the previous assembly as shown. FINISH Page 6 of 6...
Need help?
Do you have a question about the ZEUS and is the answer not in the manual?
Questions and answers