
Related Manuals for Intel NUC11PAKi7


Summary of Contents for Intel NUC11PAKi7
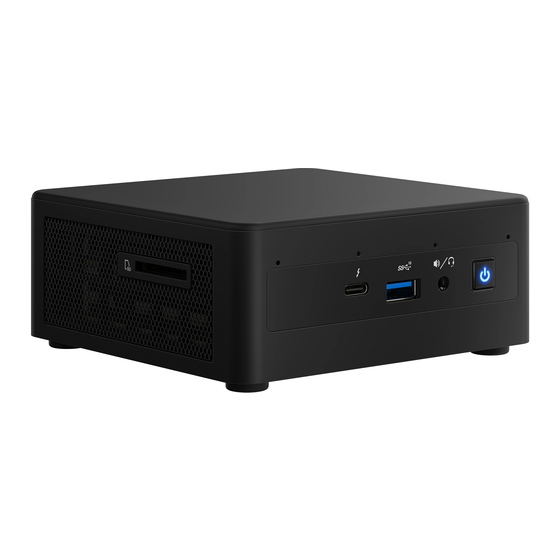
- Page 1 Intel® NUC Kit NUC11PAKi7 Intel® NUC Kit NUC11PAKi5 Intel® NUC Kit NUC11PAKi3 User Guide January 2021 NUC11PAKi7, NUC11PAKi5, NUC11PAKi3 User Guide - January 2021...
- Page 2 You may not use or facilitate the use of this document in connection with any infringement or other legal analysis concerning Intel products described herein. You agree to grant Intel a non-exclusive, royalty-free license to any patent claim thereafter drafted which includes subject matter disclosed herein.
-
Page 3: Table Of Contents
Remove SO-DIMMs ............................9 Install an M.2 SSD .......................10 Close the Chassis .........................12 Use the VESA Bracket (Optional) ................13 Connect Power ........................15 Install an Operating System ..................18 Install the Latest Device Drivers and Software ..........19 NUC11PAKi7, NUC11PAKi5, NUC11PAKi3 User Guide - January 2021... - Page 4 Revision History Date Revision Description January 2021 Initial release. NUC11PAKi7, NUC11PAKi5, NUC11PAKi3 User Guide - January 2021...
-
Page 5: Introduction
ESD protection by wearing an antistatic wrist strap and attaching it to a metal part of the computer chassis. Installation Precautions When you install and test the Intel NUC, observe all warnings and cautions in the installation instructions. NUC11PAKi7, NUC11PAKi5, NUC11PAKi3... -
Page 6: Observe Safety And Regulatory Requirements
Observe all warnings and cautions that instruct you to refer computer servicing to qualified technical personnel. Observe Safety and Regulatory Requirements If you don’t follow these instructions, you increase your safety risk and the possibility of noncompliance with regional laws and regulations. NUC11PAKi7, NUC11PAKi5, NUC11PAKi3 User Guide - January 2021... -
Page 7: Open The Chassis
Open the Chassis Unscrew the four corner screws on the bottom of the chassis and lift the cover. NUC11PAKi7, NUC11PAKi5, NUC11PAKi3 User Guide - January 2021... -
Page 8: Install And Remove System Memory
Install and Remove System Memory Intel NUC Kits NUC11PAKi7, NUC11PAKi5 and NUC11PAKi3 have two 260-pin DDR4 SO-DIMM memory slots Memory requirements: • 1.2V low voltage memory • 3200 MHz SO-DIMMs • Non-ECC Find compatible system memory modules at the Intel® Product Compatibility Tool: •... -
Page 9: Remove So-Dimms
7. Reinstall and reconnect any parts you removed or disconnected to reach the SO-DIMM sockets. 8. Replace the computer’s cover and reconnect the AC power cord. NUC11PAKi7, NUC11PAKi5, NUC11PAKi3 User Guide - January 2021... -
Page 10: Install An M.2 Ssd
Install an M.2 SSD or Intel® Optane™ Memory Module Intel NUC Kits NUC11PAKi7, NUC11PAKi5 and NUC11PAKi3 support 80mm and 42mm SSDs. Find compatible M.2 SSDs at the Intel® Product Compatibility Tool: • NUC11PAKi7 • NUC11PAKi3 • NUC11PAKi3 If you’re installing an 80mm M.2 SSD: 1. - Page 11 3. Align the small notch at the bottom edge of the M.2 card with the key in the connector. 4. Insert the bottom edge of the M.2 card into the connector (D). 5. Secure the card to the standoff with the small silver screw (E). NUC11PAKi7, NUC11PAKi5, NUC11PAKi3 User Guide - January 2021...
-
Page 12: Close The Chassis
Close the Chassis After all components have been installed, close the Intel NUC chassis. Intel recommends this be done by hand with a screwdriver to avoid over-tightening and possibly damaging the screws. NUC11PAKi7, NUC11PAKi5, NUC11PAKi3 User Guide - January 2021... -
Page 13: Use The Vesa Bracket (Optional)
1. Using the four small black screws that were included in the box, attach the VESA bracket to the back of the monitor or TV. 2. Attach the two slightly larger black screws to the bottom chassis cover of the Intel NUC. NUC11PAKi7, NUC11PAKi5, NUC11PAKi3 User Guide - January 2021... - Page 14 3. Slide the Intel NUC onto the VESA mount bracket. NUC11PAKi7, NUC11PAKi5, NUC11PAKi3 User Guide - January 2021...
-
Page 15: Connect Power
Connect Power Country-specific power plug attachments are included in the box. 1. Connect AC power. Each Intel NUC model includes either a region-specific AC power cord or no AC power cord (only the power adapter). Product codes Power cord type RNUC11PAQi70QA0 No power cord included. - Page 16 RNUC11PAKi30002 RNUC11PAQi70QA3 RNUC11PAQi50WA3 RNUC11PAQi30WA3 RNUC11PAHi70003 UK power cord included. RNUC11PAHi50003 RNUC11PAKi50003 RNUC11PAHi30003 RNUC11PAKi30006 RNUC11PAQi70QA4 RNUC11PAQi50WA4 RNUC11PAQi30WA4 RNUC11PAHi70004 Australia/New Zealand power cord included. RNUC11PAHi50004 RNUC11PAKi50004 RNUC11PAHi30004 RNUC11PAKi30004 RNUC11PAHi70005 India power cord included. RNUC11PAHi50005 NUC11PAKi7, NUC11PAKi5, NUC11PAKi3 User Guide - January 2021...
- Page 17 RNUC11PAHi30005 RNUC11PAQi70QA6 RNUC11PAQi50WA6 RNUC11PAQi30WA6 RNUC11PAHi70006 China power cord included. RNUC11PAHi50006 RNUC11PAKi50006 RNUC11PAHi30006 RNUC11PAKi30006 NUC11PAKi7, NUC11PAKi5, NUC11PAKi3 User Guide - January 2021...
-
Page 18: Install An Operating System
Intel Product Compatibility Tool lists versions of Linux* that have been reported as compatible by Intel NUC owners. If you need assistance with Linux on your Intel NUC, check the distribution’s website and forums for peer assistance. Refer to Operating System Installation for system requirements and installation steps. -
Page 19: Install The Latest Device Drivers And Software
Intel® Management Engine • Intel® Gigabit Ethernet • Intel® Wireless • Intel® Bluetooth • Intel® USB 3.0 (needed for Windows 7* only) • Intel® Serial IO • Realtek* High Definition Audio • ITE Tech* Consumer Infrared • Intel® Rapid Storage Technology •...
Need help?
Do you have a question about the NUC11PAKi7 and is the answer not in the manual?
Questions and answers