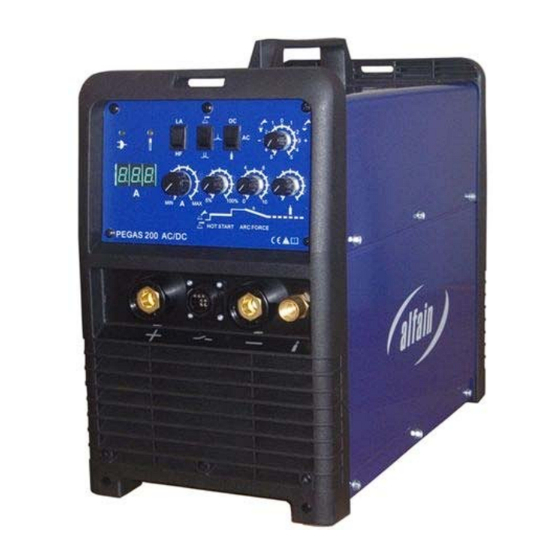
Advertisement
Quick Links
PEGAS 200 AC-DC SERVISNÍ MANUÁL SERVICE MANUAL-4
page 1
SERVISNÍ MANUÁL PEGAS 200 AC-
DC
1. VAROVÁNÍ
UPOZORNĚNÍ – Pouze osoba splňující
kvalifikaci danou zákonem je oprávněna
opravovat stroj.
PŘED OTEVŘENÍM KRYTU STROJE JEJ
ODPOJTE VYTAŽENÍM SÍŤOVÉ VIDLICE ZE
SÍTĚ.
Každé 4 měsíce otevřete stroj a jemně ho
vyfoukejte stlačeným suchým vzduchem
POZOR, NEPOUŽÍVEJTE STLAČENÝ
VZDUCH O PŘÍLIŠ VYSOKÉM TLAKU, ABY
NEDOŠLO K MECHANICKÉMU POŠKOZENÍ
ELEKTROSOUČÁSTEK.
Každé 4 měsíce zkontrolujte řádný stav
svařovacích kabelů a síťových kabelů.
Není povolena žádná modifikace
svařovacího stroje.
Pro Vaši bezpečnost je nutné posečkat se
sundáním krytu ze stroje po odpojení ze sítě
po dobu minimálně 5 minut, kdy klesne
napětí na kondenzátorech na hodnotu pod
36 V.
2. BLOKOVÉ SCHÉMA
ALFA IN a. s. © 2011
SERVICE MANUAL PEGAS 200 AC-
DC
WARNING
NOTE Only trained personnel are
permitted to work inside the machine.
BEFORE OPENING THE MACHINE, CUT
OFF ITS ELECTRICAL POWER BY
REMOVING THE PLUG FROM THE MAINS
SUPPLY SOCKET.
Every six months, open the machine and
clean it inside, using compressed
dehumidified air.
CAUTION. DO NOT USE COMPRESSED
AIR AT TOO HIGH A PRESSURE. YOU
COULD DAMAGE THE ELECTRONIC
COMPONENTS.
With the same frequency, check the
welding cables and the supply cables.
No modification, of any type, may be
made to the welding machine.
For safety while maintaining the machine,
please shut off the supply power and wait
for 5 minutes, until capacity voltage
already drops to safe voltage 36V.
ELECTRICAL PRINCIPLE DRAWING
SERVISNÍ TECHNICKÁ DOKUMENTACE
Advertisement

Summary of Contents for PEGAS 200 AC-DC
- Page 1 PEGAS 200 AC-DC SERVISNÍ MANUÁL SERVICE MANUAL-4 page 1 SERVISNÍ MANUÁL PEGAS 200 AC- SERVICE MANUAL PEGAS 200 AC- 1. VAROVÁNÍ WARNING UPOZORNĚNÍ – Pouze osoba splňující NOTE Only trained personnel are kvalifikaci danou zákonem je oprávněna permitted to work inside the machine.
- Page 2 PEGAS 200 AC-DC SERVISNÍ MANUÁL SERVICE MANUAL-4 page 2 ALFA IN a. s. © 2011 SERVISNÍ TECHNICKÁ DOKUMENTACE...
-
Page 3: Náhradní Díly
PEGAS 200 AC-DC SERVISNÍ MANUÁL SERVICE MANUAL-4 page 3 3. NÁHRADNÍ DÍLY SPARE PARTS Quanti Item No Popis Description 8.253.020 Držák - madlo P250 Handle P250 Kryt horní P250 Upper Cover P250 8.301.099 Panel přední/zadní plast P250 Plastic Front/Rear Panel P250 8.068.099... - Page 4 PEGAS 200 AC-DC SERVISNÍ MANUÁL SERVICE MANUAL-4 page 4 Ventilátor P250 Fan P250 7.720.030 Rezistor 6ohm P200AC-DC Rezistor 6ohm P200AC-DC 7.445.311 Tranzistor IGBT Discrete1 P40 Discrete1 IGBT P40 7.425.631 7.231.275 Termostat PEGAS Thermo switch 7.202.029 Držák pojistek P200AC-DC Fuse Holder P200AC-DC Pojistka 3A 7.202.123...
-
Page 5: Troubleshooting
PEGAS 200 AC-DC SERVISNÍ MANUÁL SERVICE MANUAL-4 page 5 Kryt spodní P200AC-DC Bottom Plate P200AC-DC 8.055.543 Box chladiče 2 P200AC-DC Heat Sink Box 2 P200AC-DC 8.746.030 PCB silová P200AC-DC PCB Power P200AC-DC 5.496.674-C Dioda P200AC-DC Diode P200AC-DC 7.421.681 Krycí deska 1 P200AC-DC Blanking plate 1 P200AC-DC 8.306.301... - Page 6 PEGAS 200 AC-DC SERVISNÍ MANUÁL SERVICE MANUAL-4 page 6 The distance between tungsten electrode Reduce the distance (about 3mm). and workpiece is too long. The HF igniting board Repair or change Pr8 does not work. There is not spark on the HF The distance between igniting board.
- Page 7 PEGAS 200 AC-DC SERVISNÍ MANUÁL SERVICE MANUAL-4 page 7 Too many machines Reduce the machines using power using power supply in the same time supply in the same time Over- Unusual current Check and repair the main circuit current in the...
- Page 8 PEGAS 200 AC-DC SERVISNÍ MANUÁL SERVICE MANUAL-4 page 8 6. Hořák Torch 7. Hořák s potenciometrem – NESMÍ SE Torch with potentiometer – MAY NOT BE POUŽÍVAT USED 8. Dálkové ovládání + hořák Remote Control + torch 9. Nožní dálkové ovládání-pedál Remote foot control ALFA IN a.
- Page 9 PEGAS 200 AC-DC SERVISNÍ MANUÁL SERVICE MANUAL-4 page 9 Zapojení plynového konektoru Gas connector 1. Na plynovou hadici nasaďte dílec C 1. Fit C onto the hose 2. Sešroubujte dílec A a B 2. Screw A and B together 3. Nasaďte trn z dílce A do hadice 3.
Need help?
Do you have a question about the 200 AC-DC and is the answer not in the manual?
Questions and answers