Advertisement
Quick Links
Advertisement

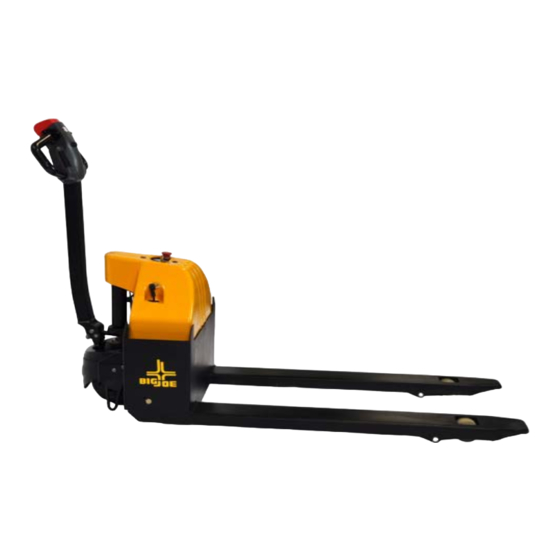
Summary of Contents for BigJoe E30 Series
- Page 1 Charger Testing E30 and D40 Series...
- Page 2 Charger testing • You will need a Digital Volt Ohm Meter...
- Page 3 Charger Testing • 2 Jumper Wires with Alligator Clips on each • A 13mm Wrench...
- Page 4 1 . Turn the Key Switch off, remove cover (s) as needed, this will provide access to the Charger & Batteries...
- Page 5 2 . Remove the 13mm nut on the Power Fuse securing the Red Positive Charging Cable, remove the Red Charger Wire, then put the nut back on 13mm Nut Positive Charger Wire...
- Page 6 Preforming an AMP Draw Test 3. Position your Meter Test Leads to be able to perform an AMP Draw Test. Then set your meter to 20 AMPs or Greater To Prevent damage to your meter. Ensure your Meter is capable of 20Amps or greater...
- Page 7 3 . Secure the Positive meter lead with an alligator clip to the Positive Red Charger wire you removed.
- Page 8 4 . Secure the Negative Meter Lead to the Stud that you removed the wire from. Your Volt OHM Meter is now in Series between the Charger and the power cable.
- Page 9 5 . Plug the A/C cord in and see the Charger Amperage Output.
- Page 10 6 . Unplug the A/C Cord from the charger, then reassemble the truck in the reverse procedure.
- Page 11 P erforming a Charger Voltage Test 8. Ensure your meter leads are in the proper meter location to perform a Voltage Test, set to 200v D/C...
- Page 12 9. Connect the jumper wires to the Main Battery Positive & Negative terminal ends by sliding it under the eyelet next to the battery post...
- Page 13 1 0. Note the Static Voltage With the Charger Disconnected.
- Page 14 1 1. Plug the Battery Charger in and You should see A Voltage increase...
- Page 15 12. If you see an Increase in Amperage & A Voltage Rise with the Charger connected, This confirms the Battery Charger is operational NOTE: NEVER DISONNECT THE CHARGER FROM THE WALL WITH THE KEY ON AND THE POWER DISCONNECT ON.
Need help?
Do you have a question about the E30 Series and is the answer not in the manual?
Questions and answers