
Subscribe to Our Youtube Channel
Related Manuals for Victor 3 Series

Summary of Contents for Victor 3 Series
- Page 1 CA411-3 PARTS, SERVICE & REPAIR BULLETIN 400 SERIES MEDIUM DUTY CUTTING ATTACHMENT, TIP SERIES 3 Manual No: 0056-3759 Revision: AA VictorTechnologies.com Issue Date: August 15, 2013...
-
Page 2: Table Of Contents
Apparatus improperly operated, maintained or repaired can be dangerous. Some parts and accessories manufactured by others may fit VICTOR apparatus but not conform to VICTOR’s exacting standards. For your own protection, specify and use ONLY VICTOR-made parts and accessories with your VICTOR apparatus. -
Page 3: Section 2: Specifications
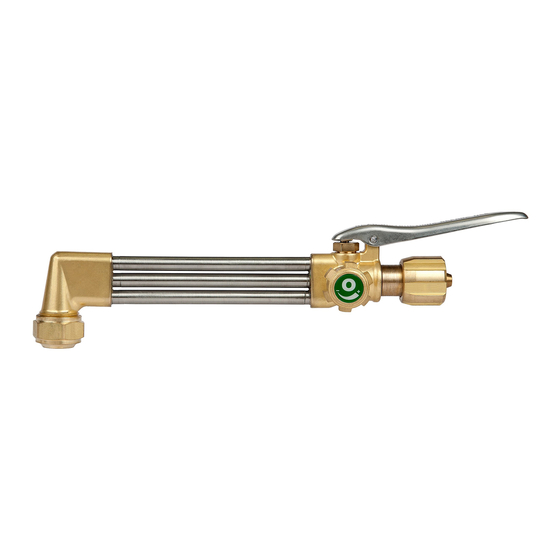
SECTION 2: SPECIFICATIONS 2.01 CA411-3 VICTOR CUTTING ATTACHMENT Cutting Tip Series 3 • Intuitive knobs: color coded, clearly marked lettering with increase/decrease label. Understandable in any language. • Improved Stainless Lever provides increased comfort and reduced operator hand fatigue. • Redesigned inlet nut increases grip for Hand Tightening. -
Page 4: Section 3: Service & Repair Instructions
SECTION 3: SERVICE & REPAIR INSTRUCTIONS 3.01 RECOMMENDED TOOLS & SUPPLIES FOR REPAIR PROCEDURES 5/8”, 9/16”, 11/16”, and 1/2” Open-End Wrenches Vise 1” Box-End Wrench 45% Silver Solder 5/32” Drift Punch Silver Solder Flux Small Hammer Loctite #222 (Part Number 0028-0081) ®... -
Page 5: Oxy Valve Repair Kit
3.05 H.P. OXY VALVE REPAIR KIT 6. Screw the Oxy Valve Assembly into the torch body and wrench tighten. 7. Reattach the Cutting Lever. (See Section 3.04, Cutting Lever) 8. Remove from vise. 9. Check for leaks. 3.06 CONE END ASSEMBLY REPAIR KIT H.P. -
Page 6: 400 Series Head Repair Kit
GAS FEED TUBES CAUTION Always wear gloves when handling heated parts. 400 Series Head Item Description Part number Qnty Gas Feed Tubes 90° Victor Series 3 Head Repair Kit 0390-0089 400 Series-3 Head-90° Victor 0302-0257* Item Mixer 0305-0334* Description Part number Qnty *Sold as part of kit only. -
Page 7: Section 4: Test Procedures
Assembly 1. Clean the torch body of all solder and debris. 2. Place a new 400 Series Head in a vise, positioned so that the tube bores face up. 3. Insert the Gas Feed Tubes into the 400 Series Head, followed by the torch body. Confirm correct orientation to the 400 Series Head. - Page 8 I N N O V A T I O N T O S H A P E T H E W O R L D ™ U.S. Customer Care: 800-426-1888 Canada Customer Care: 905-827-4515 International Customer Care: 940-381-1212 • • © 2012 Victor Technologies International, Inc. www.victortechnologies.com Printed in Mexico...
Need help?
Do you have a question about the 3 Series and is the answer not in the manual?
Questions and answers