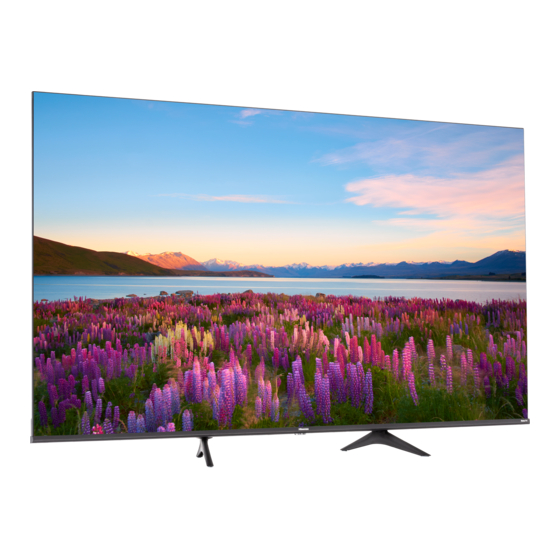
Page 1
65R6E4 70R6E4 Help Hisense and Roku improve the environment by reducing paper waste. For detailed instructions and feature descriptions, access the full User Manual online at www.hisense-usa.com/support/. 1307994 ES-Y228105-1 Please read this Quick Setup Guide carefully before connecting your equipment and kindly keep it for...
Page 2
Disclaimer: • This Quick Setup Guide is intended as a general guideline to help you set up your Hisense Roku TV. Images throughout this document are for illustrative purposes only and may differ from the actual product. • Roku, Roku TV, the Roku logo, and the purple d-pad design are trademarks of Roku,...
WELCOME TO THE HISENSE FAMILY! Congratulations on the purchase of your new Hisense Roku TV! This Quick Setup Guide will walk you through a few easy steps to set up your TV. Because we value your business, we want to keep you in the know of 'all things Hisense'.
Page 4
STEP 1. Attach the TV stand or wall mount bracket (not included) Attach the TV Stand CAUTION: Be sure to disconnect the A/C power cord before installing a stand or Wall-Mount brackets. The LED display is very fragile and must be protected at all times when installing the stands.
Page 5
70" Note: If your table is long enough to place the TV on top of, then insert the stands into the screw holes ‘A’ that are shown in the illustration. If your table is NOT long enough, then insert the stands into the screw holes ‘B’ that are shown in the illustration. Note that these two installation methods types cannot be mixed.
Page 6
Attach the wall mount bracket (not included) 65" Before you follow the third-party manufacturer instructions to attach the wall mount, be sure to do the following things: 1. Place the TV face down on a clean, safe Nuts and cushioned surface. Fig.1 2.
Page 7
CAUTION: • Follow instructions provided with the wall mount bracket. If it is not correctly mounted, the TV may fall and cause property damage or personal injury. • When you attach the mount, be sure to use spacers (provided by the third-party manufacturer) between the TV and the bracket.
STEP 2. Connect devices to your TV Back View of the TV 65" Power Input 70" Power Input ● LAN: Connect an Ethernet cable to access a network or the Internet. The TV also has a wireless connectivity feature. ● DIGITAL AUDIO OUT Connect an optical cable from an external digital audio system.
Page 9
Buttons on your TV remote The TV remote should feel POWER: Turn your TV on or off right at home in your hand. BACK Return to the previous screen We designed it to be incredibly Select an option from a menu intuitive for watching TV and DIRECTIONAL KEYPAD The left arrow will bring...
If you prefer to use your Cable Set-top Box or Satellite Receiver Remote as a ‘Univer- sal Remote’, please refer to the manual that your cable or satellite service provided. It will include instructions on how to program their remote to your television. You can find codes that work with your Hisense Roku TV and the most common cable and satellite provider’s universal remote control at www.roku.com/universalremote.
Page 11
NOTE: Only retailers that need to set up the TV for display should select Set up for store use. Hisense Roku TV Text to Speech Functionalities Text-to-Speech and Video Description functionalities on the TV Text-to-Speech (TTS) and Video Description can help you to navigate the menus on the screen and hear an audio description of relevant programs.
Page 12
Choose from over 140 sports channels like ESPN, Red Bull TV and more. Explore loads of free channels and free trials** Your Hisense Roku TV has hundreds of popular free channels like The Roku Channel, ABC News, The CW and more. The Roku Channel features hundreds of Hollywood hits, all free and available to watch whenever you want.
Page 13
All software, applications, services and content accessible through the Television belong to providers who are not controlled by or affiliated with Hisense, are protected by copyright, patent, trademark and/or other intellectual property laws and are the sole property of their respective owners. Software, applications, services and content accessible through the Television are at the sole discretion and control of such providers and are completely outside Hisense’s control.
4) Connect a USB memory stick to enjoy photos, music and movies or to enable Live TV Pause. Live TV Pause is only available on the Antenna input of your Hisense Roku TV for up to 90 minutes when connected to a dedicated USB 2.0 compatible flash...
Quick problem-solving tips When you experience an issue with your TV, turn it off and on again. If this does not resolve the problem, then refer to the tips below. If the problem is still not resolved, then contact us at one of the phone numbers on Page 2. SOUND OR PICTURE ISSUES POSSIBLE SOLUTIONS You do not see a picture when...
Page 17
Press OK on the Directional Keypad. Press OK to select Network. Press the bottom Directional Keypad arrow to Check Connection. Press OK to Check connection • For additional help, visit www.hisense-usa.com/support. REMOTE CONTROL ISSUES POSSIBLE SOLUTIONS Your remote control is not • Check that the TV is still on. responding to button presses • Check that the batteries are good and are inserted...
Declaration of Conformity Trade Name: Hisense Model: 65R6E4 / 70R6E4 Responsible Party: Hisense USA Corporation Service Address: 105 Satellite BLVD Suite I, Suwanee, GA 30024 Service Phone Number: 1-888-935-8880 This device complies with Part 15 of the FCC Rules.
Need help?
Do you have a question about the 65R6E4 and is the answer not in the manual?
Questions and answers