
Related Manuals for Costway HONEY JOY JV10035


Summary of Contents for Costway HONEY JOY JV10035
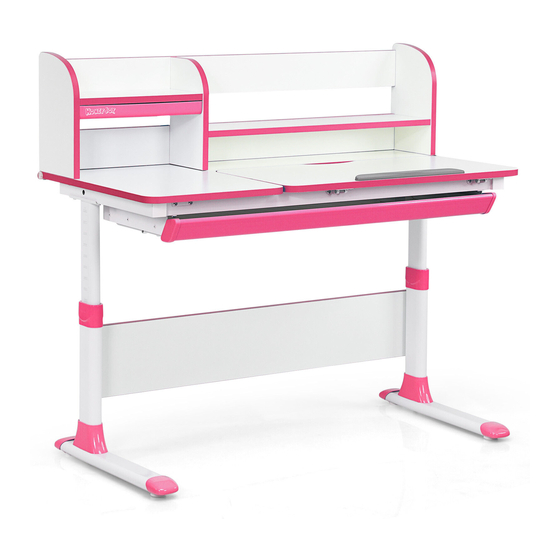
- Page 2 Kids Ergonomic Study Table JV10035...
- Page 3 Please read all instructions carefully and keep it for future reference. General Security Warning Caution: The Product is not suitable for the children under 3 years Danger: Keep all small parts and packaging materials for this product away from babies and children, otherwise they may pose a choking hazard.
-
Page 4: Box Contents
BOX CONTENTS JV10035-12/JV10035-22 Bookshelf Parts and Installation ST3×16mm M6×30mm Remark: Screws in bookshelf x 14 x 14 drawer box. - Page 5 Insert the bolt “a” into part “A”. Assemble the part “D” to the part “A” and fasten them using the part bolt cam “b” . Assemble the part “C” to the part Assemble the part “A+D+C” to the “A+D” and fasten them using “a” part “B”...
- Page 6 Assemble the part “E” to the Insert the part “G” to part “H” and combined part and fasten them hard push into the position. using “a” and “b”. Assemble the part “I” and “J” to Assemble the part “F+I” to the the part “F”...
- Page 7 Assemble the part “C” to the Fix the combined part using the combined part and fasten them screw “d”. using the part “a” and “b”. Insert the drawer “H” into the slide rails. Whole bookshelf finished.
- Page 8 BOX CONTENTS JV10035-12/JV10035-22 Study Table Parts and Installation M6×12mm M6×14mm M6×30mm ST6x35mm x 15 x 17...
- Page 9 Fix the combined part “O+P+Q” to Assemble the part “O” into part the part “K” using the tool “i” and “P” and “Q” and screw into place. screws “e” and “f”. O+P+Q Remark: Fasten screws “f” first,then screws “e”. Assemble the combined part “R+S” Assemble the part “R”...
- Page 10 Assemble the part “T” to the part “K” using tool “i” and screws “e”. Assemble the part “U” to the part “K” using the tool “i” and screws “f”. × √ Remark: Pls pay more attention about the direction of the part “U”.
- Page 11 First remove the part “X” then Assemble the part “L” to the part “K” using the tool “i” and screws “e”. Remark: Make sure the “L” part is oriented correctly-the scale must be facing outwards. Assemble the part “M” to the part “L” using the tool “i” and screws “h”.
- Page 12 Fix the part “X” into place with Assemble the table together with the part “W” and “V”. bookshelf using tool “i” and screws “g”. Slide the drawer “N” into place. Using the part “Y” to adjust the height of the study table.
- Page 13 BOX CONTENTS JV10035-12/JV10035-22 Edge protect parts and installation ST4×18mm Assemble the corner protector “m” to the right angle using part “l” and “k ”. Remark: It is up to the consumer whether this step is need to be installed or not.
- Page 14 BOX CONTENTS JV10035-12/JV10035-22 Wall connector parts and installation M6×30mm ST6×50mm Drill a hole on the wall and attached the part “q” both to bookshelf and wall,using part “n” and “o” and “p”. WALL Hole size on the wall =φ10×60mm Remark: Need to drill a whole on the wall.It is up to the consumer whether this step is need to be installed or not.
-
Page 15: Use Instruction
USE INSTRUCTION When the child's arm is naturally drooping, it can be placed on the table. It says that the height of the table is just suitable. How to adjust the height Insert the hand crank into the round hole on the right side of the desk, Turn the hand crank clockwise to lower the desktop, and counter- clockwise to raise the desktop. - Page 16 Welcome to visit our website and purchase our quality products! With your inspiring rating, COSTWAY will be more consistent to offer you EASY SHOPPING EXPERIENCE, GOOD PRODUCTS and EFFICIENT SERVICE! US office: Fontana, California UK office: Ipswich Reward Points Exclusive Customer Service...
Need help?
Do you have a question about the HONEY JOY JV10035 and is the answer not in the manual?
Questions and answers