NEP BDG-256 Installation
Hide thumbs
Also See for BDG-256:
- User manual (11 pages) ,
- Installation and operation manual (10 pages) ,
- Quick installation manual (6 pages)
Table of Contents
Advertisement
Quick Links
INSTALLATION
Check the BDG-256/BDG-256P3 shipping box for the following items:
●
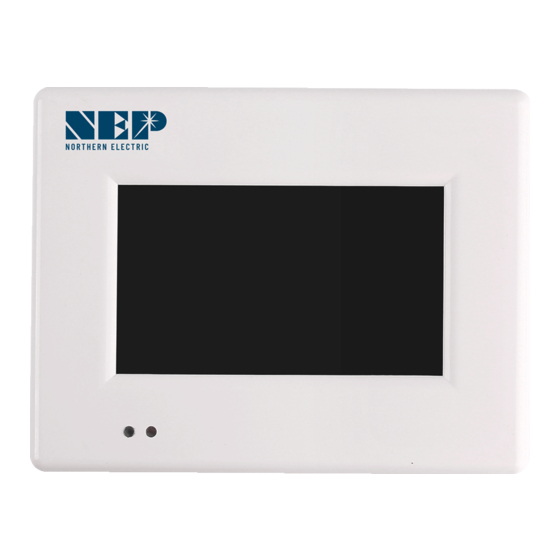
BDG-256/BDG-256P3 Communications Gateway
●
AC power cord (BDG-256)
●
BDG-256/BDG-256P3 Communications Gateway Installation and Operation Manual and
Warranty
Outdoor Installation
●
When installed outdoors, the BDG-256 must be housed inside the included weather-proof
box.
Indoor Installation
Connecting to Internet
Method 1: Using Included Wi-FI booster (recommended)
●
Plug the Booster directly into the same outlet as the Gateway or into an outlet within 5ft of the
Gateway.
Insert the TP-Link (Black USB) into the bottom of the Gateway
●
Go to Settings and select "System Config". Make sure to click on the box next to Engineer Mode. A
●
pop-up will then ask for a password. The password is "1,2,3,4".
Go back to Settings and select Ethernet, then select WPS, and finally select Yes to set the Gateway to
●
WPS mode.
The screen should have a pop-up that says "Looking to Connect"
●
Go to the booster and click the white button on the bottom of the unit next to the ethernet port.
●
Make sure you click and release this button.
Within two minutes the gateway should say Connected.
●
Before disconnecting click "okay" to Reboot the Gateway
●
After the reboot is finished, unplug the booster and plug it in to the outlet next to the router.
●
Connect the booster to the router via ethernet cable (make sure to use the cord provided in the box)
●
Make sure all 3 icons on the booster are lit up blue.
●
BDG-256 Quick Start Guide
Go back to the Gateway and open settings and select Network Test. Run a Network Test to make sure
the connection is Good.
Scroll to the left of the setting's screen and click on Date & Time. Make sure you select the box next
to "Synchronize with internet clock".
Note: The Booster must be plugged directly into an outlet and cannot be used with extension
cables.
Note: Wait for the system to restart after connecting before moving the Booster.
Method 2: Using WPS (for supported routers with WPS)
Plug the wireless adapter to BDG-256 gateway, and wait for several seconds for several seconds
Press the WPS button on the router for 2 seconds, and for most routers, the WPS button would
flash at this point
Within 2 minutes, return to the BDG-256 gateway, click on Setting/Ethernet, and press "WPS" (the
red button). If the gateway reports the WPS setup is successful, the IP address on the gateway
screen will be updated instead of 0.0.0.0 within 5 minutes
Method 3: Using AP Mode
Note:
This method only applies to BDG-256 gateways with firmware version "20170701-01" or
later, and with the "TP-LINK" WiFi dongle shipped inside the BDG-256 box.
●
Click on the AP button on the BDG-256 gateway and follow the instructions to reboot the
gateway. Note that after reboot the IP address at the bottom of the gateway is
192.168.99.1
●
Search for a WiFi network named NEP-xxxxxxxxxxxxxx (xxxxxxxxxxxxxx is the gateway SN)
on a phone or computer, and link the phone or computer to this WiFi network, the
password is 12345678
●
Log on to the webpage: http://192.168.99.1/wifi Enter password gateway
●
The pull down menu SSID List shows all available WiFi networks. Click on Search WiFi may
rescan the available WiFi networks. If the WiFi network is "hidden" and does not show in
the list, the network name can also be input manually on the line of SSID
●
Click on Save. Uncheck AP on the BDG-256 gateway touch screen and then reboot the
gateway following instructions
Test Internet Connection
To test the Wi-Fi connection of the gateway, navigate to the Menu and select Network Test, then
select Execute on the gateway. The gateway will then check the network connection and report
whether the connection is "Good" or "Bad."
Mobile App
Advertisement
Table of Contents

Related Manuals for NEP BDG-256


Summary of Contents for NEP BDG-256
- Page 1 “TP-LINK” WiFi dongle shipped inside the BDG-256 box. ● Click on the AP button on the BDG-256 gateway and follow the instructions to reboot the gateway. Note that after reboot the IP address at the bottom of the gateway is 192.168.99.1...
- Page 2 Verify and Map Site Commissioning Once you have confirmed the creation of the site on the NEP website, navigate to your Inverter/RSD Serial Input Installer Registration on Website dashboard where you should be able to see it. ➔ Before beginning the process of serial input, it is crucial to have a complete site ●...
Need help?
Do you have a question about the BDG-256 and is the answer not in the manual?
Questions and answers