Advertisement
Quick Links
Advertisement

Related Manuals for UNEEKOR SWING OPTIX

Summary of Contents for UNEEKOR SWING OPTIX
- Page 1 INS TALL GUIDE SWING OPTIX ®...
-
Page 2: Table Of Contents
REGISTER AND SELECTION P A G E LIGHTING ENVIRONMENT P A G E SWING OPTIX CONFIGURATION P A G E S W I N G O P T I X I N S T A L L G U I D E... -
Page 3: Included Items
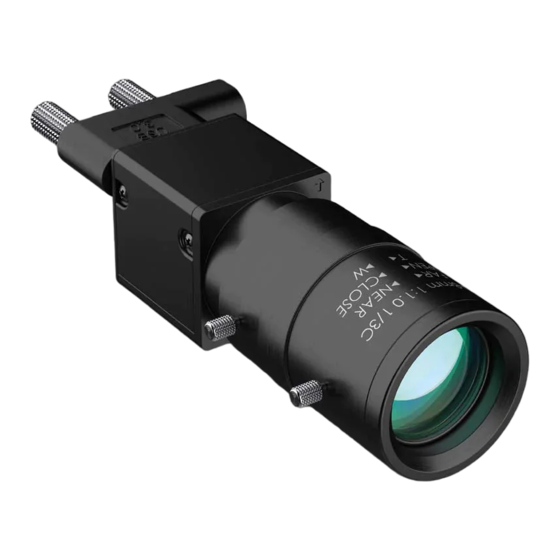
0.1 INCLUDED ITEMS USB 3.0 CABLE (3) CAMERA (2) The following items are included in the package. Please make sure they are all present and accounted for. ACCESSORIES (2 CAMERA LENSE (2) sets NOTE: If any part is missing, please contact support. S W I N G O P T I X I N S T A L L G U I D E... -
Page 4: Camera Installation
0.2 CAMERA INSTALLATION STEP ONE STEP TWO STEP ONE Please find the camera, bracket, and the 4 screws that came with the package. STEP TWO Screw in the 4 screws through the bracket onto the camera. STEP THREE Attach the camera with the bracket to the tri pod stand. The camera will need to be rotated 90 degrees as shown in the photo. - Page 5 0.2 CAMERA INSTALLATION Impact screen Swing 6feet Camera 1 sensor 5feet Swing Camera 2...
-
Page 6: Install Uneekor Launcher
0.3 INSTALL UNEEKOR LAUNCHER *If Uneekor Launcher is installed. Skip this section STEP ONE STEP ONE Download and install the Uneekor Launcher from the Uneekor Resources page linked HERE STEP TWO STEP TWO Create a Uneekor account to register your products and manage your products. -
Page 7: Register And Selection
0.4 REGISTER AND SELECTION STEP ONE STEP ONE Select Devices on the left navigation bar STEP TWO STEP TWO Select Register your account in the Accessory Devices section for the cameras that you would like to add to your account S W I N G O P T I X I N S T A L L G U I D E... - Page 8 0.4 REGISTER AND SELECTION STEP THREE STEP THREE Once the cameras have been registered, make sure to select the cameras to ensure they will be available in game STEP FOUR STEP FOUR Once the cameras have been selected, navigate to the Start tab and your cameras will be on the top of the screen letting you know that they are ready for use S W I N G O P T I X I N S T A L L G U I D E...
-
Page 9: Lighting Environment
0.6 LIGHTING ENVIRONMENT Besides your normal background room lighting, additional lighting is required to optimize the Swing Optix. It is recommended to add a minimum of 8 15W or higher, non flickering LED light bulbs on a track rail with fixtures. This will help with exposure and eliminating blurring of the club. - Page 10 3000K Note: The LED bulbs on this list have been tested with Uneekor Swing Optix cameras under a 15’ x 10’ enclosure using Uneekor QED and EYE XO hardware. These bulbs demonstrated minimal flickering during operation to not impeed Swing Optix cameras performance. If you’re still experiencing for further assistance.
-
Page 11: Swing Optix Configuration
STEP FOUR Inside the “Swing” tab, click on the “Settings” button on the top right of the screen. Next, click on the “Optix” tab to open the Swing Optix cameras. STEP FOUR You can make adjustments to the camera’s Exposure, Gamma, Brightness, and Contrast in this menu. - Page 12 MASTER YOUR PASSION Uneekor, Inc 15770 Laguna Canyon Road, Unit 100 Irvine, CA 92618 sales@uneekor.com support@uneekor.com Uneekor © 2023 All Rights Reserved...
Need help?
Do you have a question about the SWING OPTIX and is the answer not in the manual?
Questions and answers