
Subscribe to Our Youtube Channel
Related Manuals for EmergoPlus PowerXtreme XS115


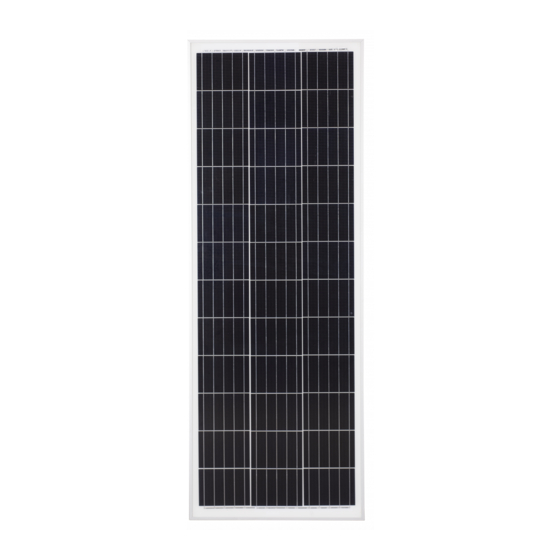
Summary of Contents for EmergoPlus PowerXtreme XS115
- Page 1 User manual SOLAR set XS115 SOLAR set XS140 SOLAR set XS230 SOLAR set XS280 EmergoPlus BV Informaticastraat 20 NL 4538 BT Terneuzen Tel. +31 85 2018 158 www.emergoplus.com info@emergoplus.com...
- Page 2 Dear customer, Thank you for purchasing our high-quality Solar set XS by EmergoPlus! This product was developed using the latest technologies and quality systems. We assure you that we will do our utmost to guarantee hassle-free operation, to make you satisfied with your purchase.
-
Page 3: Table Of Contents
Mounting MPPT Solar charger ........10 Gluing prescription ............10 Maintenance ................13 Decommissioning............... 13 BT-2 Bluetooth Connector (optional) ........13 Display (optional) ................ 13 Warranty conditions ..............14 Liability ..................14 EC Declaration of Conformity ..........15 www.emergoplus.com E18-XSSolarset-EN-01 Page 3 of 15... -
Page 4: Product Description
MPPT charger and the necessary installation materials. The MPPT charger is an intelligent charger that gets the most out of the solar panel. For the functioning of the MPPT charger, refer to the extensive description in its manual. www.emergoplus.com E18-XSSolarset-EN-01 Page 4 of 15... -
Page 5: Safety Instructions
Solar panel and the fuse is being detached. Check after the installation whether all connections are solid and reliable and if all connections are firmly attached. Loose connections generate warmth which may lead to hazardous situations www.emergoplus.com E18-XSSolarset-EN-01 Page 5 of 15... - Page 6 4. When connecting the system, the output voltage may exceed the upper limit for human safety. Therefore, use insulated tools at all times and keep hands dry. www.emergoplus.com E18-XSSolarset-EN-01 Page 6 of 15...
-
Page 7: Unpacking And Mounting/Installing
Sikaflex 552 310ml Scotchbrite Very fine 75 x50 Spacer tape Sika 12x2mm 60 cm Activator bottle 30ml Stainless steel self-drilling screw 4.2 x 19 A2 Manual EN (Download) Optional: Bluetooth module BT-2 67,3x36x15,5 mm www.emergoplus.com E18-XSSolarset-EN-01 Page 7 of 15... -
Page 8: Installation Of Solar Cables
3.5. When applying 2 Solar panels you must daisy chain the ▪ panels. You do this by connecting the + of the one panel to the – of the other panel. See diagram below: www.emergoplus.com E18-XSSolarset-EN-01 Page 8 of 15... -
Page 9: Mounting Solar Panel
Leg the solar panel op the spoiler profiles and fixate this ▪ by positioning of the 10 self-drilling screws. CAUTION! Beware that you do not place the screws too high in the spoiler profile. The screw could damage the bottom of solar panel! www.emergoplus.com E18-XSSolarset-EN-01 Page 9 of 15... -
Page 10: Mounting Mppt Solar Charger
Roughen the surfaces to be glued with Scotchbrite Very ▪ Fine. Clean both adhesive surfaces with activator. ▪ Allow the activator to vaporise. This will take 10-15 ▪ minutes, depending on temperature and humidity. www.emergoplus.com E18-XSSolarset-EN-01 Page 10 of 15... - Page 11 PVC pipe. Before use, immerse the pipe into water with detergent. Run the piece of pipe across the adhesive bead to achieve a smooth result. You can also lightly moisten the adhesive bead with a plant www.emergoplus.com E18-XSSolarset-EN-01 Page 11 of 15...
- Page 12 Re-coating can also be done in wet-on-wet up to 3 hours after the application. Adhesion op fully hardened glue can be improved by pre-treatment with Activator. www.emergoplus.com E18-XSSolarset-EN-01 Page 12 of 15...
-
Page 13: Maintenance
Hand in the solar panels to a registered waste processor. 6. BT-2 Bluetooth Connector (optional) See manual of the MPPT Solar charge controller. 7. Display (optional) See manual of the MPPT Solar charge controller. www.emergoplus.com E18-XSSolarset-EN-01 Page 13 of 15... -
Page 14: Warranty Conditions
User manual Solar set XS 8. Warranty conditions EmergoPlus guarantees that the Solar set is built according to the legally applicable standards and regulations. During production and before delivery all Solar sets have been extensively tested and checked. Failure to act in accordance with the instructions and provisions of this manual may result in damage and / or the unit will not meet our specifications. -
Page 15: Ec Declaration Of Conformity
EC DECLARATION OF CONFORMITY OF ELECTRICAL EQUIPMENT Declaration according to Directive 2014/35 / EC, as amended This language version of the statement is verified by the manufacturer. Name : EmergoPlus BV Address : Informaticastraat 20 Country : 4538 BT Terneuzen Nederland...
Need help?
Do you have a question about the PowerXtreme XS115 and is the answer not in the manual?
Questions and answers