
Summary of Contents for Acetech AC6000MKIII
- Page 1 AC6000MKIII AC6000MKIII CHRONOGRAPH User Manual P01~P11 P13~P23 P25~P37 Android Bluetooth...
-
Page 2: Table Of Contents
Table of contents Safety And Precau�ons -------------------------------------- Contents -------------------------------------- Feature Loca�ons -------------------------------------- Func�on Se�ngs -------------------------------------- APP Opera�on Instruc�ons -------------------------------------- Specifica�ons -------------------------------------- Warranty -------------------------------------- All the specific ac�ons and contents are only for reference, please make the object as the standard, and in this manual are subject to change without no�ce. -
Page 3: Safety And Precau�Ons
User Manual x 1 Type C Charging Cable x1 18650 Lithium Ba�ery x 1 AC6000MKIII Series ※ Chronograph Bag: only available for AC6000MKIII BT [Exclusive Edi�on] ※ With ba�ery version: already installed in the machine, Without ba�ery version: please purchase by yourself. -
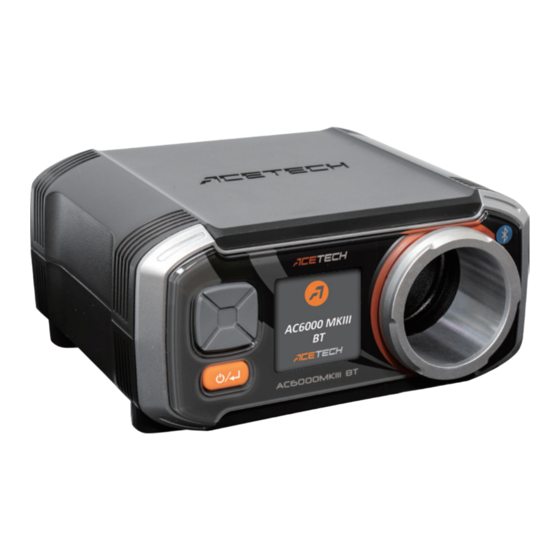
Page 4: Feature Loca�Ons
Feature Loca�ons AC6000MKIII Series models are AC6000 MKIII, AC6000MKIII BT and AC6000MKIII BT Exclusive Edi�on; the details are as follows: AC6000MKIII AC6000MKIII BT AC6000MKIII BT (Exclusive Edi�on) Bluetooth Shoo�ng Tube Plas�cs Plas�cs Aluminum Chronograph Display: 240x240 pixel LCD. 3. AC6000MKIII Series: 1/4”... -
Page 5: Func�On Se�Ngs
Func�on se�ngs SCR1: Muzzle Velocity, ROF, Energy and AMMO quick selec�on func�on. Charging Display Bluetooth Measurement Range of Ba�ery Indicator Energy B.B. Parameter Energy Measurement Range of ROF (Rate of Fire) Test N Muzzle Velocity Measurement Range of Muzzle Velocity ※ When measuring ROF, you must fire more than 10 rounds. - Page 6 MENU: Func�on Se�ng Screen SCR1 WT(g) 1 0.200 06.0 0.250 06.0 0.430 06.0 0.450 06.0 0.880 06.0 • AMMO: B.B. Parameter Se�ng A total of 5 groups can be set, and the weight (g) and diameter (mm) of each group can be set. SCR2 16.3 19 16.3...
- Page 7 MENU: Func�on Se�ng Screen SCR1 • APO: Automa�c Shut Down Se�ng 1) APO can be set to automa�cally shut down when not in use for 5 to 60 minutes to save power. 2) USB APO ON/OFF APO func�on can be turned on or off...
- Page 8 MENU: Func�on Se�ng Screen SCR1 ALARM ENERGY SPEED EXIT • ALARM: Energy / Velocity Upper Limit and Warning 1) ENERGY: joule 2) SPEED: m/s ※ When the energy and Muzzle Velocity the upper SCR2 limit, a red warning will appear on the screen. 16.3 19 16.3 152.4...
-
Page 9: App Opera�On Instruc�Ons
2. Start APP, AC6000MKIII BT and mobile phone Bluetooth. 3. Please refer to the figure below for the first �me use. Click on the AC6000MKIII BT icon and a reminder icon will appear during pairing. At this �me, press the AC6000BT power bu�on to complete the pairing. - Page 10 4. A�er the pairing is successful, you will see the following screen. The gray area is the speed measurement result. 5. From le� to right, the blue boxes above are No/Time switch, RPS/RPM switch, m/s and �/s, and Joule/�-lb/(J/cm ). 6.
- Page 11 Restore to the default. d) The current version of the device. e) The current serial number of the device. f) Device; tap to jump to the homepage. g) Records; read the pre-stored shoo�ng data. h) Shop; tap to enter the ACETECH homepage.
-
Page 12: Specifica�Ons
1. Warranty does not include damage from incorrect usage, external force or iquid intruding inside the product. 2. Any incorrect usage caused liquid intruding inside will be not covered by the warranty. 3. Please refer to Acetech official website for the detailed warranty date. - Page 13 FEDERAL COMMUNICATIONS COMMISSION INTERFERENCE STATEMENT This equipment has been tested and found to comply with the limit s for a Class B digital device, pursuant to Part 15 of the FCC Rules. These limits are designed to provide reasonable protec�on against harmful interference in a residen�al installa�on.
- Page 14 www.acetk.com acetech007 Made In Taiwan...
Need help?
Do you have a question about the AC6000MKIII and is the answer not in the manual?
Questions and answers