Table of Contents
Advertisement
Quick Links
Advertisement
Table of Contents

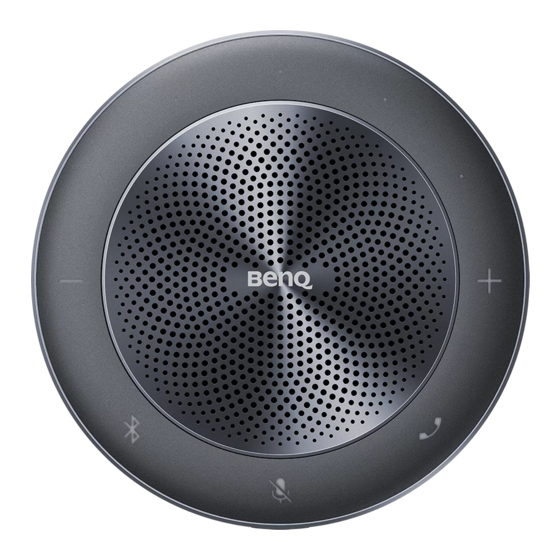
Summary of Contents for BenQ VM01
- Page 1 VM01 Speakerphone User Manual...
- Page 2 BenQ Corporation makes no representations or warranties, either expressed or implied, with respect to the contents of this document. BenQ Corporation reserves the right to revise this publication and to make changes from time to time in the contents thereof without obligation to notify any person of such revision or changes.
- Page 3 Avail- able files vary by model. • Make sure your computer is connected to the Internet. • Visit the local website from www.BenQ.com. The website layout and content may vary by region/country. • User manual and related document: www.BenQ.com...
-
Page 4: Table Of Contents
Table of contents Copyright and disclaimer ...............i Product Support ..................ii Package contents................... 1 Overview ....................2 Charging the speaker ................3 Battery status ..........................3 Turning on and off the product ....................4 Connections ................... 5 Pairing and connecting Bluetooth devices ................5 Connecting to smartphone/PC .................... -
Page 5: Package Contents
Package contents Package contents Open the sales package and check the contents. If any item is missing or damaged, please contact your dealer immediately. Speakerphone Audio cable x1 Type-A to Type-C USB cable x1 USB audio dongle Quick start guide Regulatory statments •... -
Page 6: Overview
Overview Overview Connections on page 5 for connection details. Connectors 1. USB Type-C connector 2. 3.5 mm audio input/output port Connect to external audio equipment. LED indicators 3. Battery/Volume status Battery status on page 3 & Adjusting volume level on page for details. -
Page 7: Charging The Speaker
Charging the speaker Charging the speaker Plug the product into a USB power source using the provided USB cable. If the battery is charging, the LED of the power button will be flashing. IN/OUT 5V=2A USB Type-A It takes the battery about 4 hours to fully charge when not in use. A fully charged battery can power the speaker for up to 8 hours. -
Page 8: Turning On And Off The Product
Charging the speaker LED indicator Battery status Battery is at 40-60% charge. Battery is at 20-40% charge. Battery is at 0-20% charge. Turning on and off the product To turn on or off the product, press and hold power button for 2 seconds. Anytime the product is inactive for 15 minutes, it will automatically turn off. -
Page 9: Connections
1. Long press the Bluetooth button to turn Bluetooth on or off. 2. The Bluetooth LED flashes blue to indicate that the product is in pairing state. 3. Enable Bluetooth function on mobile phone or other devices. Select “BenQ VM01 Speakerphone” from the device list to connect with the product. -
Page 10: Connecting To Your Device Using A Cable
Connections Connecting to your device using a cable Plug the product into either a USB or audio port on your device. Set the product as the playback device in your operating system’s audio settings. IN/OUT 5V=2A USB Type-A Operations Adjusting volume level The speaker’s volume has a range of 10 levels. -
Page 11: Product Information
Product information Product information Specifications Specifications Item VM01 Output Power Speaker 150 Hz - 16 kH Frequency Response 6 microphone array Microphone Pickup Distance Audio 150 Hz - 8 kHz Frequency Acoustic noise cancellation Voice optimization Noise reduction USB type C (for audio in/out & charging) IO Port AUX 3.5 mm in/out"... -
Page 12: Dimensions
Product information Dimensions 28.8 Unit: mm... -
Page 13: Troubleshooting
Troubleshooting Troubleshooting Problem Possible cause & Solution Unable to turn on the speaker Low or no electricity. Connect the adapter to charge. Shut down automatically after Connect the adapter to charge to make sure the electric not using for a while quantity is sufficient.

Need help?
Do you have a question about the VM01 and is the answer not in the manual?
Questions and answers