Table of Contents
Advertisement
Quick Links
Advertisement
Table of Contents

Summary of Contents for Calimar Cali Fun Pool
- Page 1 IMPORTANT Read this guide and follow all instructions carefully before assembling or using this product. To purchase replacement parts, accessories, or to obtain technical assistance please visit us at: www.calimarpool.com Or email sales@calimarpool.com Rev 1/23...
-
Page 2: Table Of Contents
Index Warnings………………………………………………... Pg. 3 Before You Begin………………………………………... Pg. 4 Parts List and Specifications……………………………. Pg. 5 Preparing the Ground…………………………………... Pg. 6 Pool Assembly / Liner Layout………….………………. Pg. 7 Pool Assembly / Frame Layout………..……………….. Pg. 8 Pool Assembly / Completion…………………………..Pg. 9 Pool Assembly / Fittings ………………………………. -
Page 3: Warnings
Warning WARNING: Never jump or dive into pool. Horseplay of any kind in pool may result in spinal or fatal injury. Adult supervision is required at all times. Important - Please Read Do not install your pool under electrical lines. ... -
Page 4: Before You Begin
This is similar to condensation which occurs on the outside of a can of cold soda on a hot day. If after several weeks, your pool continues to “sweat” or “weep”, please contact your dealer or CaliMar Pool directly for further assistance. ... -
Page 5: Parts List And Specifications
Parts List & Specifications... -
Page 6: Preparing The Ground
Preparing the Ground A. Pool Size / Space Required It is recommended to allow an additional 18” of space around the perimeter of your portable pool. For example: a 10’ x 18’ rectangle pool should have an area of 13’ x 21’. The larger dimension (13’ x 21’) is referred to as the “foot print”. B. -
Page 7: Pool Assembly / Liner Layout
Pool Assembly / Liner Layout Step 1: Locate the area most suited for setting up the pool. Clear it of any sharp objects or debris and level it to zero as ex- plained on the “Preparing the Ground” page. If the pool is assembled on unleveled ground, it may suffer permanent structural warping or damage the liner. -
Page 8: Pool Assembly / Frame Layout
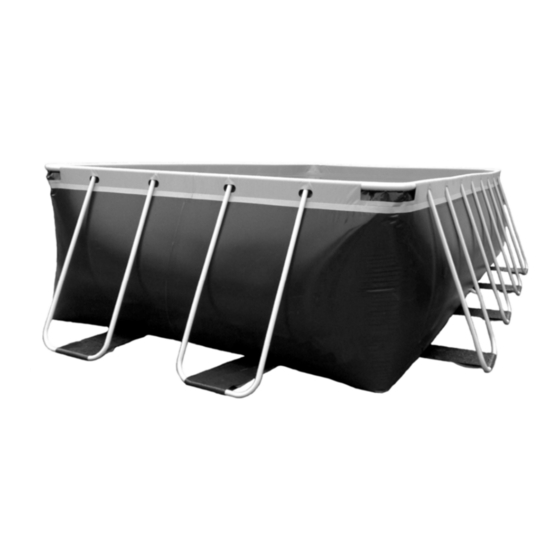
Pool Assembly / Frame Layout Step 5 Assembling the long sides first, starting from the side at your right, INSERT INTO THE RECTANGULAR BIG OPENING CORNER OF THE POOL, THE “A” TOP RAIL WITH THE FEMALE END LOOKING AHEAD. Make sure to start from the right lateral side. This will allow the corners to fit correctly. Insert the rest of the pipes one at a time, in order of the diagram on the previous page and make sure they are locked correctly. -
Page 9: Pool Assembly / Fittings
Pool Assembly / Fitting Assembly Step 8: Pull foot straps under liner outwards. Insert “U-Tubes” in every foot strap. Two people should lift one short lateral top rail of the pool while a third person places the top of the “U-Tube” into the corresponding holes in the underside of the top rail. -
Page 10: Disassembly
Equipment Assembly / Pool Disassembly Step 10: With the skimmer and return fittings now in place, assemble the pump and filter package and connect the hoses ac- cording to the diagram below. (Equipment may vary by dealer) Step 11: Before you start filling the pool with water, assemble and secure the ladder with the ladder straps included. Refer to the ladder instructions for assembly procedures. - Page 11 CaliMar Pool for repair (freight prepaid by pool owner). Cali Fun Pool are designed for your swimming enjoyment. Entry and exit from your pool should only be by a proper above ground swimming pool ladder. DO NOT DIVE OR JUMP! FIVE YEAR LIMITED WARRANTY REGISTRATION CERTIFICATE This card must be email within 20 days of your purchase - sales@calimarpool.com...
-
Page 12: Warranty
CaliMar. The purchaser, at their expense, and after prior authorization from CaliMar, should clean, package and send the part(s) to CaliMar. If, at the sole discretion of CaliMar, there is determined to be a manufacturing defect, the part(s) will be replaced or repaired, at CaliMar's option, and the applicable return freight may be reimbursed.
Need help?
Do you have a question about the Cali Fun Pool and is the answer not in the manual?
Questions and answers