
Related Manuals for Bratt Decor heritage MSH1


Summary of Contents for Bratt Decor heritage MSH1
- Page 1 T hi s c ri b c o nfo r m s t o t h e s t a n- d a r ds o f t h e U . S. P ro d u c t C o ns u m e r s a fet y c om- m i s si o n .
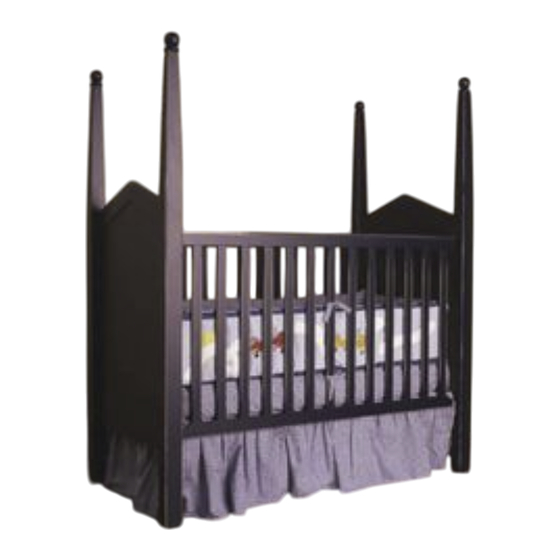
- Page 2 L A R G E C O MP ONENTS Right Panel Corner Post Back Piece Corner Post Front Gate Corner Post Stabilizer Bar Corner Post Mattress Support Left Panel Slide Rods Mattress Positions: Please use the following guidelines as set forth by the American Academy of Pediatrics to decide which level is appropriate for your child: LEVEL (1) highest position To be used by newborns, until shortly before they can sit alone.
-
Page 3: Maintenance
Maintenance: Once a week inspect the crib for any damaged hardware, loose joints, missing parts or sharp edges. Discontinue using the crib if any parts are missing or broken, contact Bratt Decor, Inc. for replacement parts if needed. Cleaning: if crib is dirty, wipe with a cloth dampened with warm water. - Page 4 All contents of these instructions are the sole property of Bratt Décor, Inc. and may not be reproduced in any way without the specific written agreement of Bratt Decor, Inc. Any violation of this will be prosecuted under the federal copyright laws.
- Page 5 Attach the Front Bracket (L), the Back Bracket (M) and the L Bracket (N) to the assembled head board using 8 of the Wood Screws (P). Now repeat this for the assembled foot board.
- Page 6 Attach the 2 Strike Plates (O) to the Front Gate (H) using 4 of the Wood Screws (P). Note, the pilot holes are pre-drilled.
- Page 7 Attach the Back Piece (G) to the two assembled side pieces using the 4 Long Machine Screws (Q) and 4 of the Split Washers (S). Use the Hex Tool (U) to tighten the screws.
- Page 8 For more information on the proper positions for the Mattress Support (J), please refer to the back of these instructions under the heading: “Mattress Positions” CAUTION: Under no circumstances should the child be allowed to use this crib when they reach 35 inches tall. Attach the Stabilizer Bar (I) using 4 of the Short Machine Screws (R) and 4 of the Split Washers (S).
- Page 9 Finally, install the Front Gate (H) as shown. Make sure that the Strike Plates (O) pointing inside the crib. Attach the slide rod using 1 Short Machine Screw (R) and 1 Split Washer (S). Now repeat on the other side. Raising and lowering the gate: To lock the gate into the top posi-...
- Page 10 * Before each usage or assembly, inspect crib for damaged hardware, loose joints, missing parts or sharp edges. DO NOT use crib if any parts are missing or broken. Ask your dealer or write to BRATT DECOR, INC. for replacement parts and instructional literature if needed.
Need help?
Do you have a question about the heritage MSH1 and is the answer not in the manual?
Questions and answers