Advertisement
Quick Links
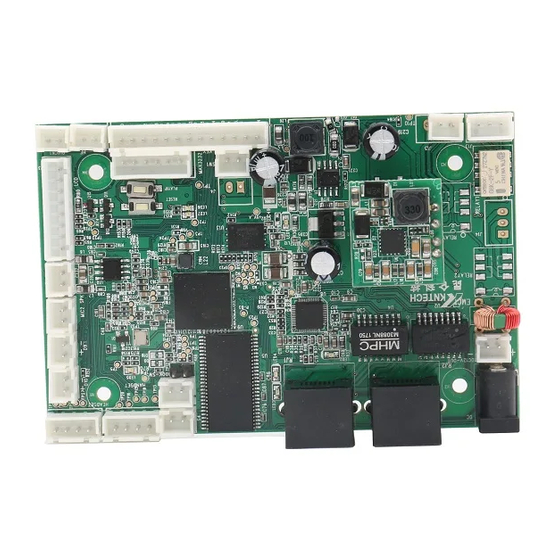
KN518 VOIP Motherboard
1 Description
IP board-casting PCB Board support many connectors, including 4shortcut key, LCD screen, keypad,
handset, double wan port and so on. It can be installed with waterproof telephone, auto-dial
telephone, emergency telephone, elevator intercom, door phone, broadcasting intercom and etc.
The application is very wide.
2 Basic function
Support standard SIP 2.0(RFC3261)and RFC protocol,
Support directly calling to dispatcher station,
Support alarm, monitor, talking and broadcast,
Support common line talk back system,
Adapt high-tech echo cancellation,
Support handset, speaker and alarm adjustment,
Support G.729、G.723、G.711、G.722、G.726 coding and etc,
Support system record and check the recording files freely,
Set through Web(Default IP: 192.168.0.55)
Support upgrade online,
Waterproof and dust-proof design.
3、Technical data
Main chip
Keypad
Voice
User Manual
Protocol
Design
Number of direct keys
Digital keypad
Mic
Speaker
SIP 2.0(RFC-3261)
DSPG518
Stainless steel
1、 2、3、4(available)
Available
1
1 pcs
2W
Advertisement

Summary of Contents for Koon Technology KN518
- Page 1 KN518 VOIP Motherboard User Manual 1 Description IP board-casting PCB Board support many connectors, including 4shortcut key, LCD screen, keypad, handset, double wan port and so on. It can be installed with waterproof telephone, auto-dial telephone, emergency telephone, elevator intercom, door phone, broadcasting intercom and etc.
- Page 2 Volume control available Duplex Hnads Support(AEC) Handset Support Support Speech stream Codec G.729、G.723、G.711、G.722、G.726 Power supply 12V 1A DC or PoE PoE (not allow IPGB-1) PoE 802.3af (Class 1) 48V 10/100BASE-TX s Auto-MDIX, RJ-45 Connector 10/100BASE-TX s Auto-MDIX, RJ-45 Cable specification UTP or higher then UTP Support RS232...
- Page 3 3.2 Indicator connection LED D9 is Registration status indicators,If the connection is correct, the indicator will long light. 3.3 Speed dialing (It needs handset) soft1(SW3):KEY-COL5 and KEY-ROW1 soft2(SW8): KEY-COL5 and KEY-ROW2 soft3(SW16): KEY-COL5 and EY-ROW3 soft4(SW14): KEY-COL5 and KEY-ROW4...
- Page 4 3.4 Full Keypad Definitions Usage Uasge Definitions Definitions RELAY1 Data RELAY2 Alarm SCLK clock COL0 Keypad IO input COL1 Keypad IO input Module reset COL2 Keypad IO input Chip selection...
-
Page 5: Operation
COL3 Keypad IO input Handset/MIC + COL4 Keypad IO input Handset/MIC - COL5 Keypad IO input Handset/speaker - ROW0 Keypad IO output Handset/speaker + ROW1 Keypad IO output Earthing device ROW2 Keypad IO output Earthing device ROW3 Keypad IO output MIC+ Handsfree/MIC + ROW4... - Page 6 ※ if you didn’t save the setting, the system would the configuration last time when powered on next time. After changing the parameter, click 【Maintenance】 → 【SAVE】 , the configuration will be saved and take effect soon. Before the below steps, please register the phone on your server. The solution【SIP CONFIG】...
- Page 7 4.2.3 Config 4.2.3.1 Speed dial Type:Hot key Value:numner Line: SIP1/2/3/4 subtype:Speed Dial You can set four groups in total, fill the information as below. 4.2.3.2 Network You can set the connection type, auto-negotiation and network port.
- Page 8 4.2.3.3 Phone You can set auto-answer, hookOn wait time, ringer tone, volume settings and codecs settings. 4.2.3.4 Security Supports 2 output setting Supports modification on Ring, on hook, talking, DTMF) Output Level, Output Trigger Mode (...
- Page 9 4.2.3.5 Time NTP Enable: Yes means synchronizing the time automatically via DHCP mode. 1. Configure primary NTP Server Address and server port 2. Configure secondary NTP Server Address and server port 3. Configure Time Zone 4、Interval time for synchronizing with server. Default is 60 seconds. 4.2.3.6 Language Change the system language in Chinese or English...
- Page 10 4.2.4 Maintenance If the configuration finished, click “the reboot” on the phone to restart the phone. 4.2.5 Logout Click the Log out button to leave the web operation...
Need help?
Do you have a question about the KN518 and is the answer not in the manual?
Questions and answers